10 Tile Projects & Tutorials from the Past
 I remember the very first tile project we tackled. I felt intimidated, afraid I would mess up, and unsure if I was even doing it right. Here we are years later, and tiling is probably my favorite renovating task. It’s seriously so much fun to me, and the results are always worth it! Throughout our renovating career, Emmett & I have installed A LOT of beautiful tile. I thought it would be cool to look back, dig up my favorite projects (and pretty tile), and share our best tile tutorials with you… in case that is something on your to-do list this year. Click through for 10 tile projects & tutorials from the past!
#1 // How to Install Large Format Floor Tile
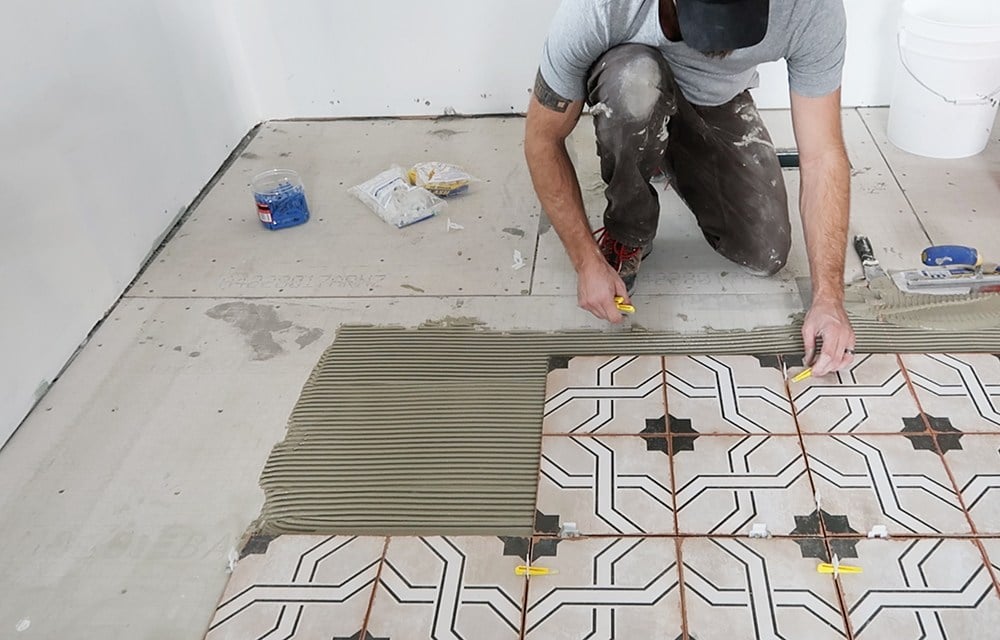 I thought we’d start with basics, and a post from a few years ago when we were installing floor tile in the kitchen of our previous home! Tiling a room, whether it’s a kitchen or bathroom, is an easy DIY that makes such a big difference in the overall design and scale of a room. It’s one of our favorite tile projects to tackle together, and this DIY (with video!) is a great way to learn the basics so you can do it yourself.
→ check it out ←
#2 // How We Choose: Grout for Tile
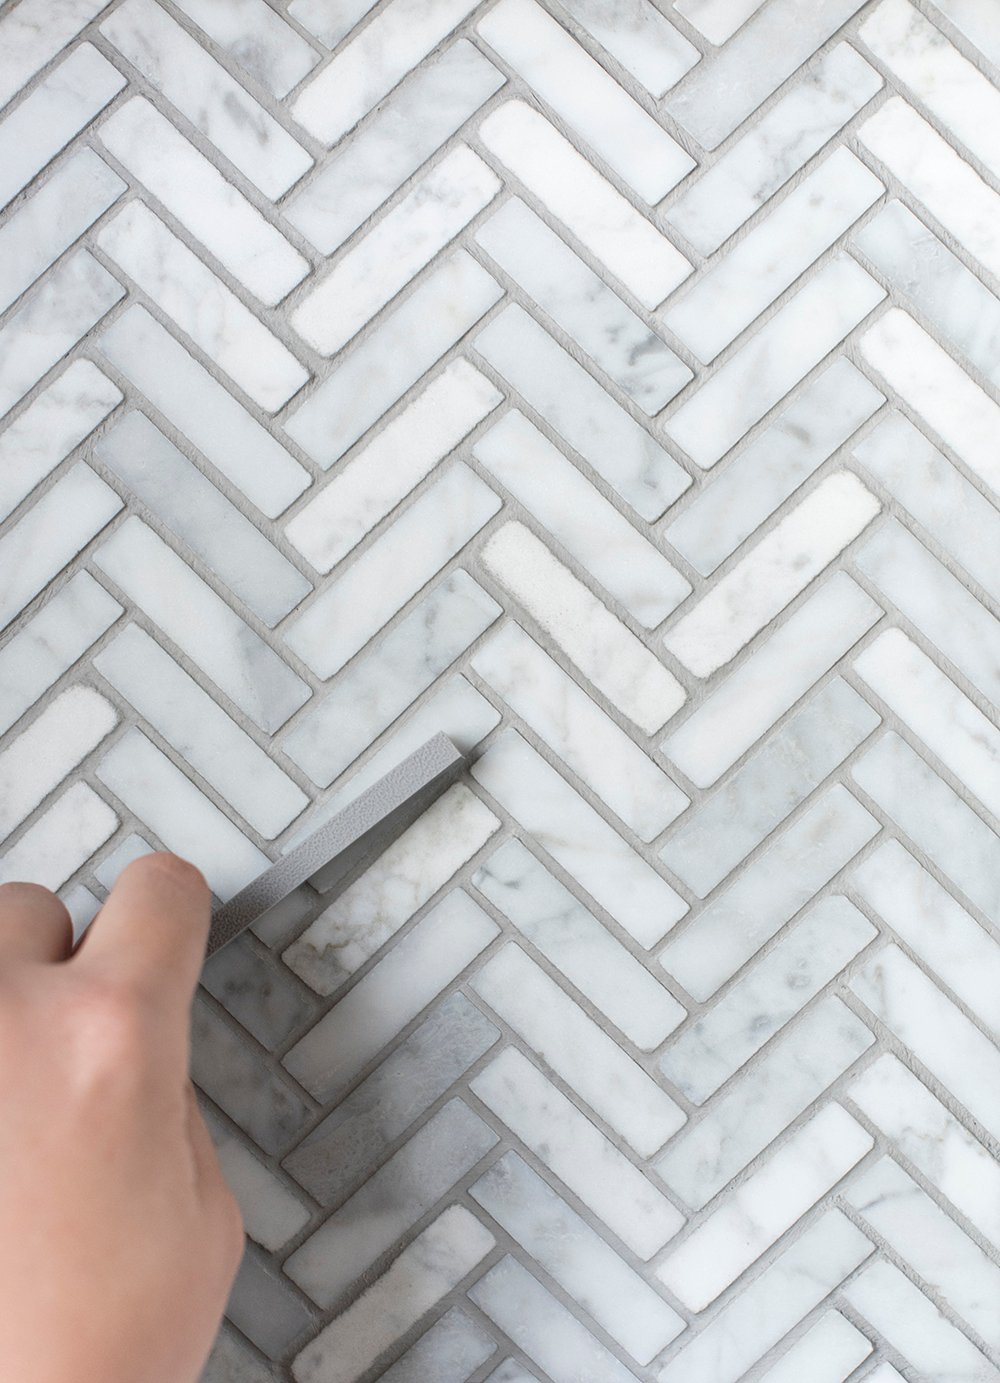 When it comes to tile, the right colored grout is a little thing that makes a huge difference! From the color of the grout to the type (sanded or unsanded) and even how to seal it, these important pieces of the puzzle are key when creating a solid tile design plan. After all, there are a lot of options out there and it can seem overwhelming! This post breaks down the best way to choose for your space, so you get the look you want… that will last for many years to come.
→ check it out ←
#3 // DIY Heated Floor Tile
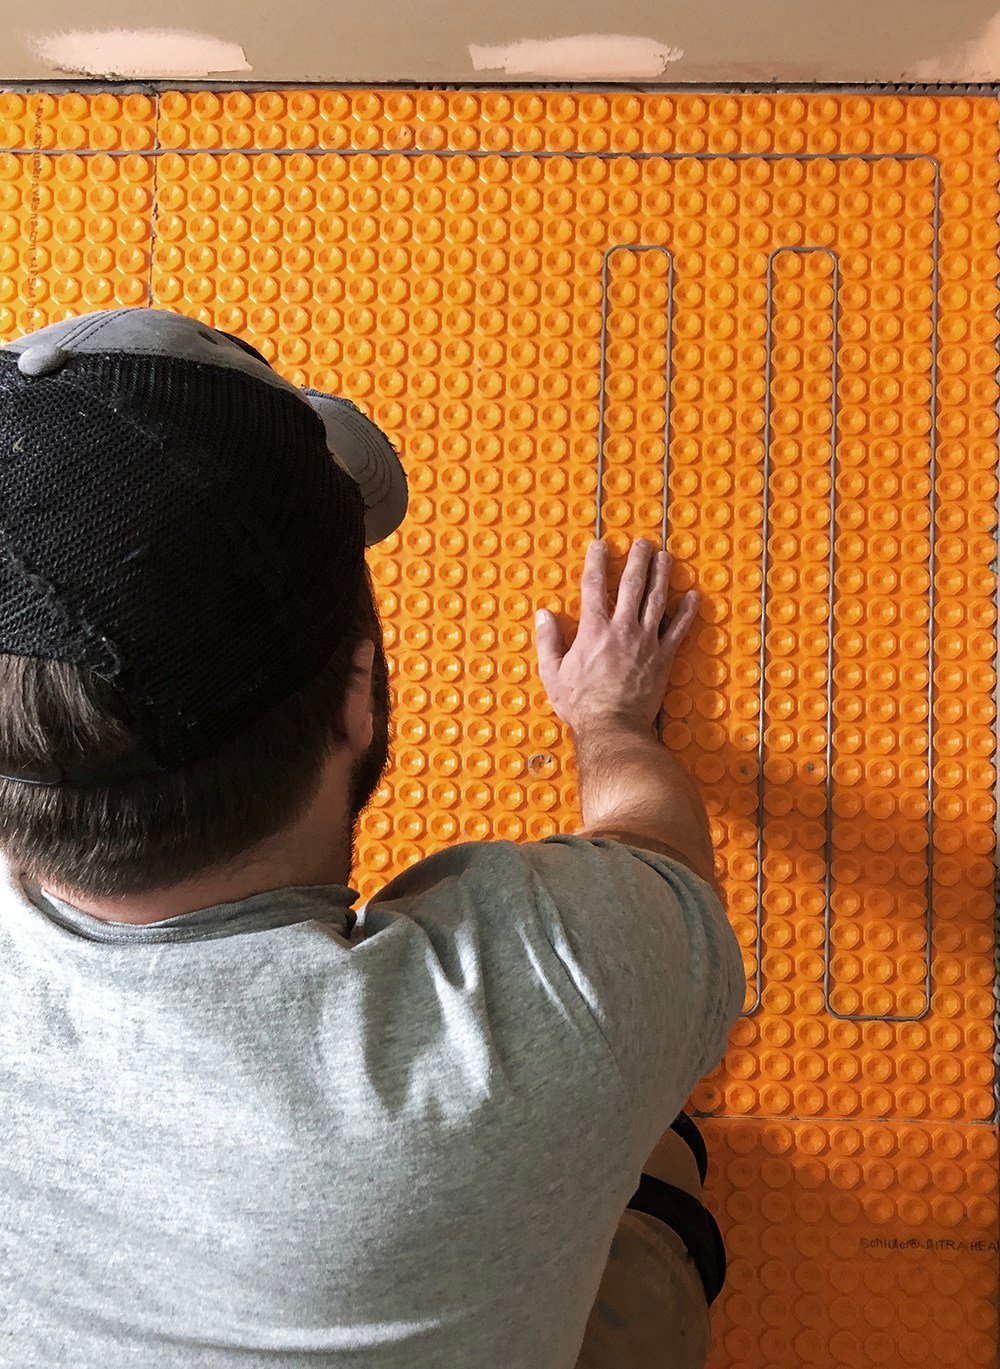 The very cold bathroom in our basement was a space that we really wanted to feel (and look) warm & cozy. Installing a heated floor was our first step to reaching that goal, and we knew it was a project we wanted to tackle ourselves. While it may seem like an intimidating project, it was much easier than expected! This post has all the details on how to tackle this simple DIY tile project, so your feet feel warm & toasty against your tiled floor.
→ check it out ←
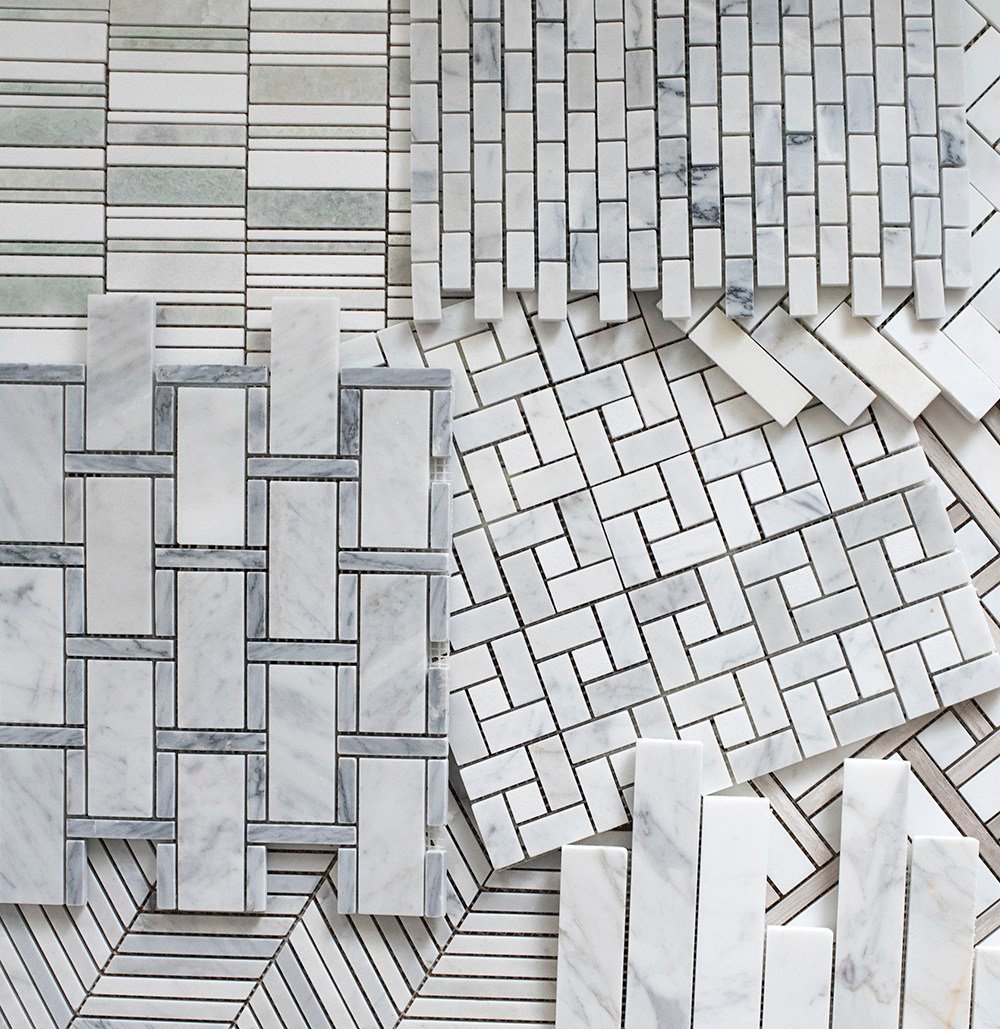
#4 // How to Install Marble Mosaic Floor Tile + My Favorite Marble Mosaics
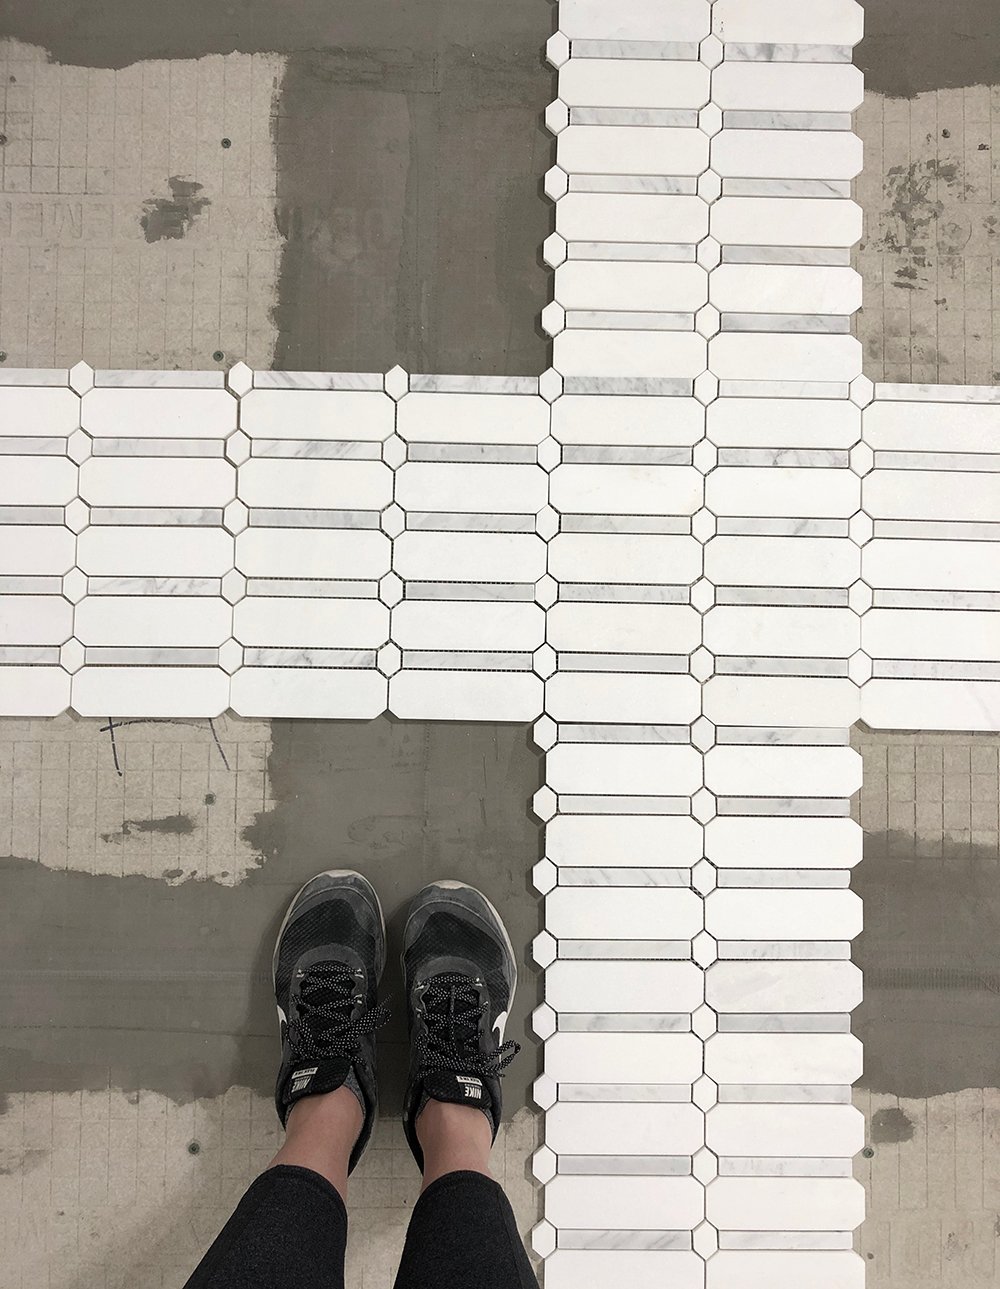 Marble is such a beautiful, classic choice for tile. Its beauty and timelessness is why I find myself choosing it for our home in a variety of rooms and renovations over the years. Marble mosaics are a great way to add pattern and texture to a space for a classic look. This roundup is all things marble mosaic floor tile!
→ check it out ←
#5 // Roundup: Classic Patterned Floor Tile from Lowe’s
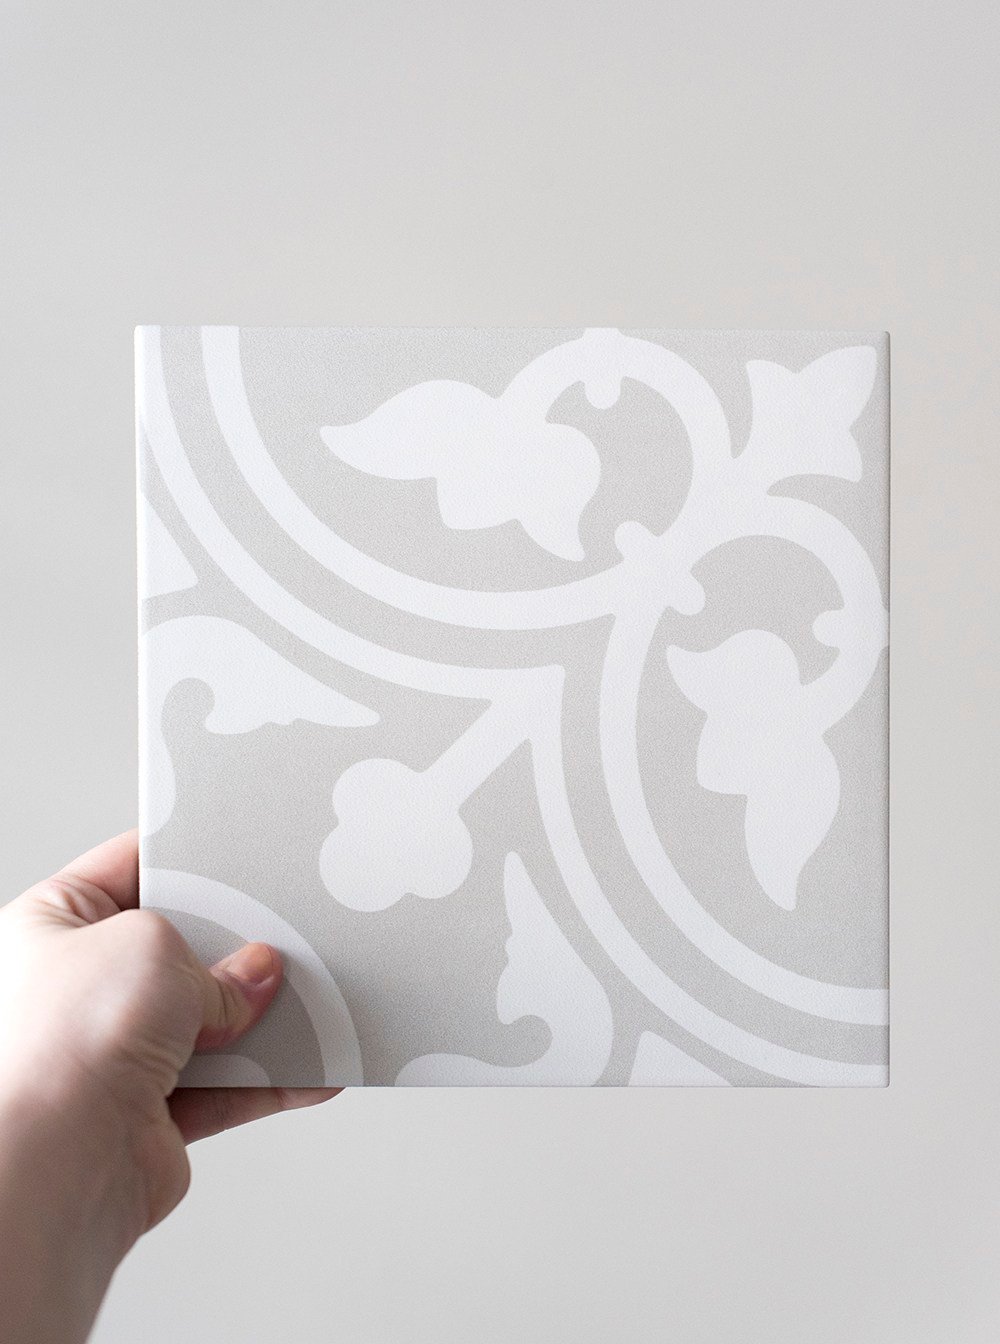 It’s no secret I LOVE patterned floor tile. We installed it in the kitchen in our previous home and in the basement bath in our current home. It’s such a fun way to add visual interest to a space and create a unique look. Lowe’s has an incredible selection of patterned tile in a variety of color palates, and this roundup is dedicated to all things patterned floor tile from my favorite home improvement retailer. They’re also all budget-friendly!
→ check it out ←
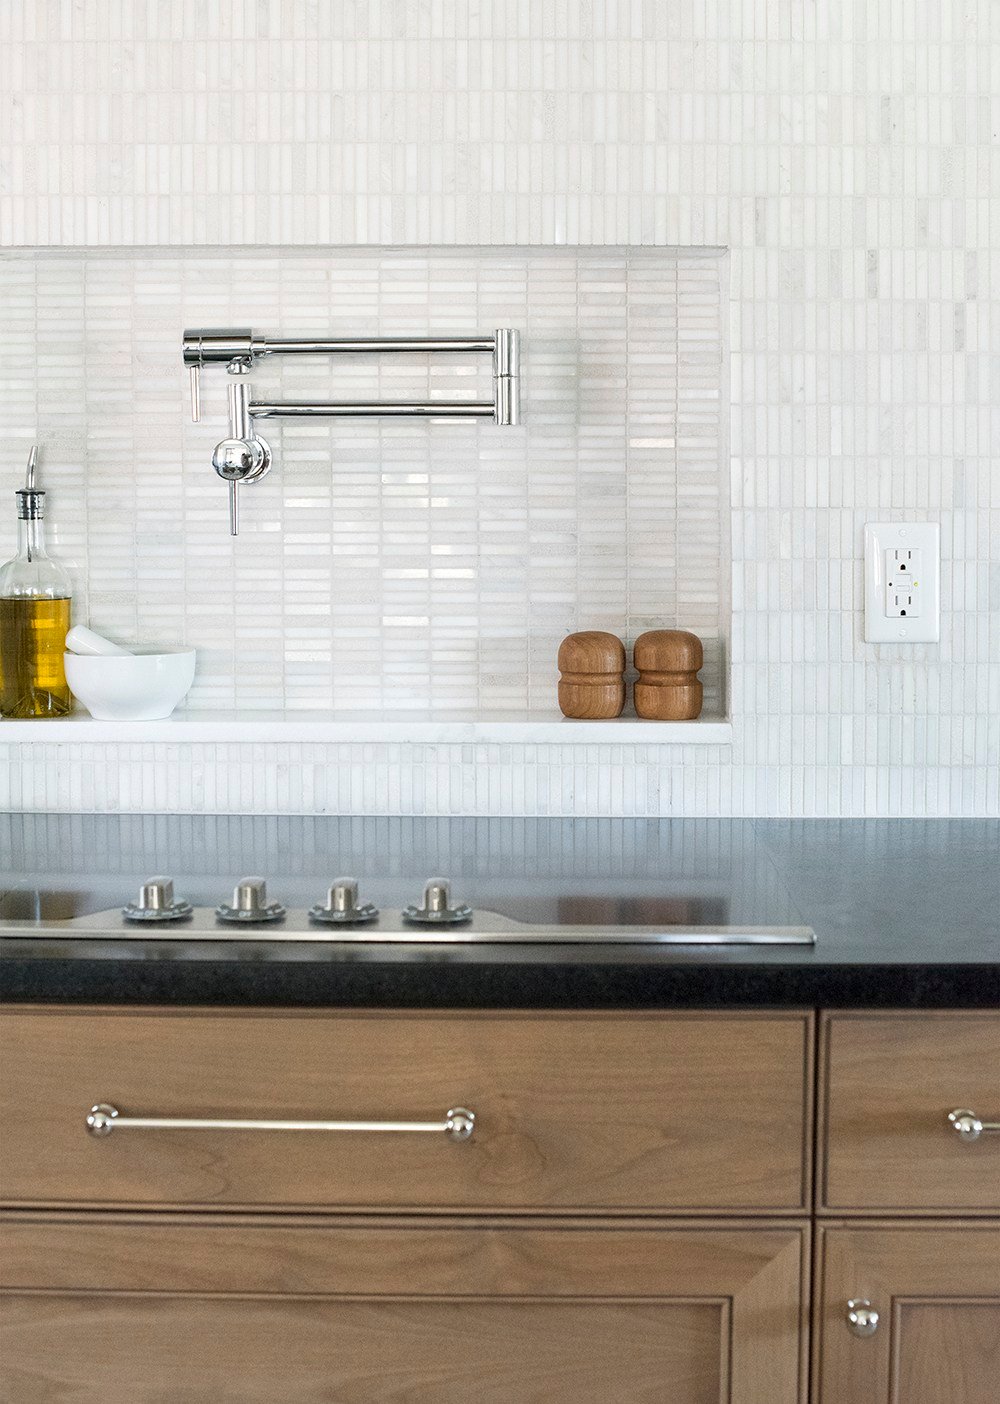
#6 // My Favorite Affordable & Classic Backsplash Tile Options
 It’s easy to break your budget with a fancy backsplash (and it’s ok to dedicate your budget to something unique & expensive) but there are plenty of affordable, timeless options out there. These classic choices will stand the test of time without breaking your budget.
→ check it out ←
#7 // Roundup: Marble Mosaic Tile
 I’ve said it before and I’ll say it again: I love marble! One of the most beautiful, easy ways to incorporate marble into your space is with tile. Unlike solid stone that requires professional fabrication, tile is totally a DIY project you can tackle yourself. It adds such gorgeous natural texture to a room, and I find myself gravitating to it again & again. I packed lots of favorites into this post!
→ check it out ←
#8 // How to Make Subway Tile Look Classic, Not Basic
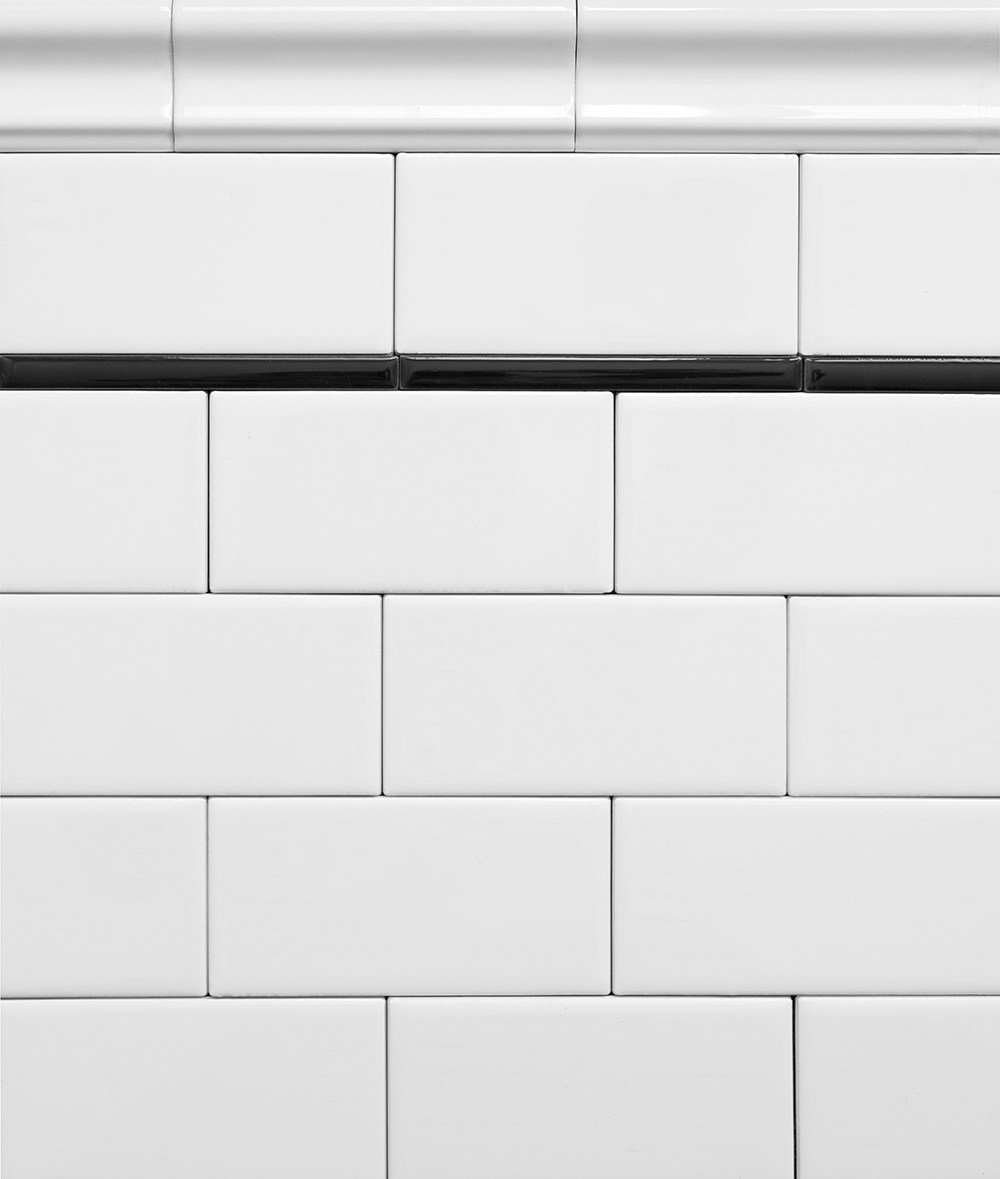 Subway tile is a classic choice for any space, but it doesn’t have to be boring! There are so many ways to add visual interest to your subway tile that will make it look anything but basic. From trim pieces to color blocking, there are plenty of options to mix things up in your next project!
→ check it out ←
#9 // DIY Tile Text (+ a Big Thank You!)
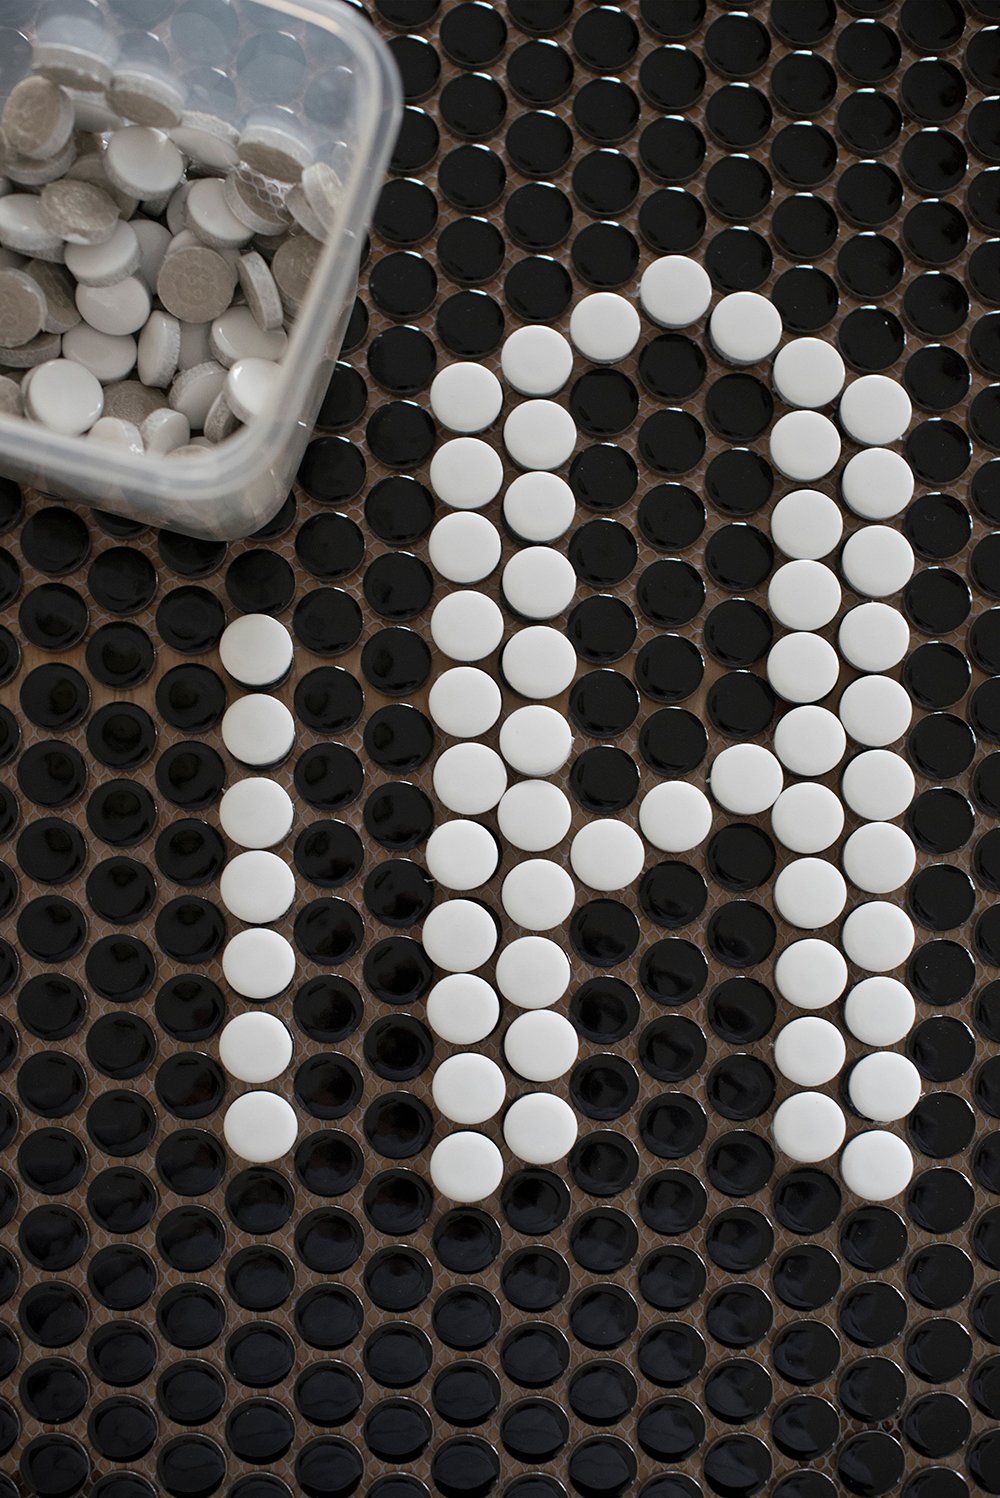 This was such a fun tile project for Emmett and I! I’ve always loved the look of tile type, and was thrilled to try my hand at creating typography in tile myself, all while creating a sentimental and special thank you message.
→ check it out ←
#10 // Marble Maintenance & The Truth About Natural Stone
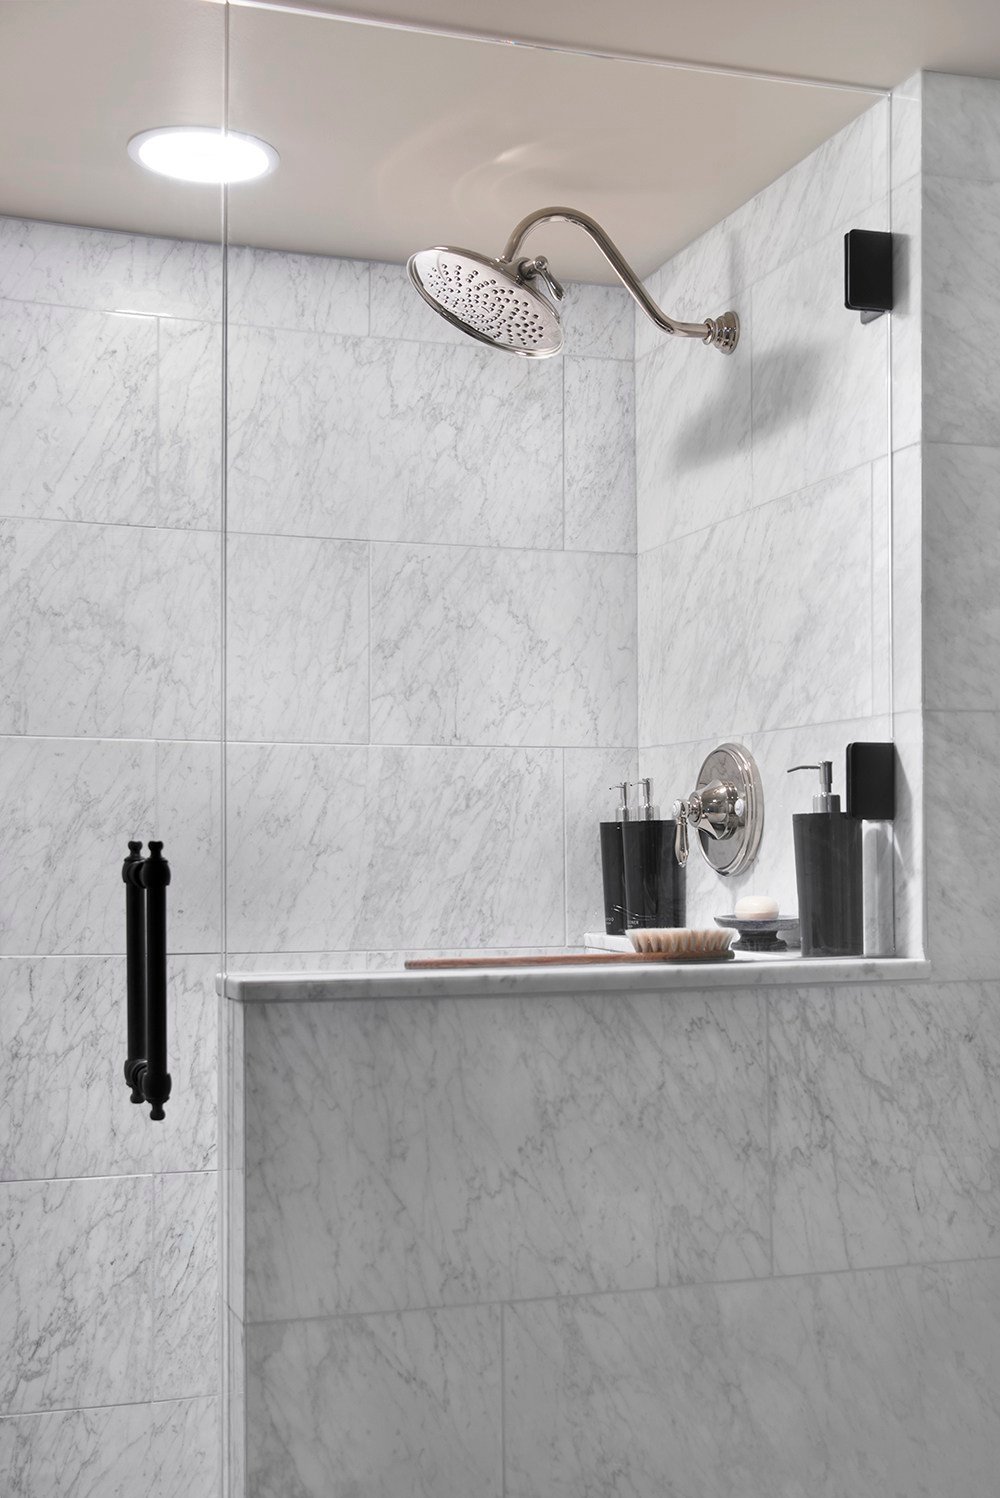 For some reason, marble and natural stone gets a bad rep and can seem like a scary investment to a lot of homeowners. I wanted to provide you with a helpful post to weigh the pros, cons, and make an educated decision for yourself! In this post, I share my thoughts on natural stone, how I live with it on a daily basis, facts (the negative AND positive), and how I care for it- including marble maintenance. I’ve also got a fun quiz at the end of the post for you to take!
→ check it out ←
So, are you feeling inspired to tackle a tile project in your home? After all that time installing tile in our basement bathroom recently, I’m excited to focus my attention on our guest bedroom and take a little tile break! I’ll always find my way back to a tile project though, it’s such a rewarding process. I rounded up some of our favorite tile tools below if you’re looking to tackle a project!
