10 Tips for Shooting Professional Interior Photos
 Hello friends! Happy Wednesday. You guys asked for more tutorials, home projects, and activities or educational posts to help fill lots of hours spent sequestered at home. I already had this particular post on the calendar this week and felt it was still very fitting. This is the perfect time to grab your camera and practice your photography skills! Over the years, my camera, shooting, and editing skillset has vastly improved and continues to improve the more time I spend behind the lens. Perfecting your craft takes time and it’s no different with photography. Lots of people are surprised to learn that I shoot all of my own photos found here on the blog. Lots of home and interior bloggers hire their photography out, but I’ve always really liked shooting my own imagery. Therefore, I kept at it, kept practicing, and remain open to learning and improving. I wanted to share my 10 best tips for shooting professional looking interior photos in today’s post. Click through to see how I use my camera to capture quality images of my house.
#1 // Always Use a Tripod
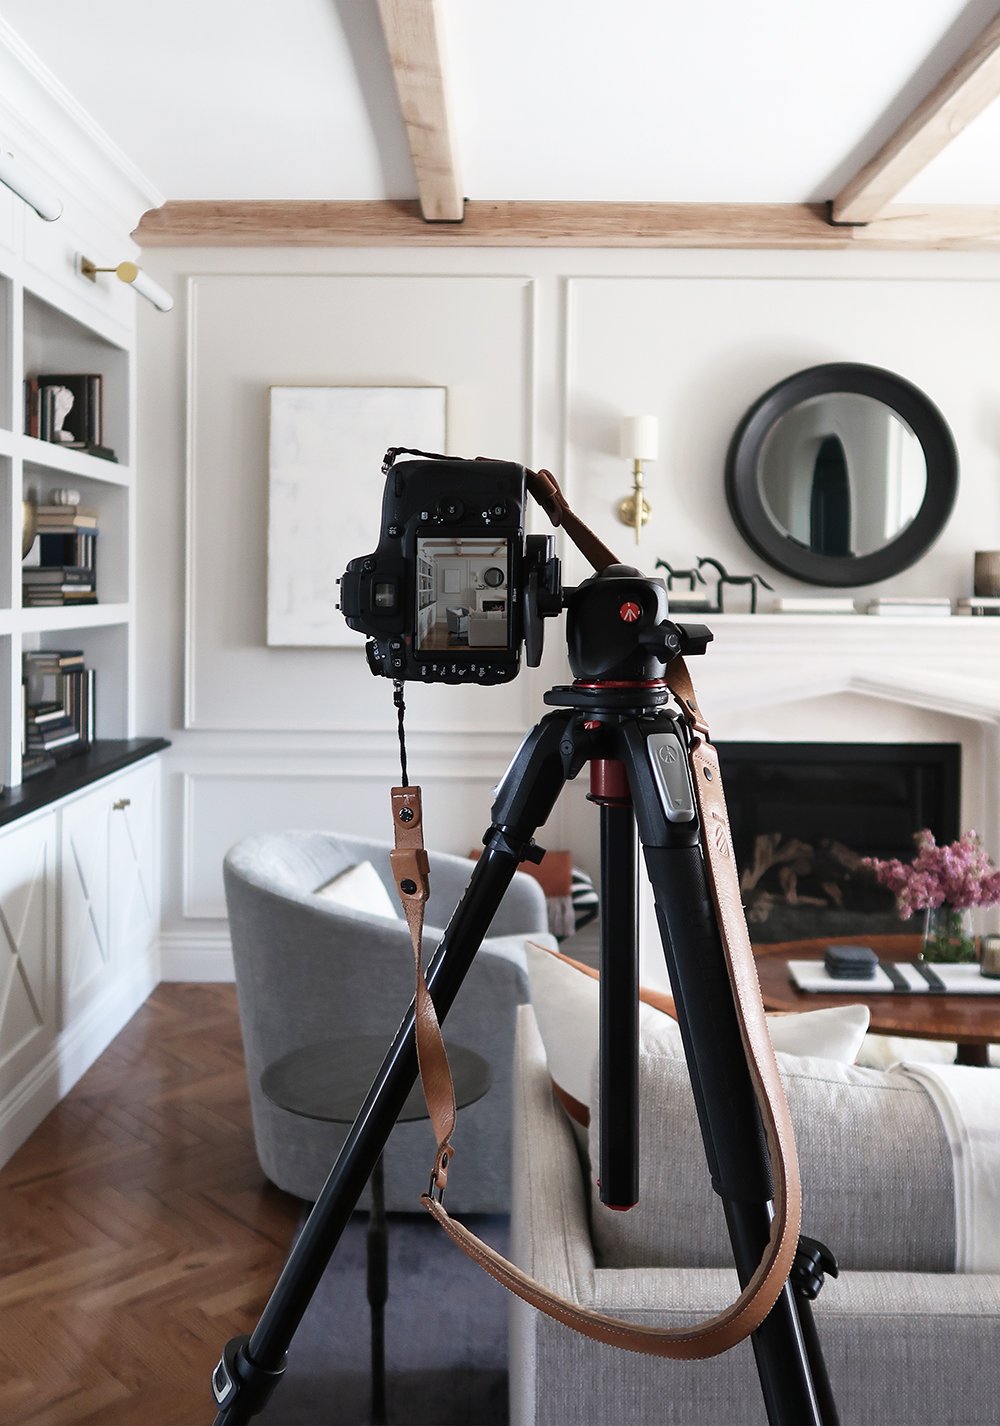 The first rule of shooting interiors is to ALWAYS use a tripod. It’s much easier to snap the room to a grid with minor tripod adjustments. A tripod is also necessary for slowing the shutter speed to make rooms nice and bright. Shooting a light-filled room is always the goal, and the only away to achieve that is by using a tripod. I’ve used this Manfrotto tripod for years and it’s my absolute favorite.
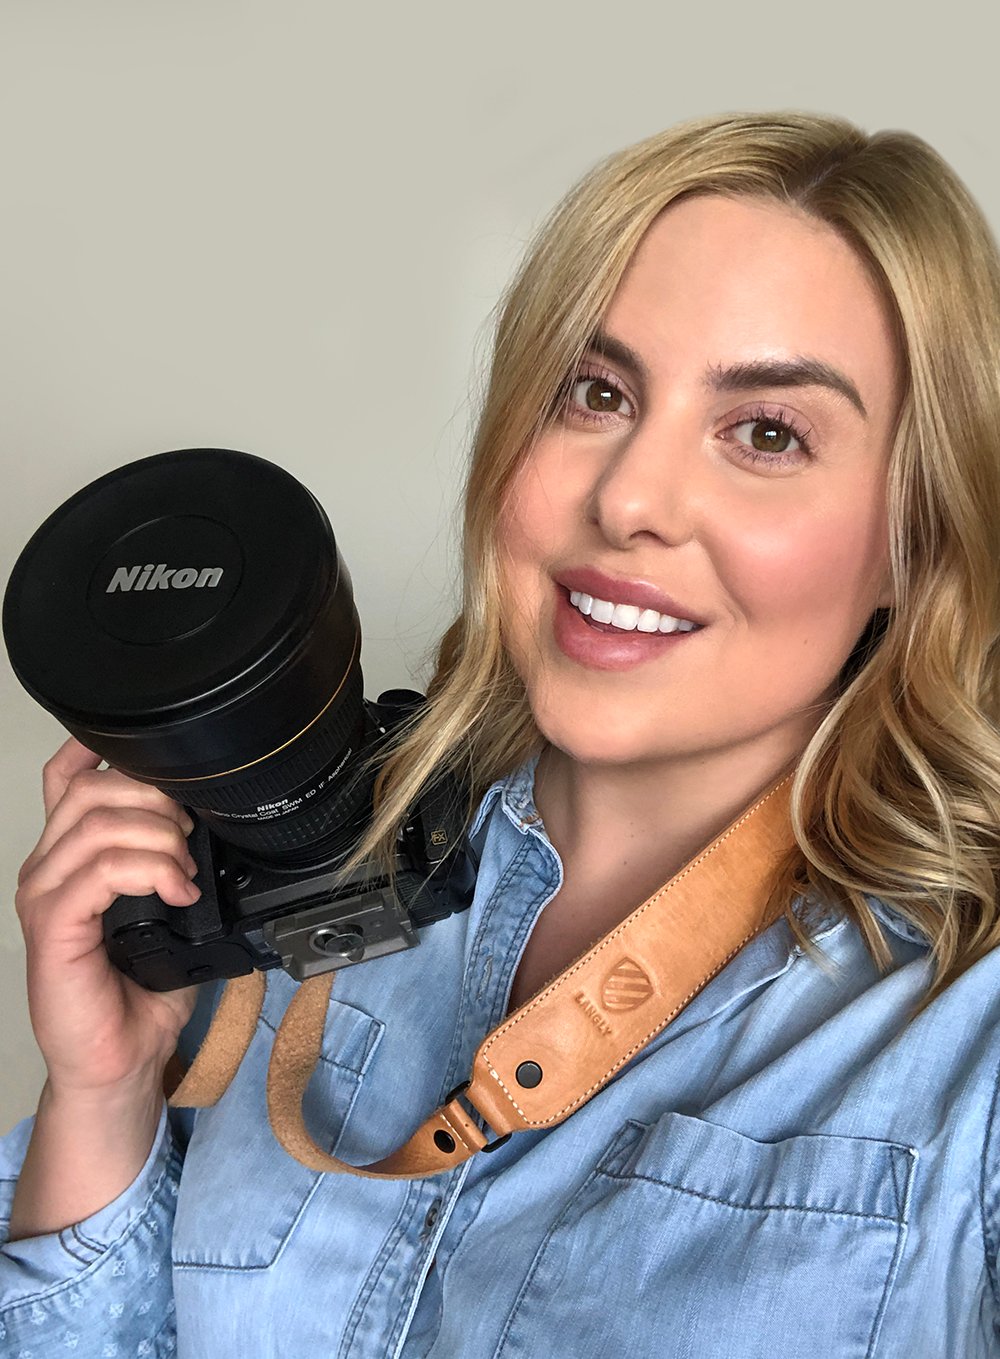
#2 // Use an SLR Camera
 An SLR (single lens reflex) camera is a camera that is capable of switching lenses. I know technology has come a lonnng way, but if you want your interior photos to look professional, a phone camera isn’t going to cut it. Sorry for the tough love, but it’s true! My advice? Invest in an SLR camera… even if you start with a small body style that is less expensive. That’s exactly what I did. My first SLR was tiny and here we are 4 upgrades (12 years) later, with my current larger setup.
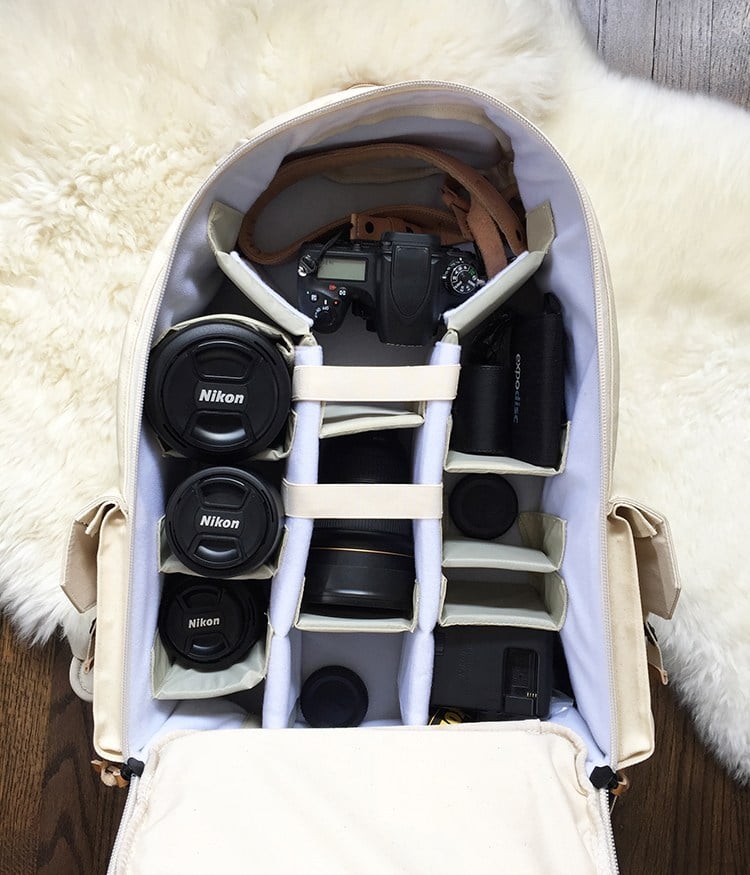
#3 // Use the Right Lens for the Shot (and Keep it Clean)
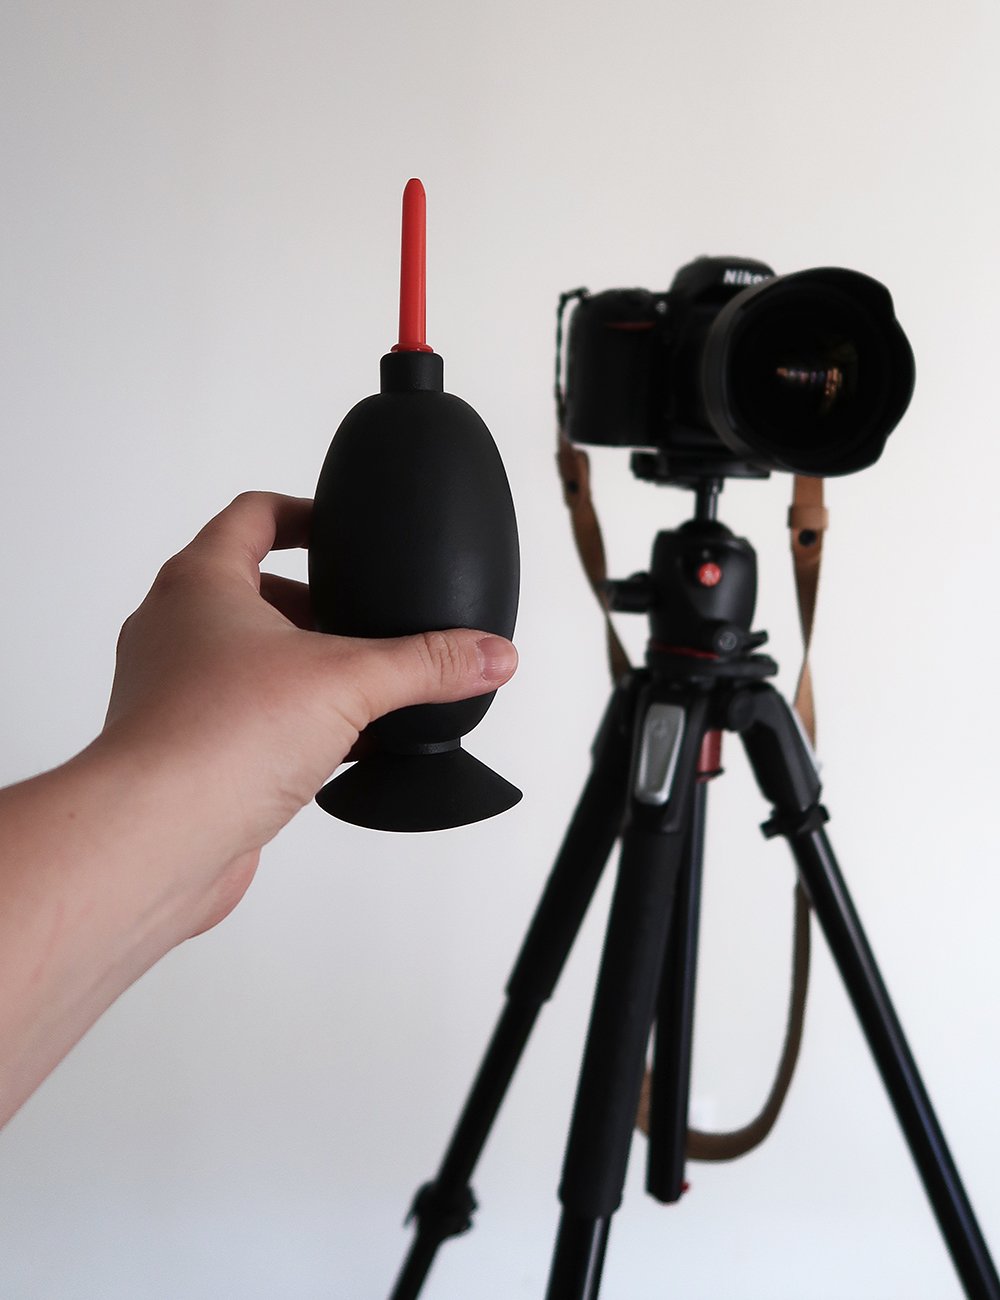 I’ve narrowed my camera bag to include four lenses. You can see them and get links in this post, but it’s important to know which lens to use for the shot. I’d recommend buying a good wide angle and a 50mm, if you’re just starting out. In addition to using nice lenses (which are probably even more important than the camera body itself), keep your lenses clean and air dust them before shooting. This handy tool comes out before any photoshoot for lens cleaning. There is nothing worse than removing dust specks from an image in post production!
#4 // Shoot in Manual Mode
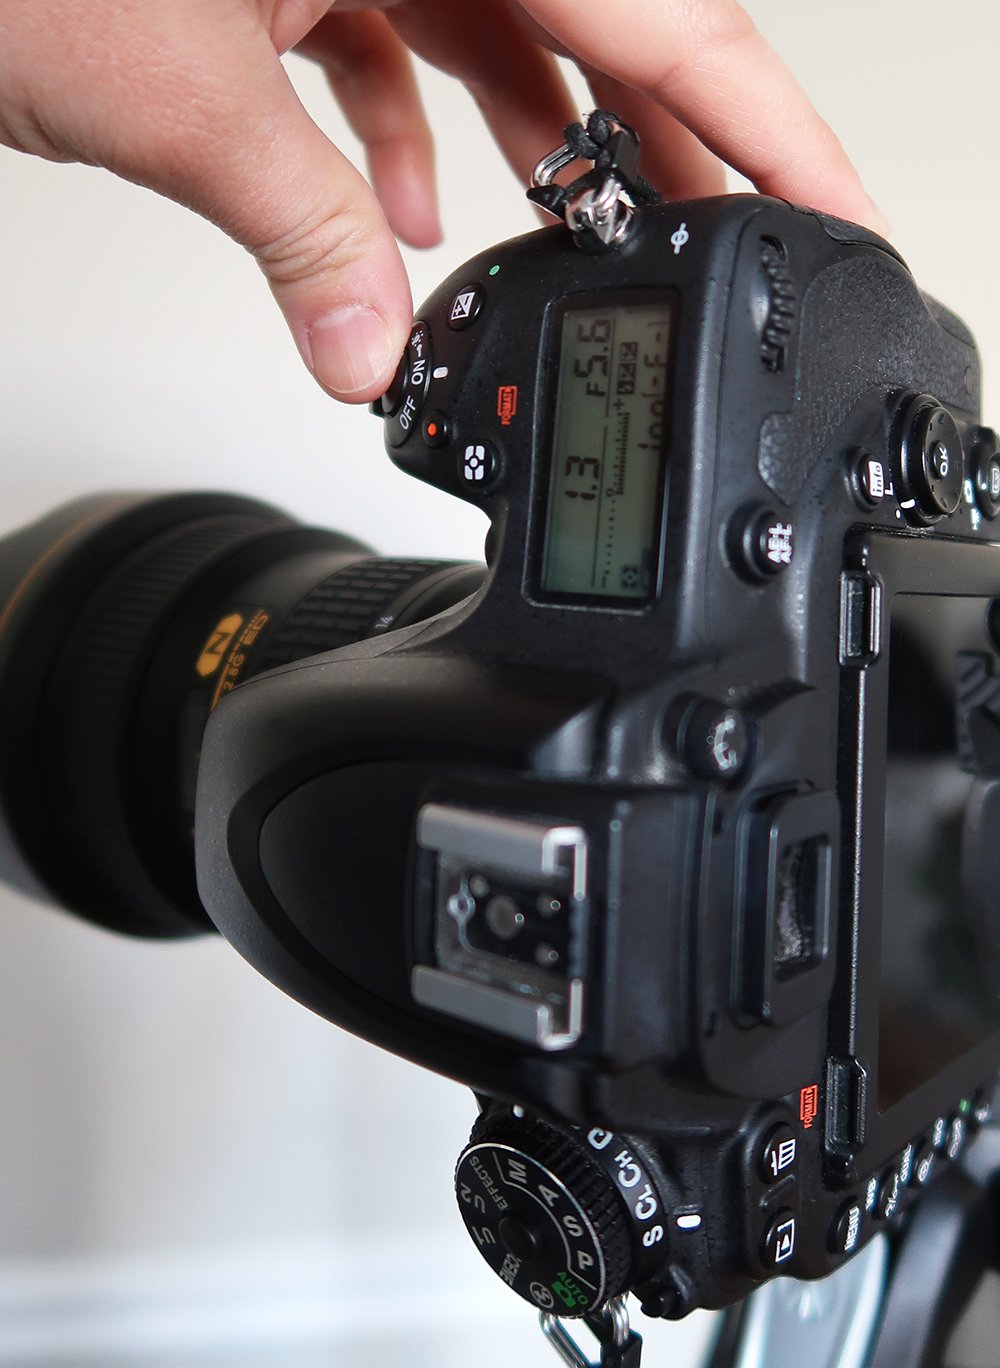 If you’re an SLR newbie, I know it seems intuitive and comfortable to set your camera on auto and beginning shooting. Please, please, please resist the urge and put that baby into manual mode and just start practicing! There are lots of online photo classes that can get you up and running in no time at all. If you’re going to own an SLR, the only way to reap the benefits is by shooting in manual mode. My general rule for shooting medium or wide interior shots is to keep the f-stop at 5.6 or higher. I like a nice, crisp image where everything is in focus. My exception is if I’m shooting close-ups of products, then I’ll bring it down to around 3.0. Next, I’ll adjust my shutter speed accordingly, but this is where the tripod comes in handy. If you’re shooting at 125 or lower, you NEED a tripod or your images will be blurry and out-of-focus. I like to stay below that range anyway for bright images.
#5 // Style The Space For The Photo
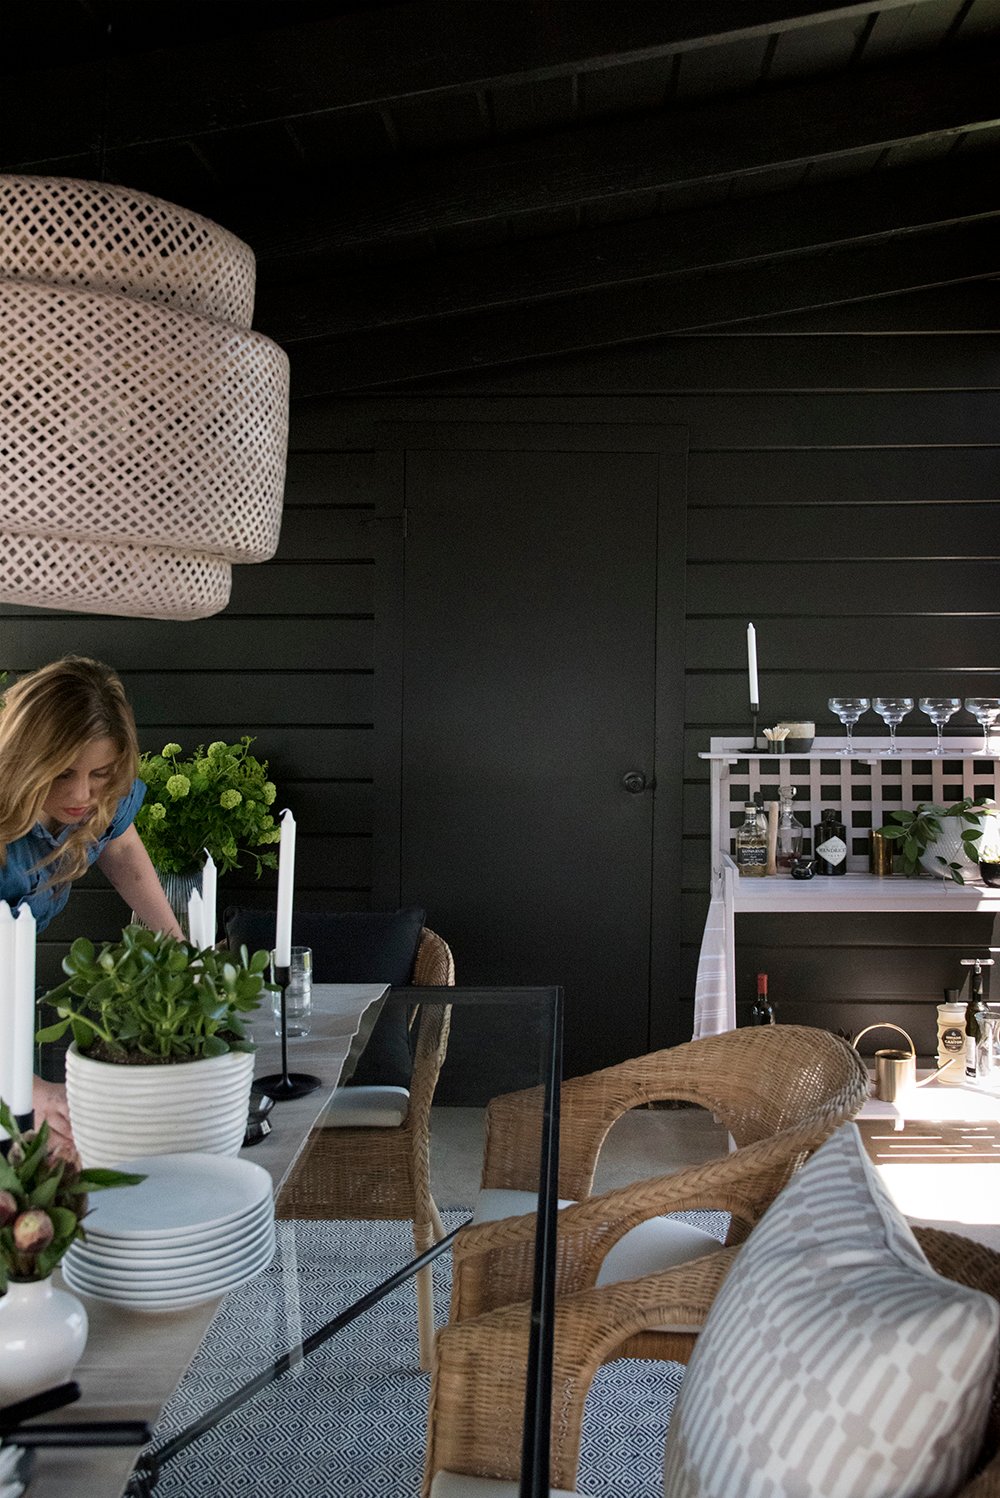 This is especially important for interior and decor photography because things might not look as great through the lens as they look in person. For example, in the above image… I’m styling the dining table under our previous carport. Imagine if I shot the image from straight on, from the end of the table. The tapered candles would overlap, creating a white blob in the center of the photo, and that wouldn’t look great. Instead… style through the lens, shifting objects as needed until they feel balanced for the photo. It might not look amazing in person (from all angles), but you have to work from a specific photographic angle, if that makes sense?
#6 // Shoot in RAW
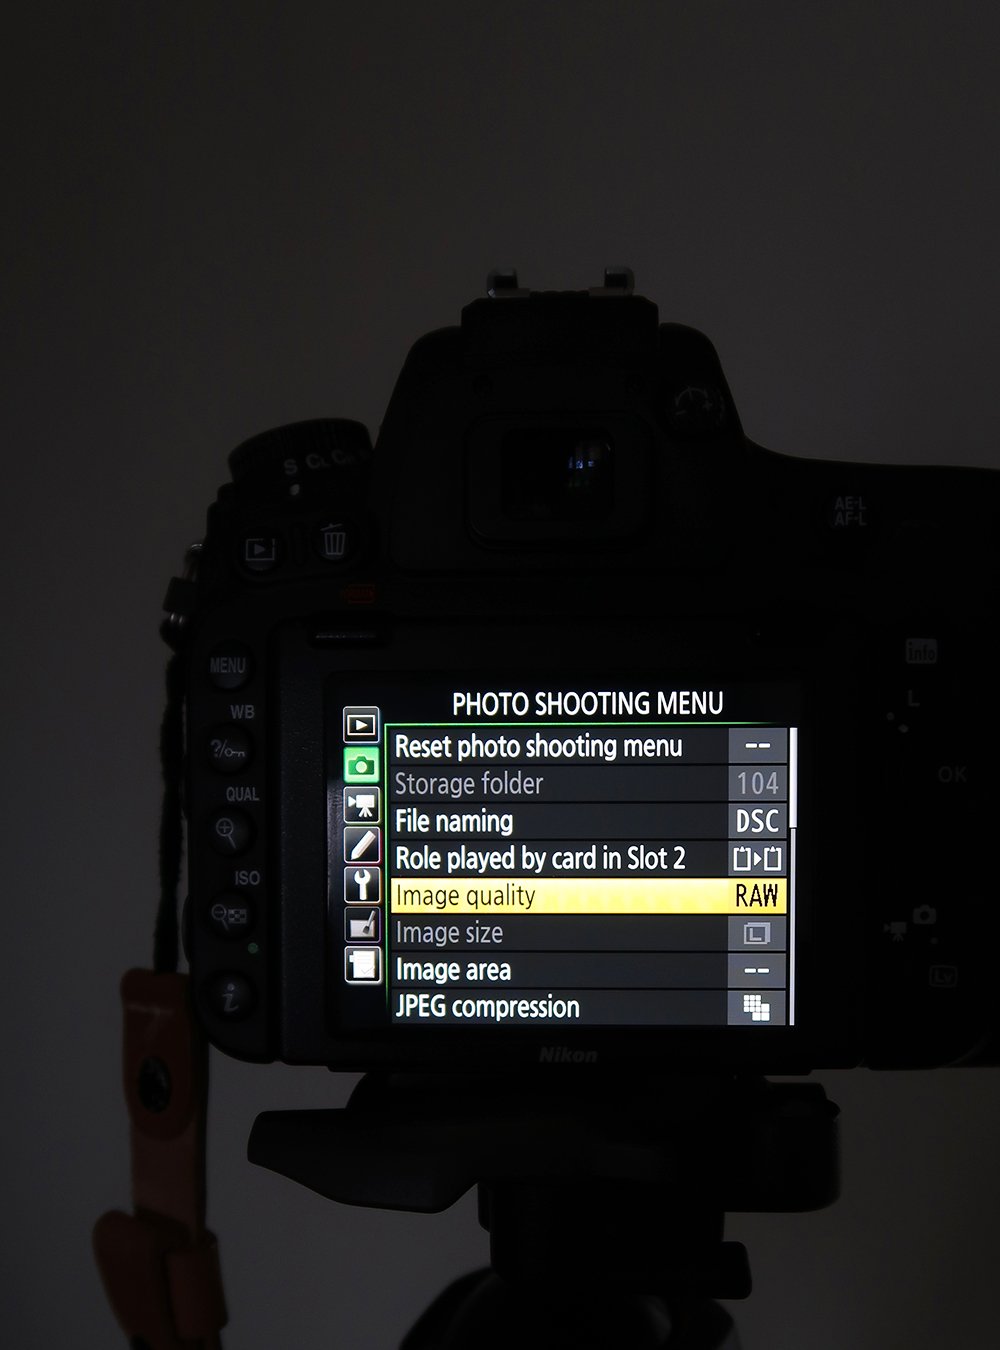 Ever since my first camera course in art school, I’ve been shooting in Camera RAW. Shooting in RAW means that your files will be large and each photograph contains more data than the typical file type. Essentially that gives you better editing capabilities in post production because there is more data per pixel. Most cameras are set to capture images in a JPG format, but toggle down to RAW for the best quality available. This will make your life much easier when editing and give you better results.
#7 // Use Natural Light
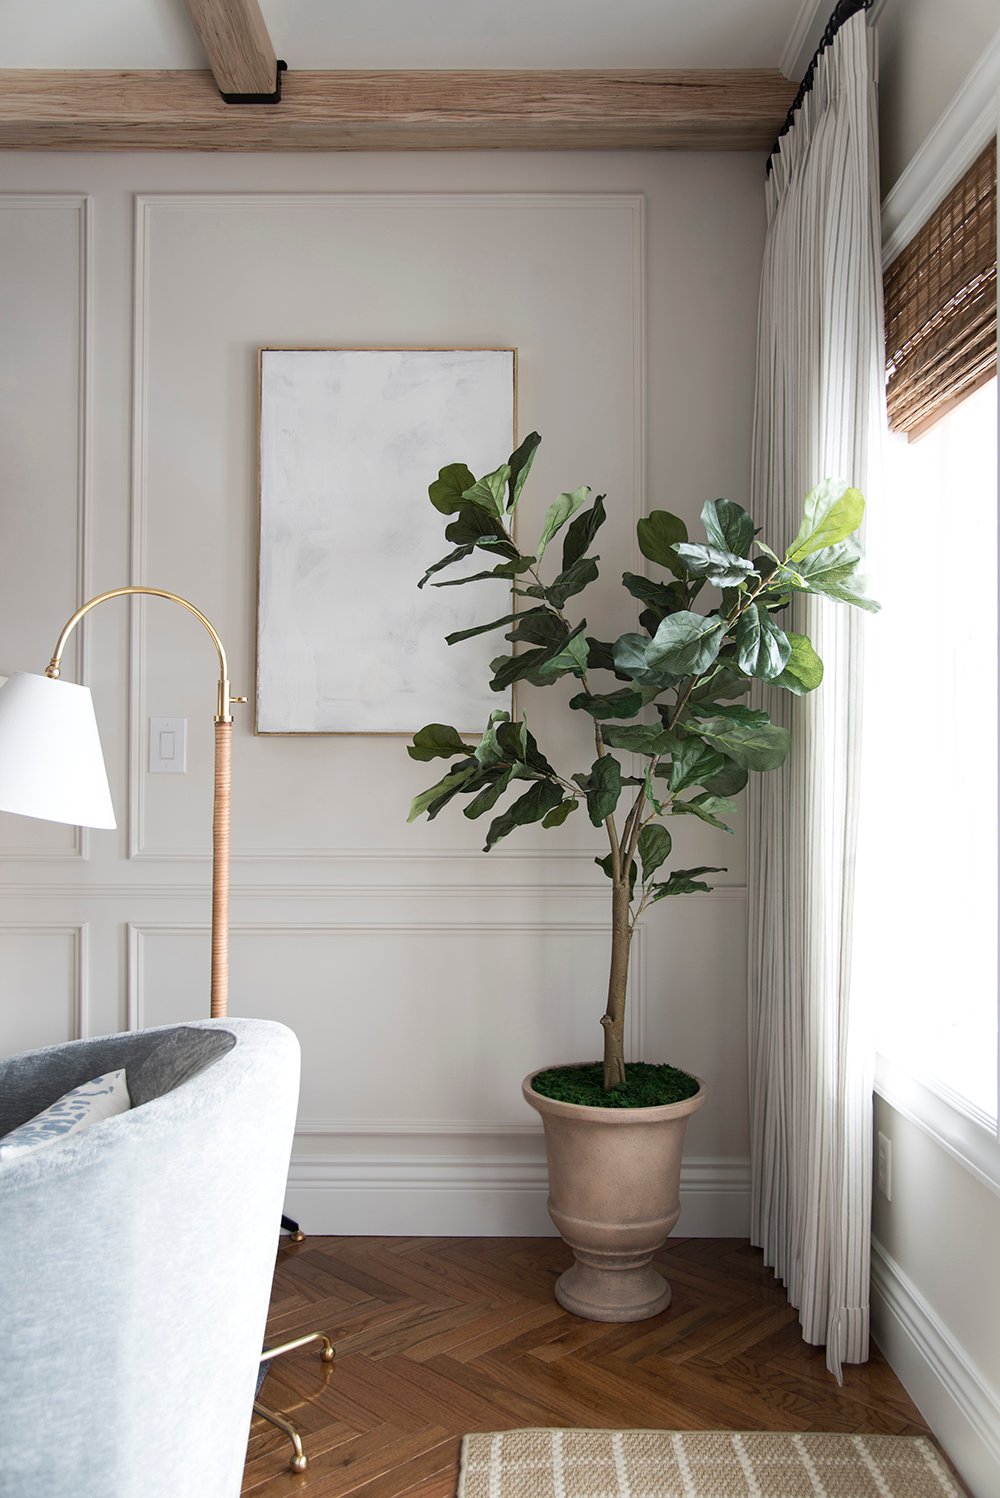 Notice how I don’t have any lights switched on? I prefer to shoot in natural light for the cleanest, most balanced look (in terms of color). You’ll find by turning multiple light sources on and trying to photograph, sections will appear blown out (hot spots) and vary in color temperature. The easiest way to achieve crisp, bright, even images it to shoot with natural light. Even if a room doesn’t receive a lot of natural light, turn your shutter speed wayyyy down and use what is available. You’ll be surprised how bright a room photographs.
#8 // Line Everything Up on a Grid
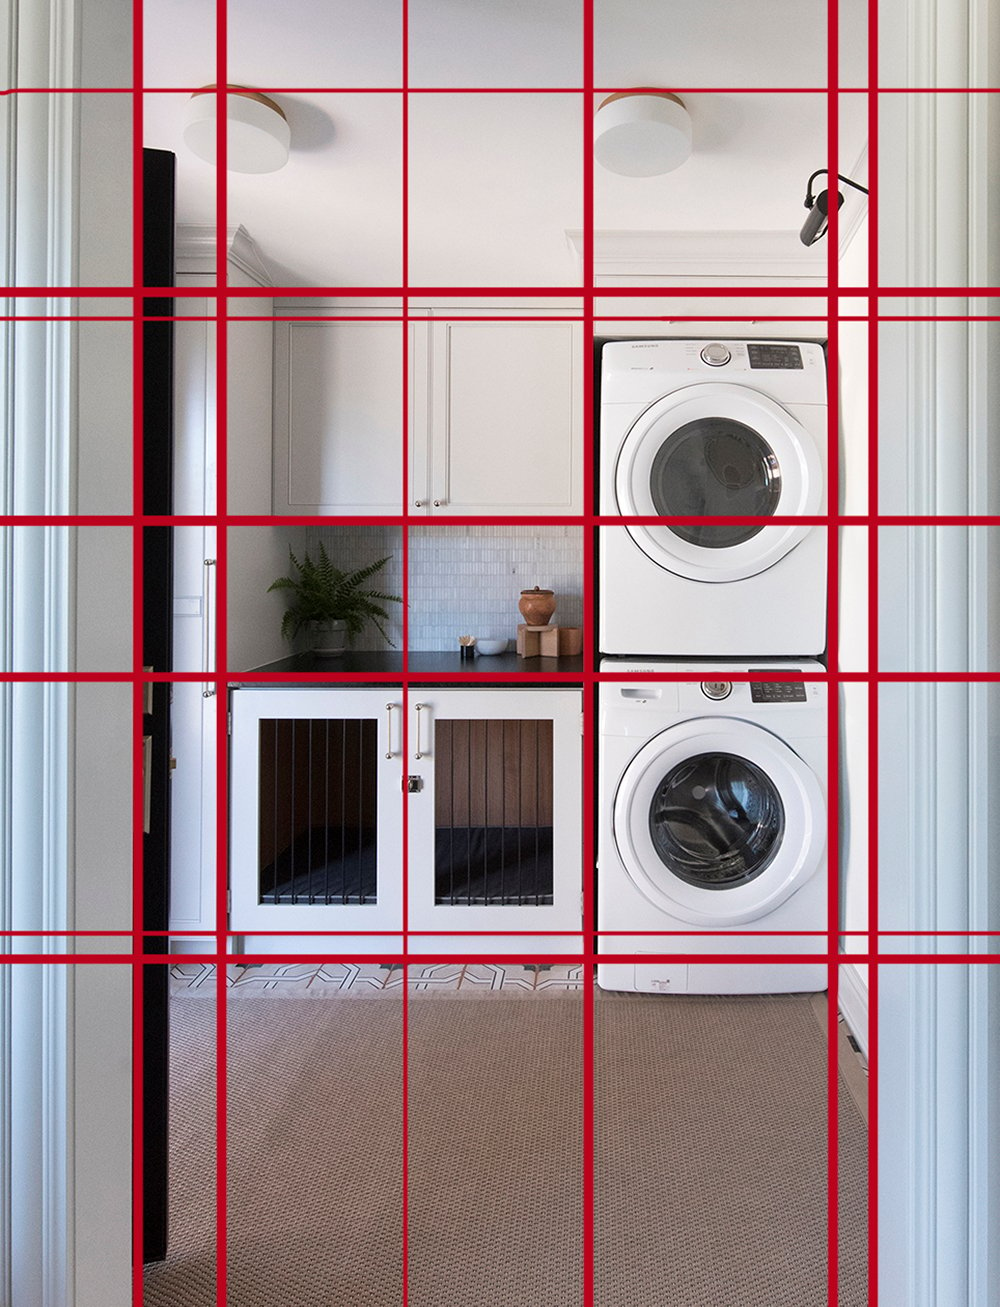 This is one of my biggest pet peeves when viewing interior photos. I like everything to align perfectly. I try to frame my shot in the viewfinder to make sure angles are snapped to a grid and the image looks perfectly level and balanced. The first sign a rookie photographer took an image is seeing wonky lines and angles. It’s not a good look! Keep your images balanced by using a grid system.
#9 // Use the Rule of Thirds
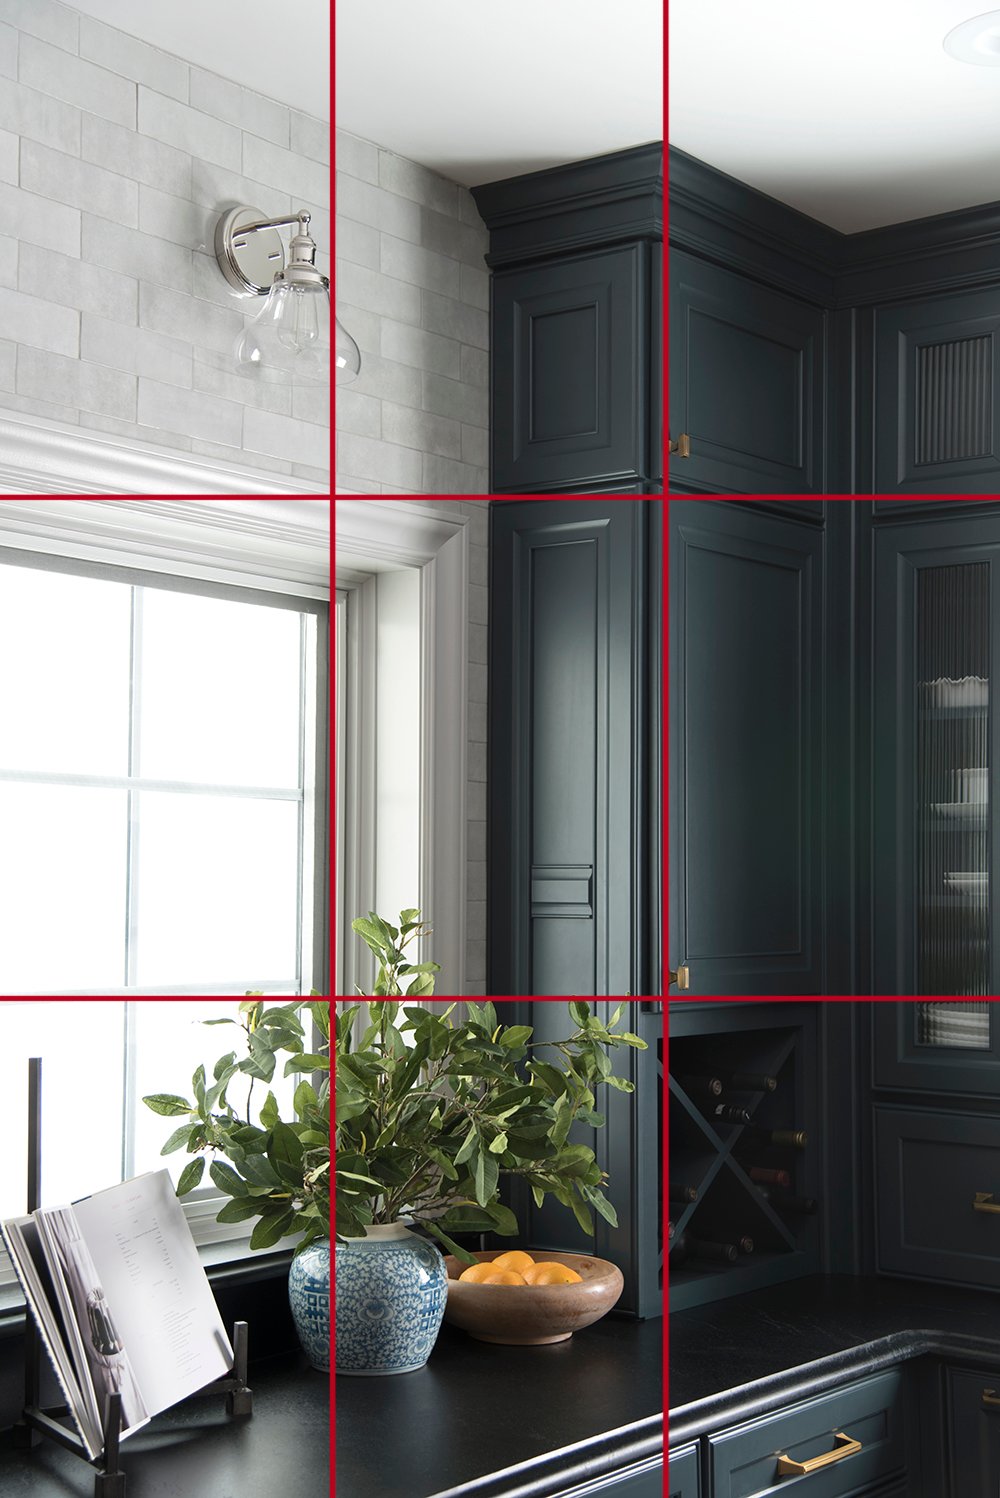 For interior images to look their best, try using the rule of thirds. If you’re not familiar with this creative “rule”, mentally divide your image equally using two horizontal lines and two vertical lines. Then position the main elements in the shot along the lines or at the points in which they meet. This is when the image feels most balanced and creative. It’s a trick that has been around forever!
#10 // Don’t Skip Post Production
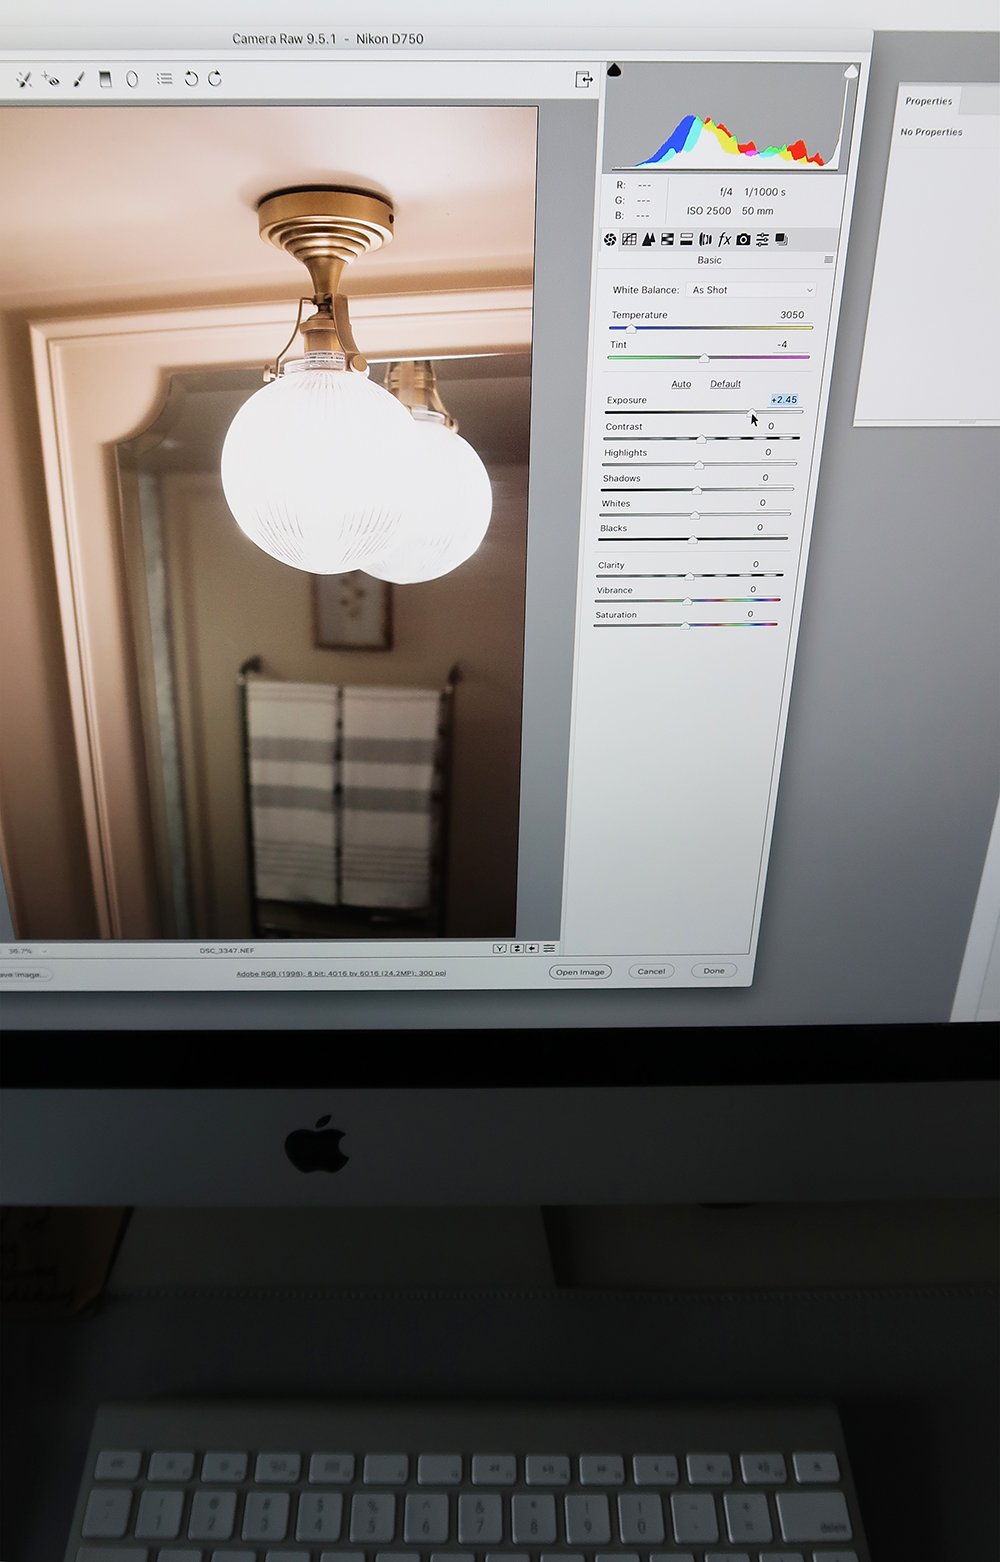 Last, but certainly not least- don’t skip editing in post production. No matter how amazing of a photographer you are, there is always something to touch up after the image is pulled from the camera. From lens distortion to color correction, editing is an essential part of the photography process. With a background in graphic design, I rely heavily on post production… straightening images, correcting lens flare, adjusting the temperature, etc. I could spend hours picking apart a single photo, but I try to allow myself only so many minutes per image to stay on track. If you’re looking for a full editing tutorial, I have a post for it: How I Edit Interior Photos in Photoshop.
A lot of work goes into styling, shooting, and editing interior photos, but it’s really a fun and rewarding process! I love that I’m able to control the entire creative process from start to finish, and the end result is sharing a beautiful blog post with you guys. Every time a magazine asks me to submit images for printed publications, they of course give me design credit, but always ask which photographer to credit. I feel really proud of myself when I get to tell them that I’m both the designer and photographer. I’m equally as passionate about both creative endeavors and I hope this post was helpful and encouraging for those of you on a similar path! Let me know if you have any questions in the comment section below. I challenge you all to take an interior photo in your home today (with an SLR or just your phone) and tag me on IG! I’ll share my favorites. This will be fun!