Demilune Table Makeover
 Many of you know how much I love a good demilune table, and this thrifted one was such a great petite size that it felt versatile in the fact that it could really fit anywhere… in between windows or drapery panels, in tight areas, odd nooks, a hall, or even on the stairs landing. For $10, I couldn’t pass it up. The only problem? The finish had seen better days. The finish was actually rubbing off, it had some scuffs & scrapes, and I just felt it could really use a fresh coat of paint or stain. Emmett and I gave it a quick little makeover, it’s looking lovely, and now the most difficult thing I have to decide (in terms of design) is where it will live in our home. Click through for the before images, the process, and to see how this quick little makeover came to fruition!
*This post is sponsored by Purdy. All content, ideas, and words are my own. Thank you for supporting the brands that allow us to create unique content while featuring products we actually use & enjoy!
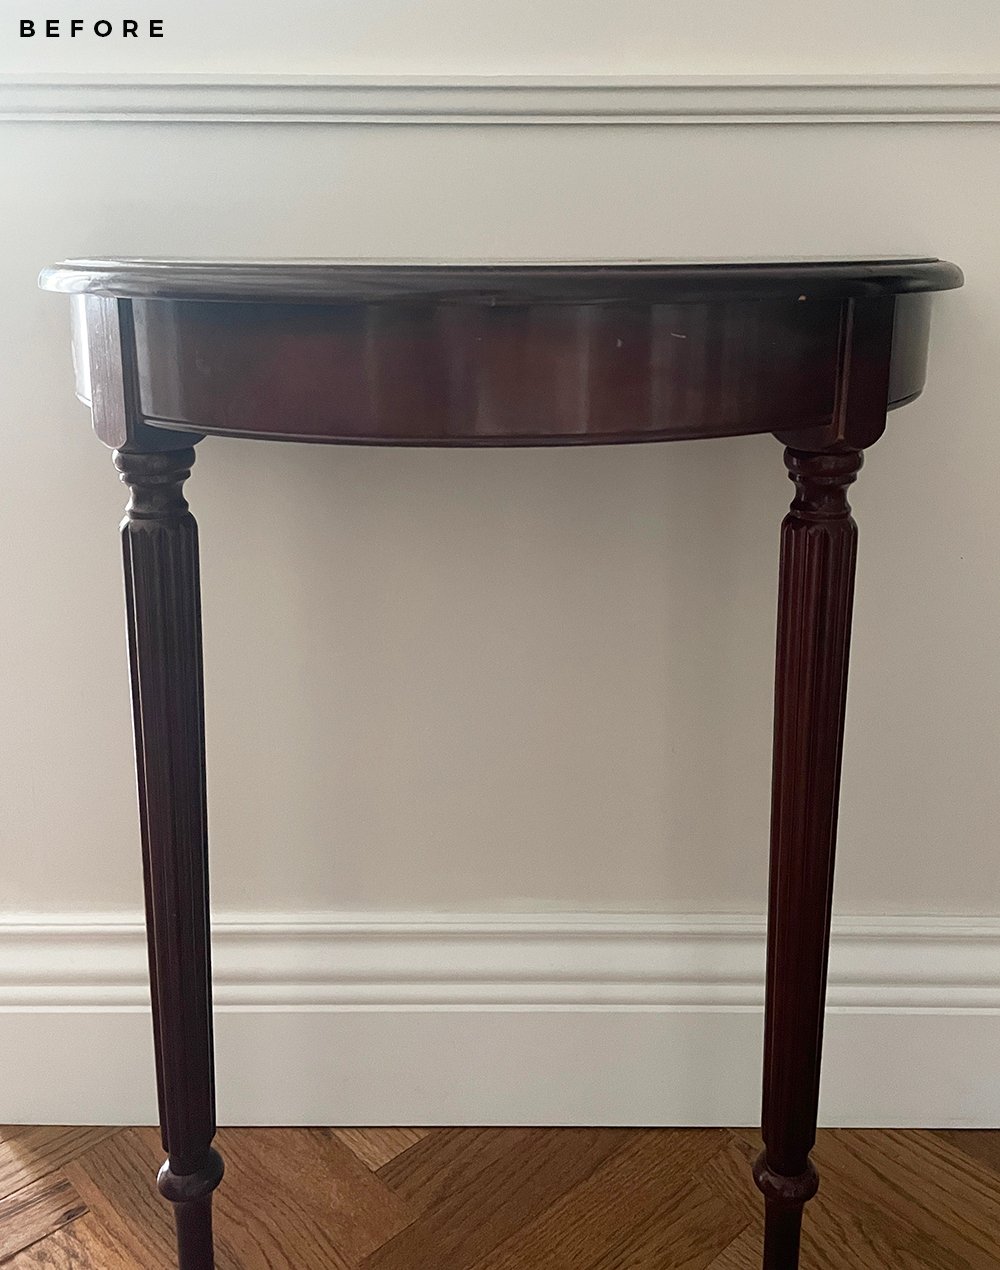
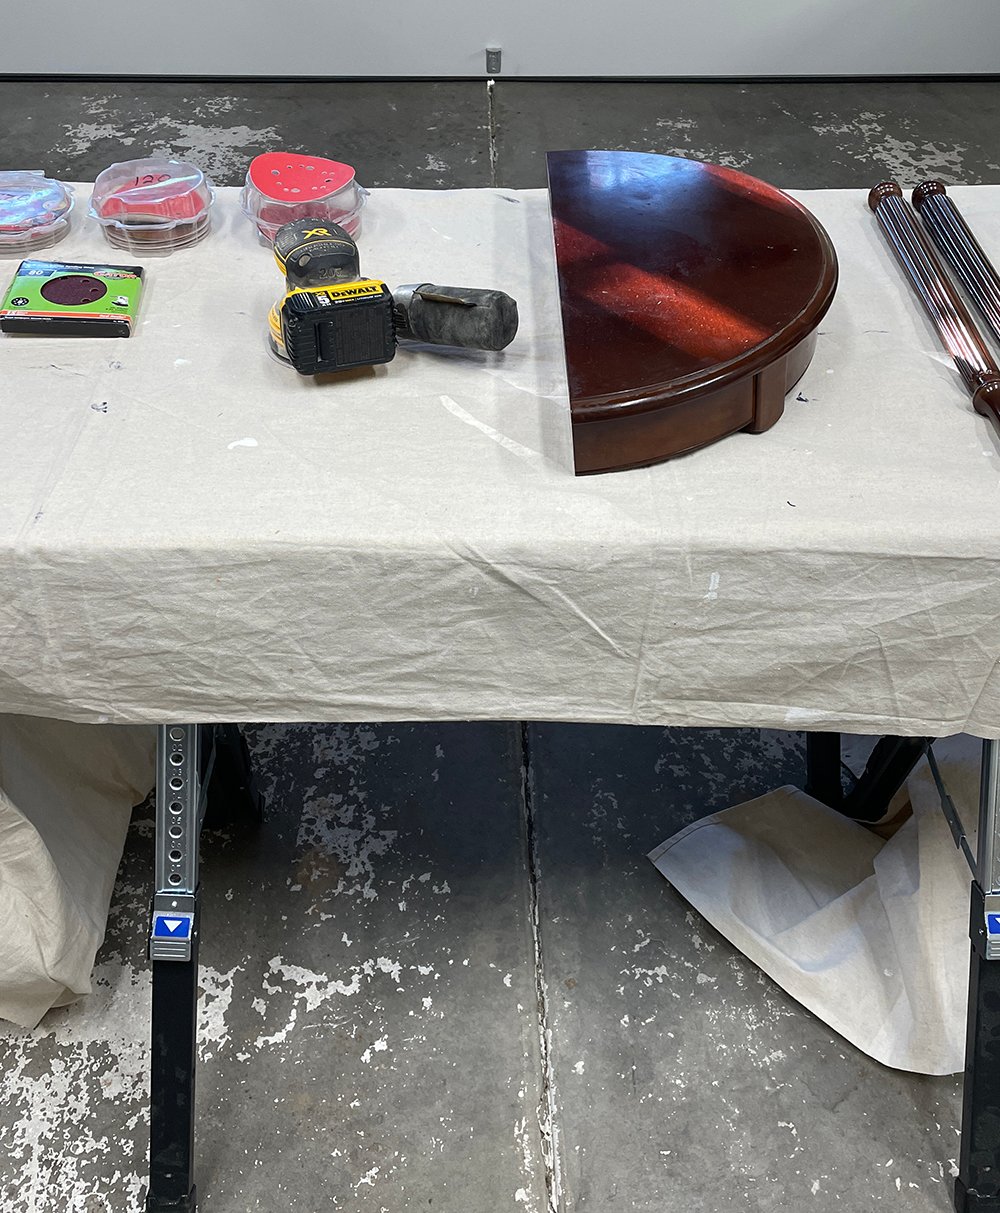
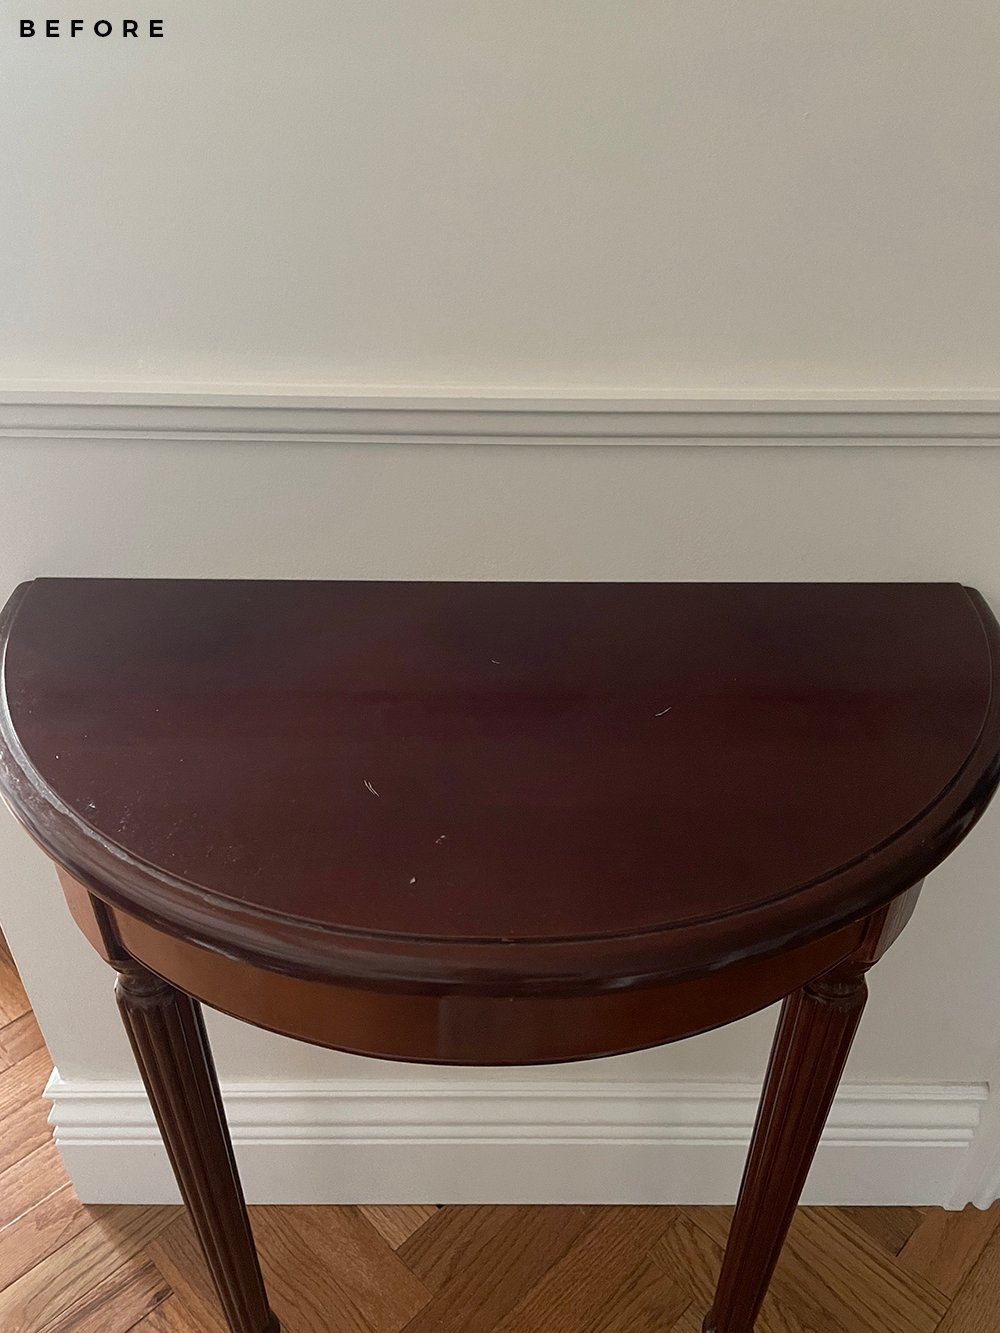 This is what the table looked liked after I picked it up. The stain color really wasn’t bad, but the finish was rubbing off, it had some scratches, and it had just seen better days. It had a worn look that really wasn’t working, but look at the simplistic details! The fluted leg style, the petite shape, and the functionality of this table is what won me over. It had potential!
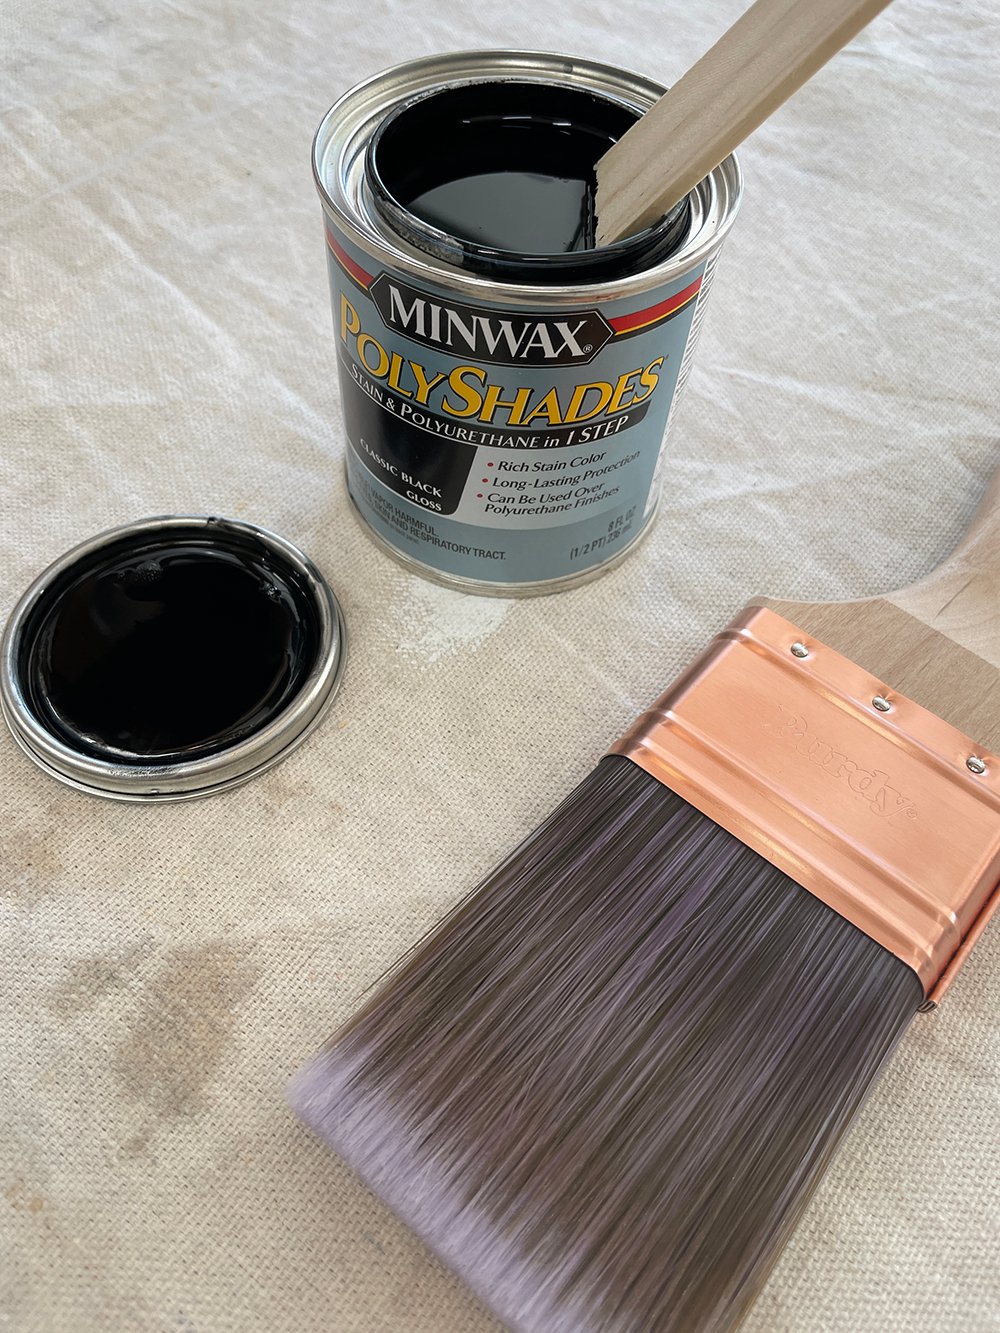
 I scrounged around our garage to see what existing paints & stains we had available to use, because I didn’t want to spend a lot of time or money on this. I landed on Minwax Polyshades Oil-Based Gloss Stain & Polyurethane Finish in Classic Black– it’s stain with polyurethane mixed in… which meant less time for a durable, sleek finish- two steps in one application. I had bought the stain for another project and never got around to using it, so it felt like the perfect option for my quick table makeover.
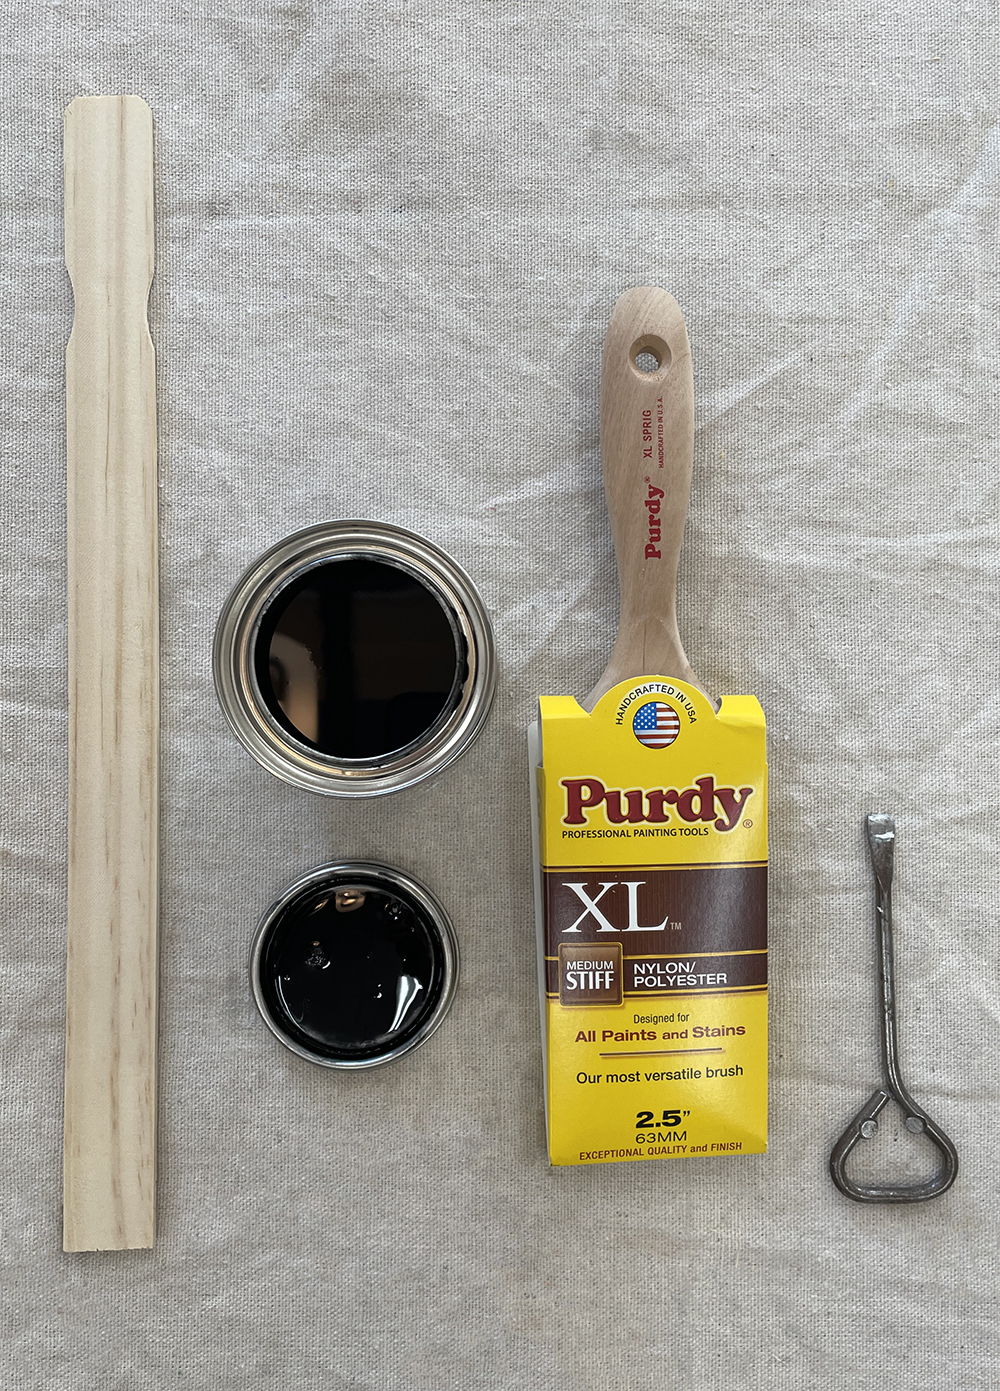 Our plan was to use a Purdy XL brush to apply the stain & poly for a quick and hopefully mess-free application… this brush is awesome for all paints & stains, and has a short sprig handle that is easy to maneuver. The stiff bristles are great for small projects and furniture makeovers that require stain.
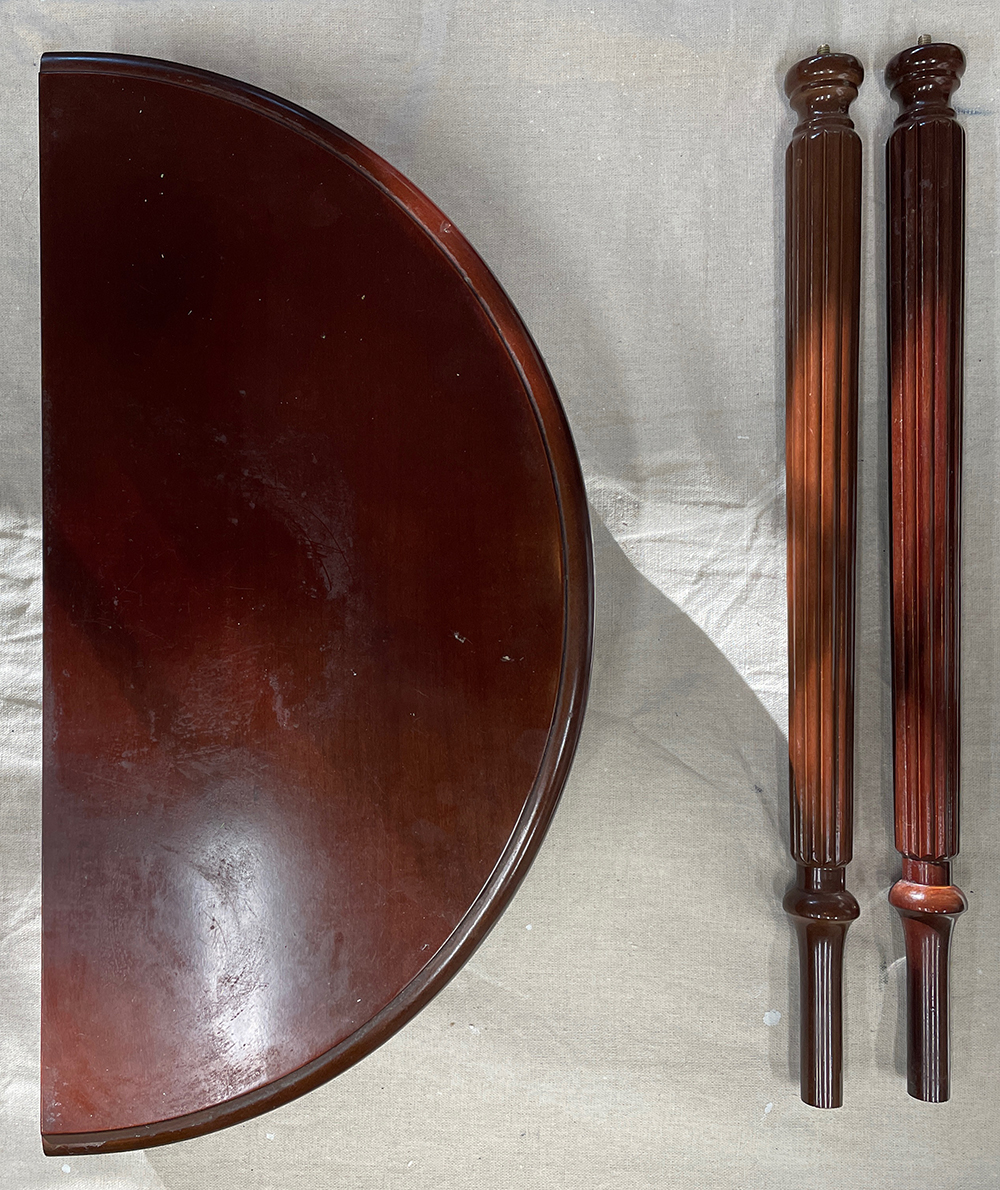 I disassembled the table and Emmett set up a station for us in the garage, where we could sand away the existing finish. Since it was such a small table, we hoped it wouldn’t take too much time.
 To make quick work of this project, we used our Dewalt hand sander for the table top. We quickly learned that this project might not be as quick and easy as we had anticipated, because we learned the table was made of a variety of materials and not one consistent wood species. We uncovered veneer, MDF, and two types of wood, so it wasn’t quite as high quality as I initially expected, but that was ok.
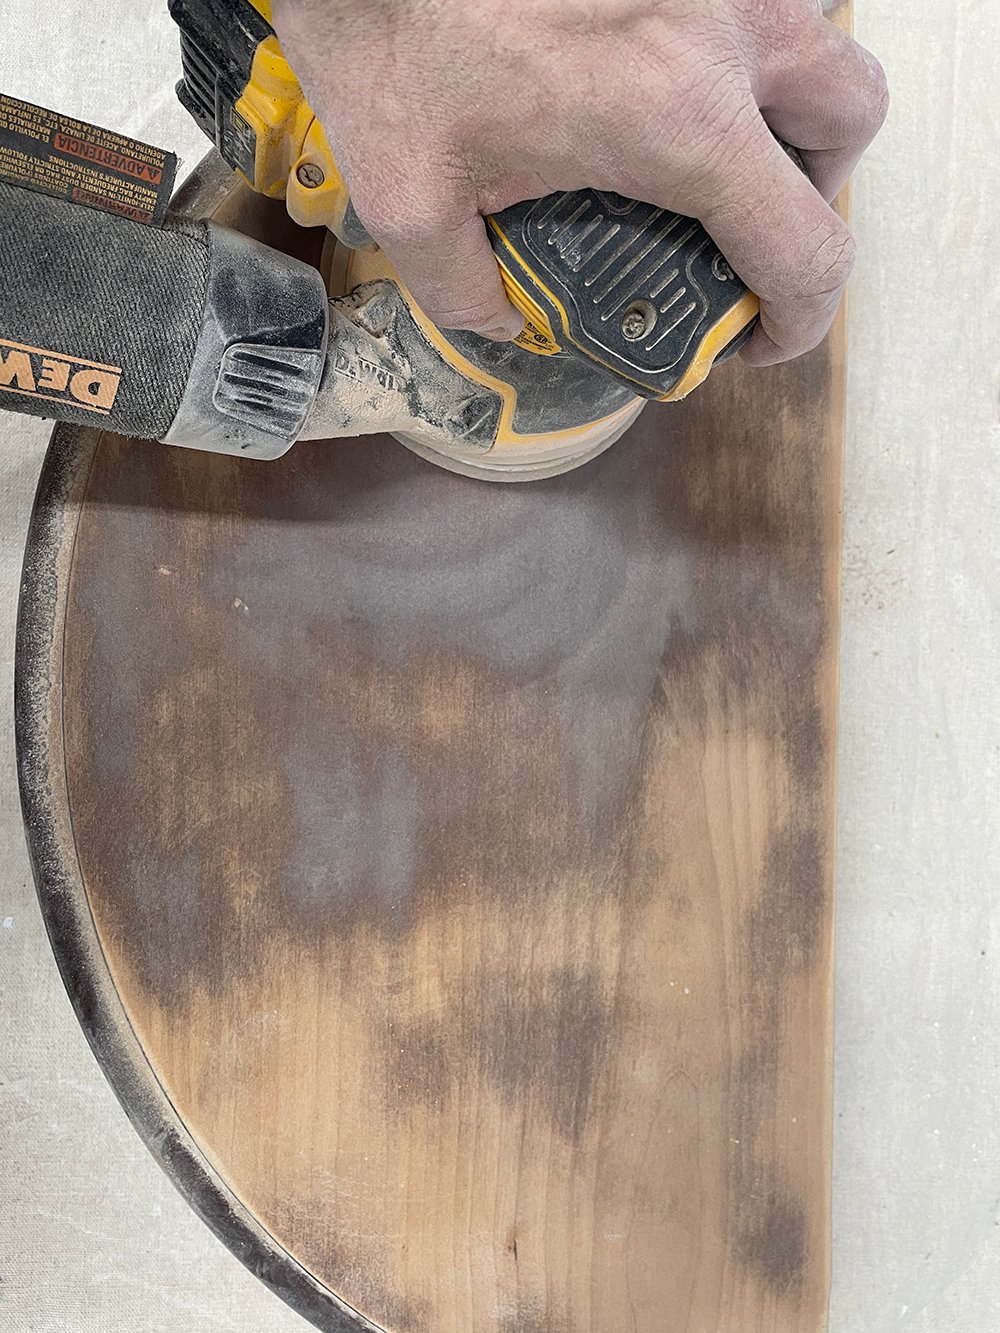 That is why when we began to wipe the table and clean up the dust, you’ll notice lots of different colors and wood within the sanded down version…
 The fluted legs took us the longest to sand because we had to do those by hand, and getting into the intricate details was quite time consuming. So much for that quick & easy project, ha! It’s never as simple as it seems.
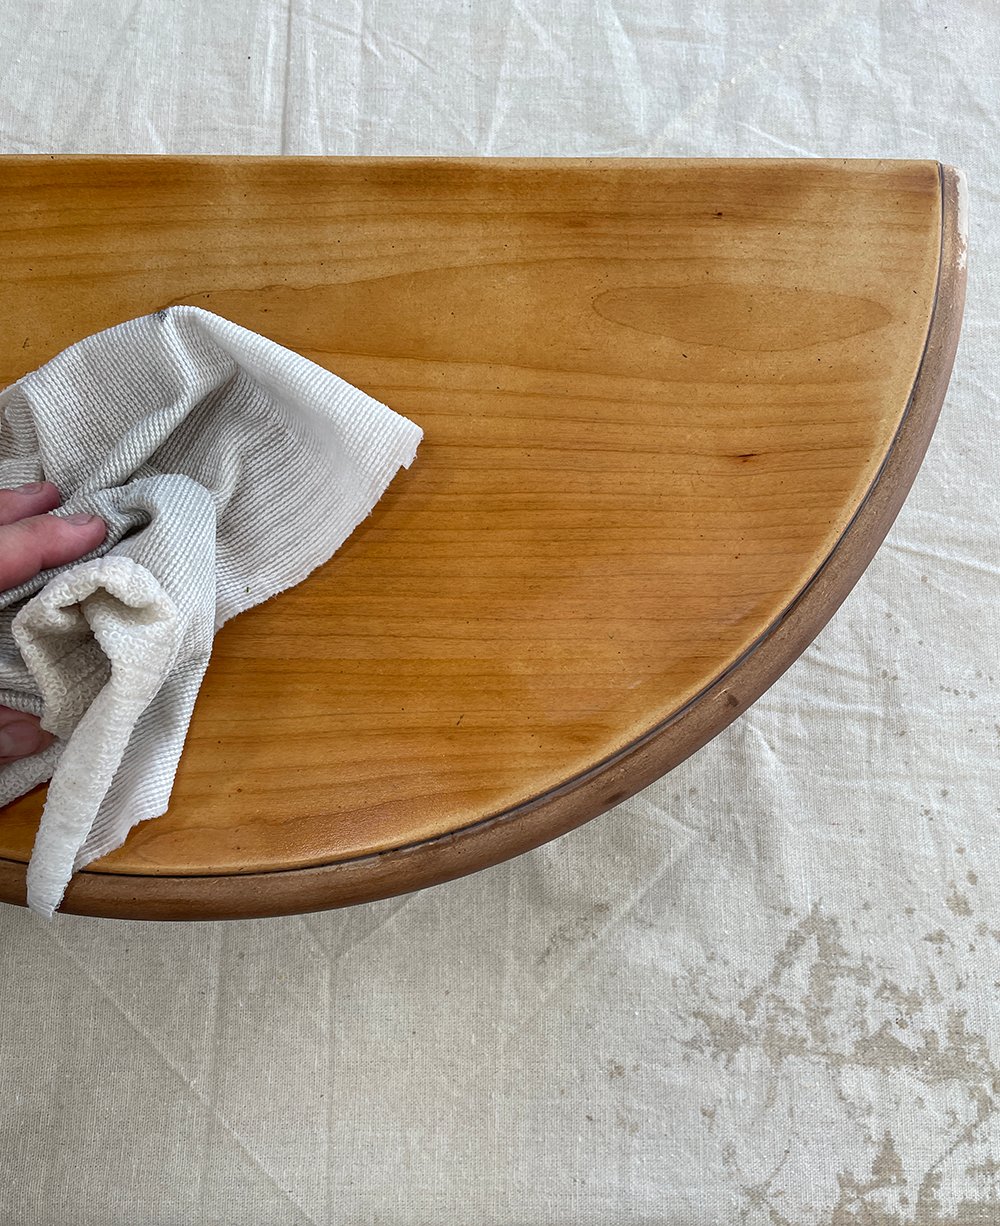
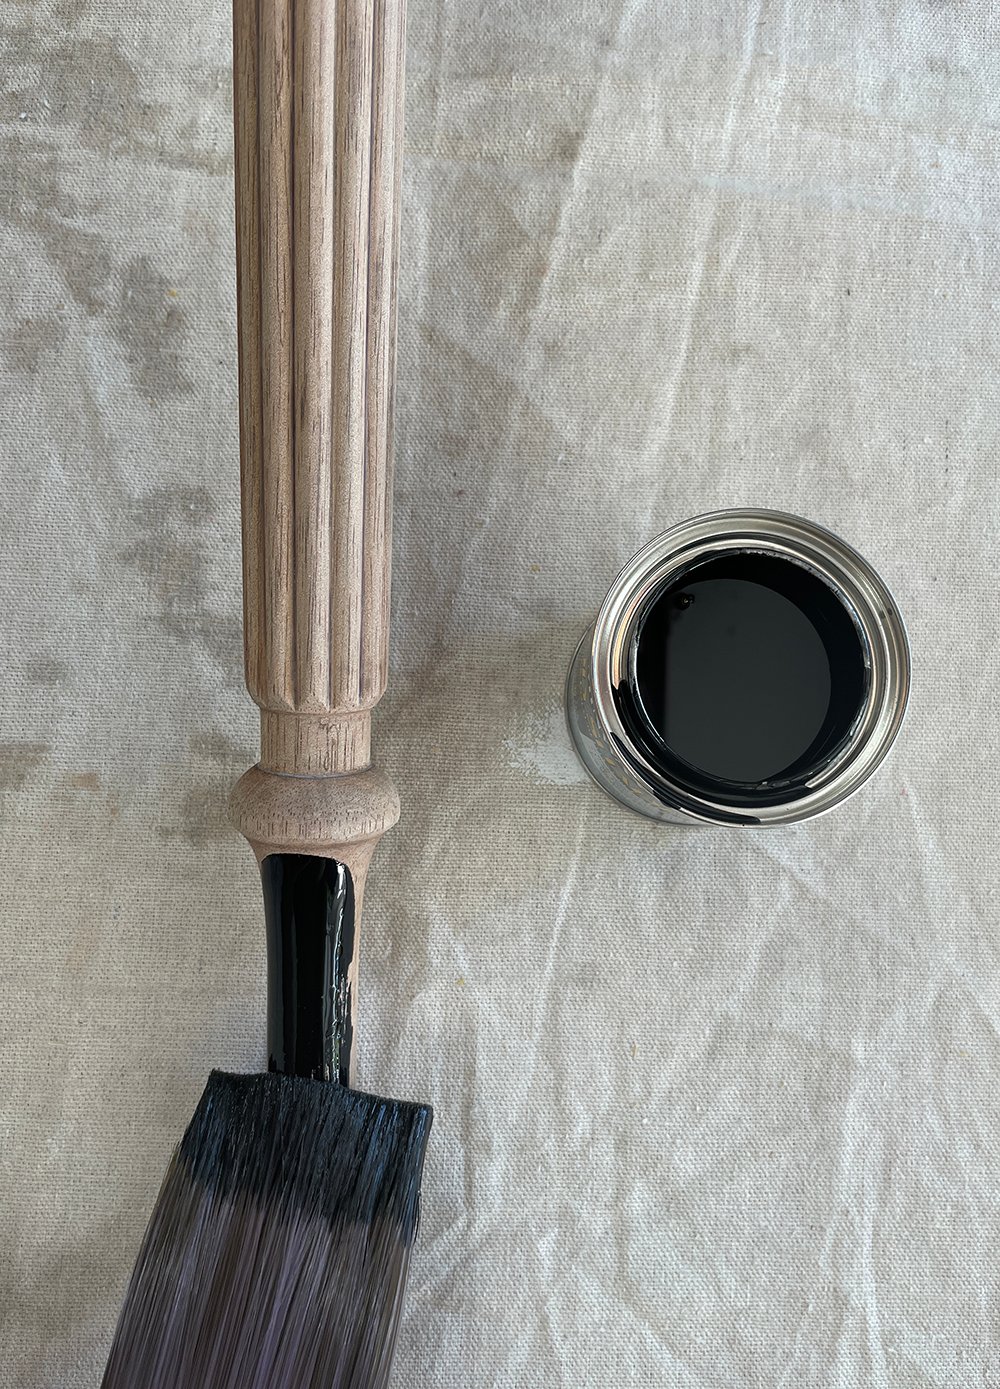
 Once each piece was sanded and cleaned, it was time for the fun part… stain! This part of the process actually went the fastest and was the easiest.
 This table required two coats of the Minwax Polyshades Oil-Based Gloss Stain & Polyurethane Finish in classic black stain… we probably could’ve gotten by with one, but I wanted a solid, glossy even finish.
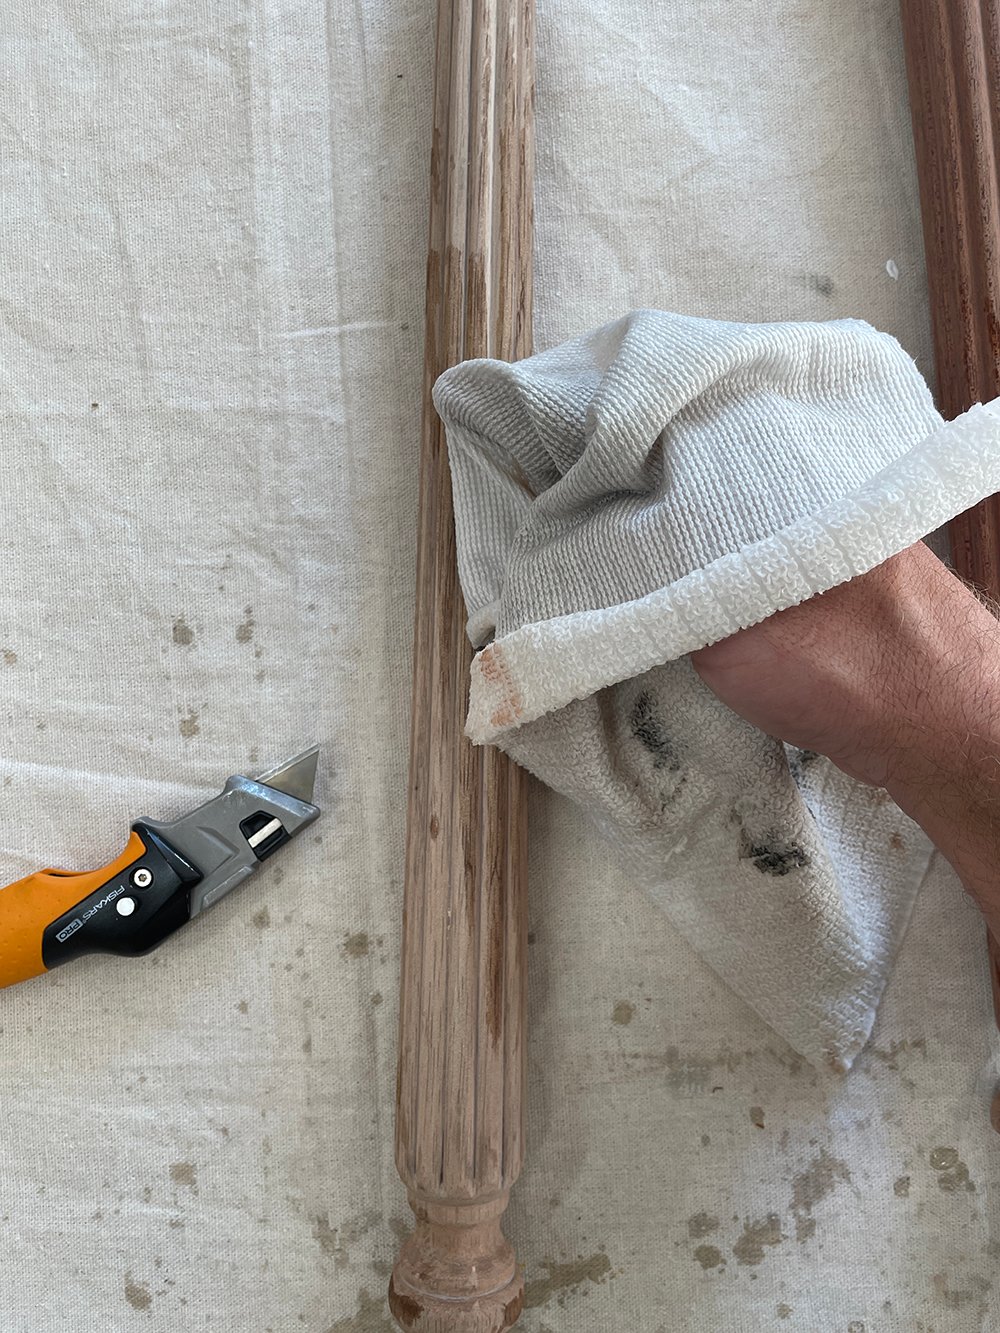
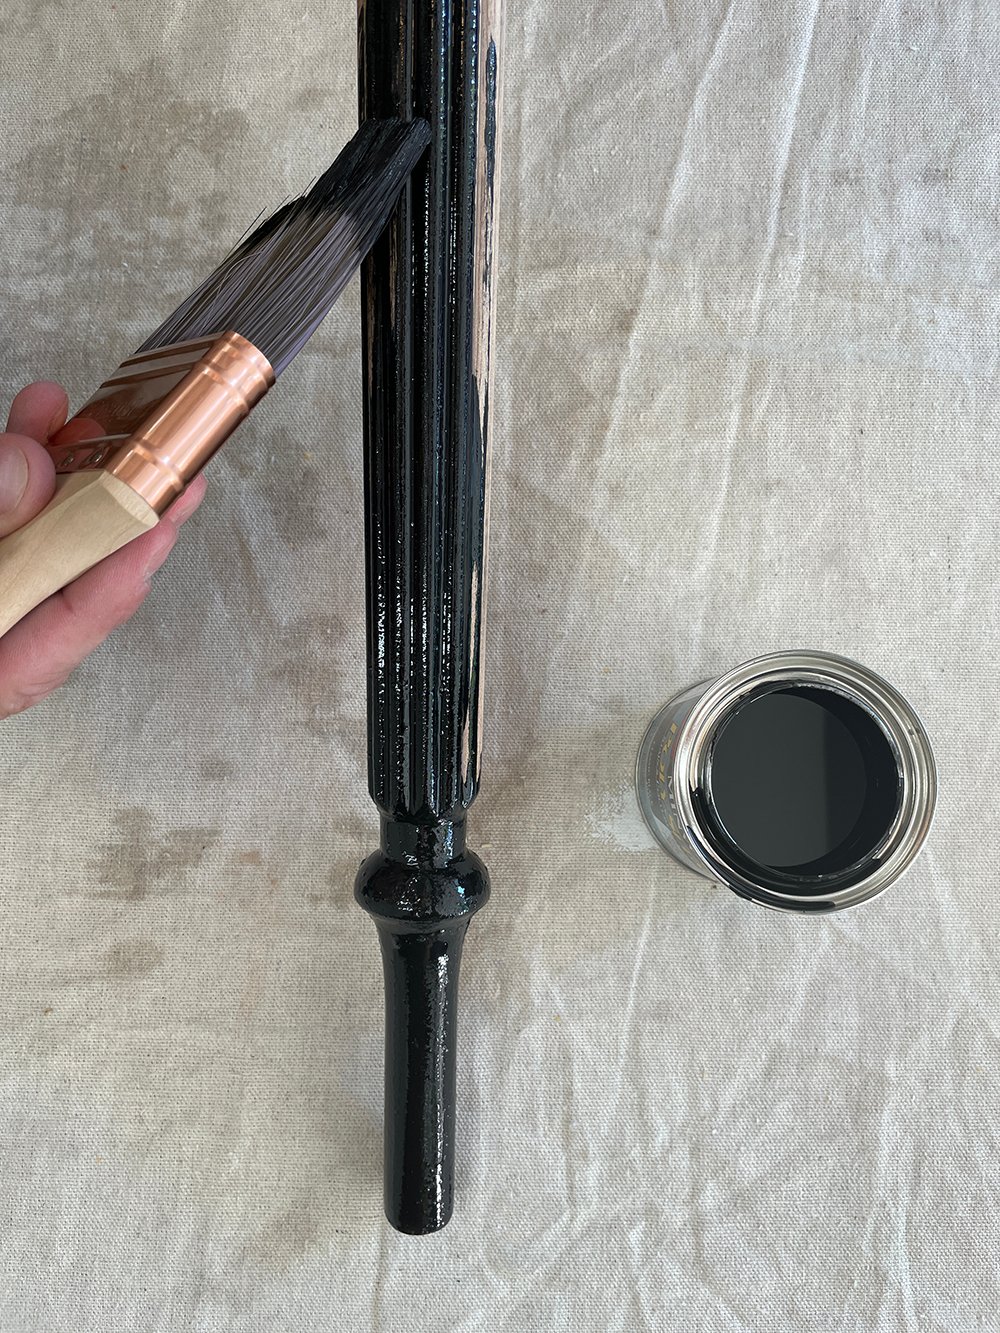
 The Purdy XL brush did an amazing job… we’ve used this same brush for previous stain projects and it remains a favorite. It leaves a smooth and even finish with no brush strokes. It also has excellent stain pickup and even release distribution without dripping and making a giant mess. This is a great brush for consistent coverage! The stiff bristles allowed us to get into the fluted details on the legs, making that much easier.
 Are you ready to see the end result? I’m really happy with how this came together! Sure, it took longer than we had hoped, but it cost next to nothing, and it’s really a great versatile tiny table.
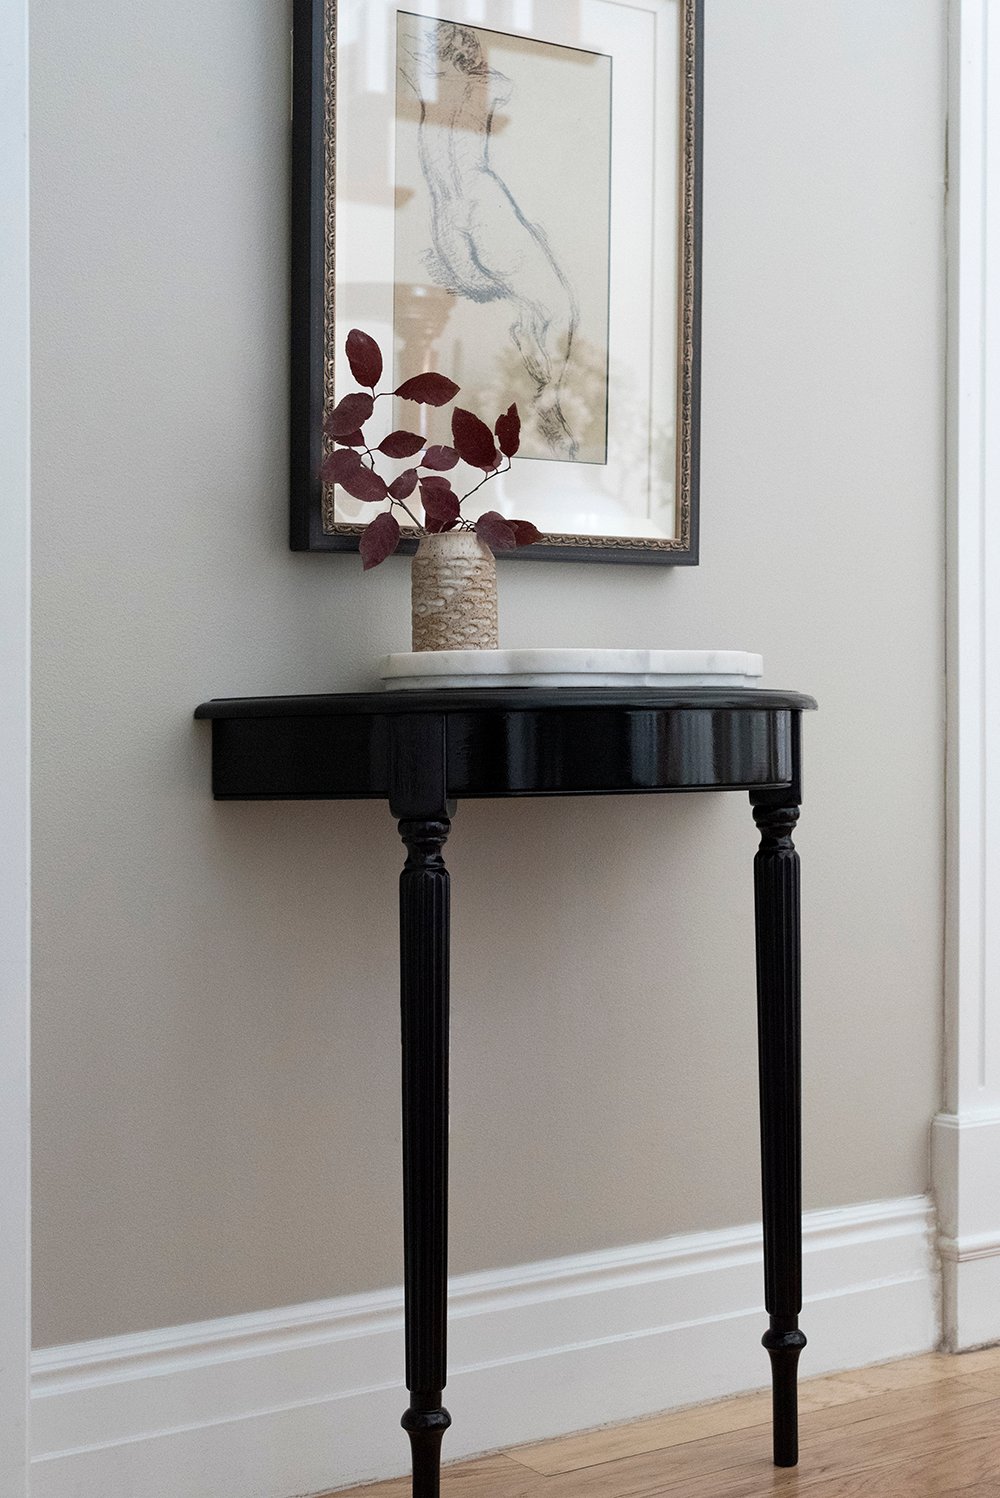 Since it only has two legs, the backside of the table actually screws into the wall (to ensure it doesn’t topple over). It’s very slender and low profile, so it can fit pretty much anywhere- even tight traffic paths.
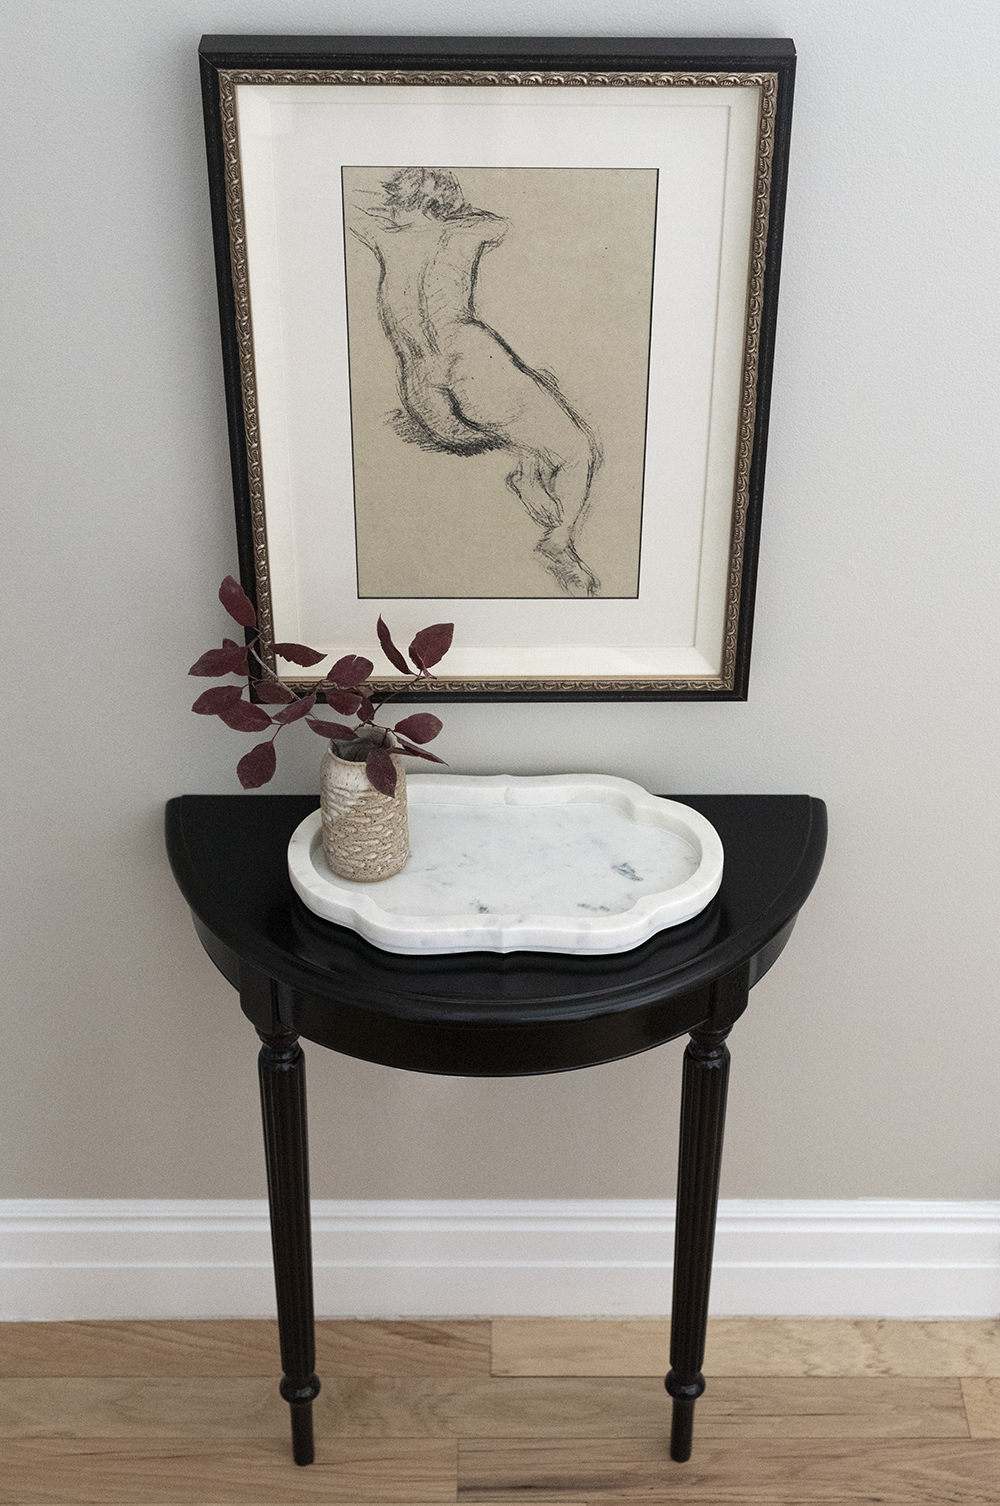 Once we begin renovating our entryway, I’ll need to move it- but for now, it’s living at the bottom of our staircase. It’s perfectly tucked into the landing corner.
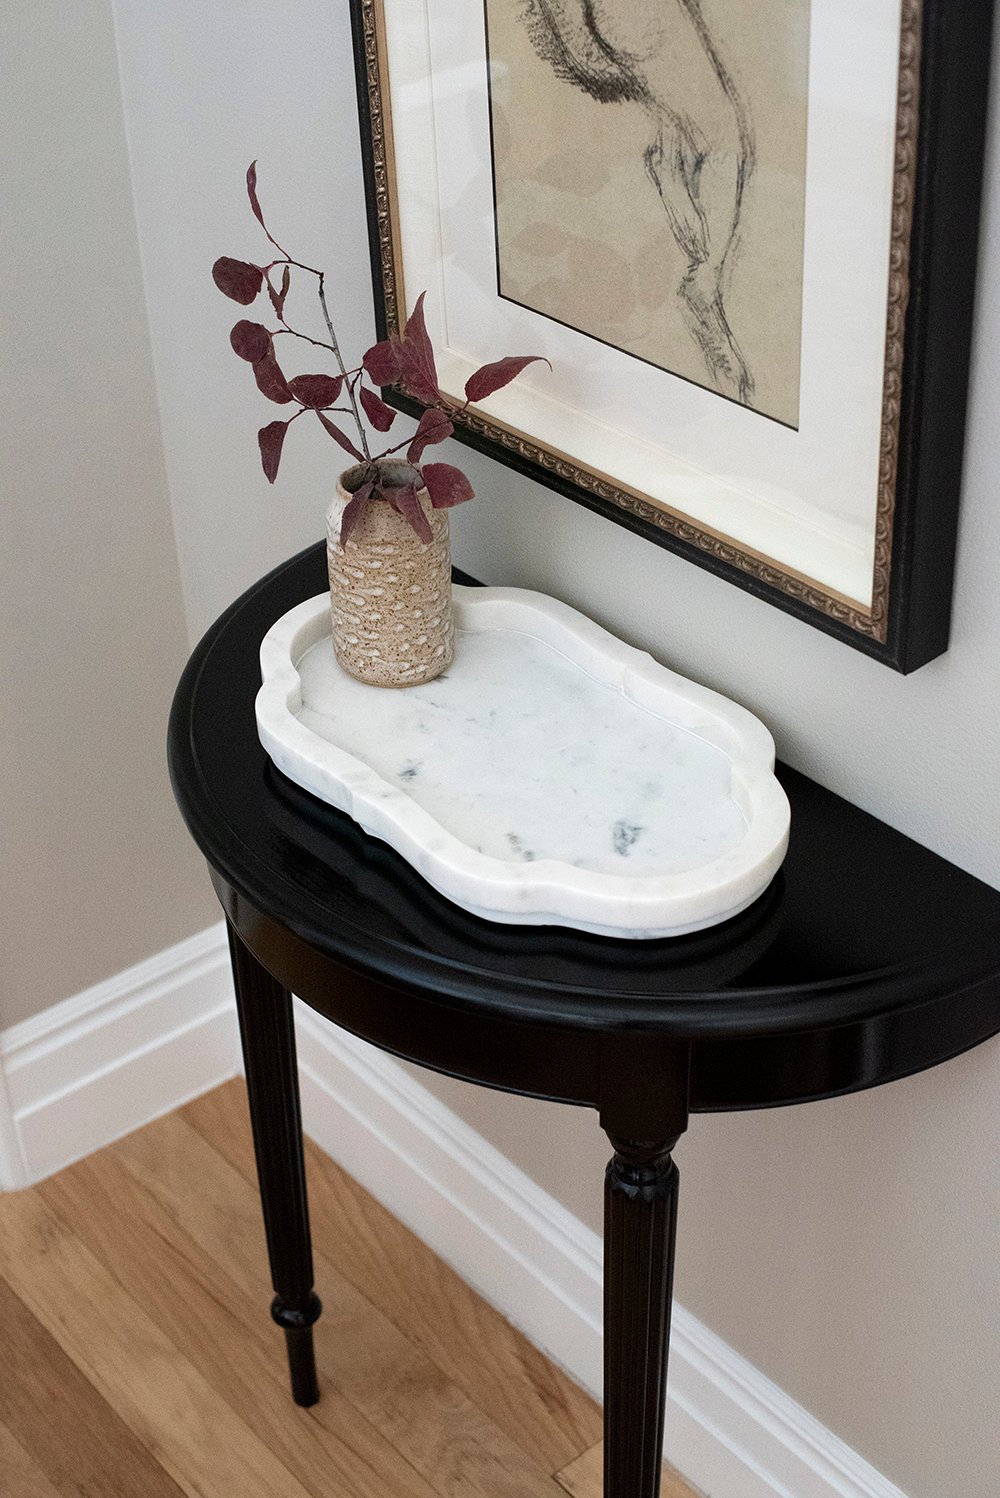 I hung a piece of art, added an easy marble tray, and snipped a little branch from the backyard, and in the two minutes it took me to pull this little vignette together, it’s making me oddly happy. Sometimes simple is best!
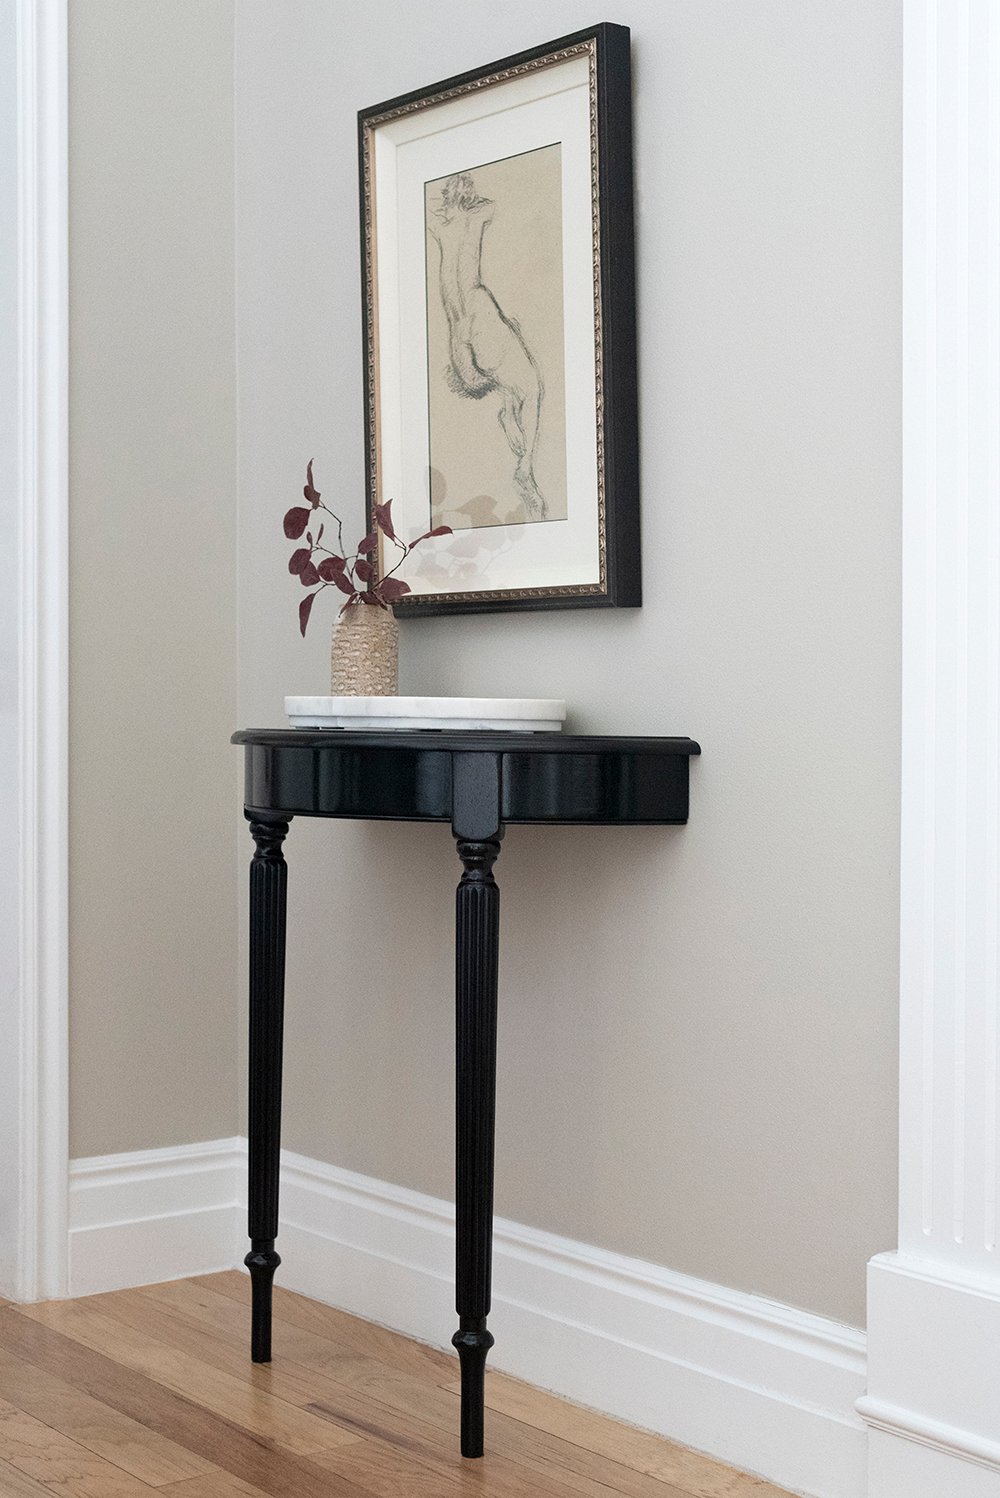 Have you tackled any quick and easy furniture makeovers lately? What do you think of my new (vintage) little demilune? Isn’t it sweet? I’m not sure where in our home it will end up permanently, but for now- I’m liking it tucked into this wall at the bottom of our staircase. Feel free to ask me any paint or stain questions in the comment section below- I’m always happy to help!