Designer Trick : Making Moodboards & Conceptualizing A Room
 It has been months (more like five, to be exact) since I’ve shared a “Designer Trick” post. Don’t worry though… I’m back with a new one, and I’ve added it to the monthly blog calendar rotation because I feel like this series is especially helpful. If you missed the first few Designer Trick posts, definitely check them out: How to Choose the Perfect Paint Color, Tips for Getting Scale Right, and How to Examine a Room in 2D. Today I’m sharing a peek into my design process. A big of part of that is making moodboards and sharing tips for how I conceptualize a room. It makes purchasing interior items and decorating feel more comfortable and calculated (as opposed to just winging it- which could lead to expensive mistakes). Click through to read all about it!
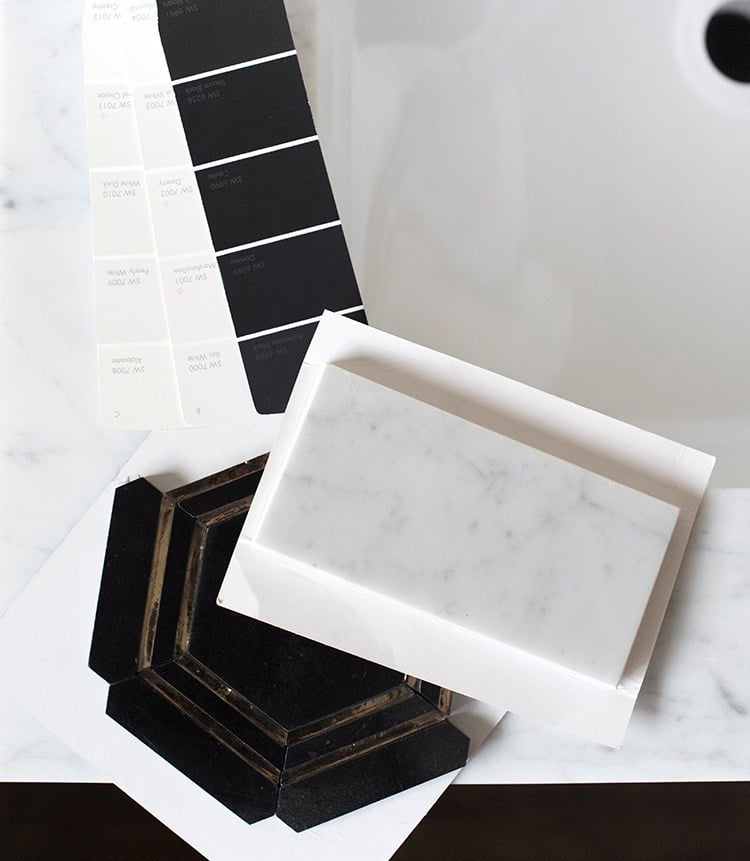
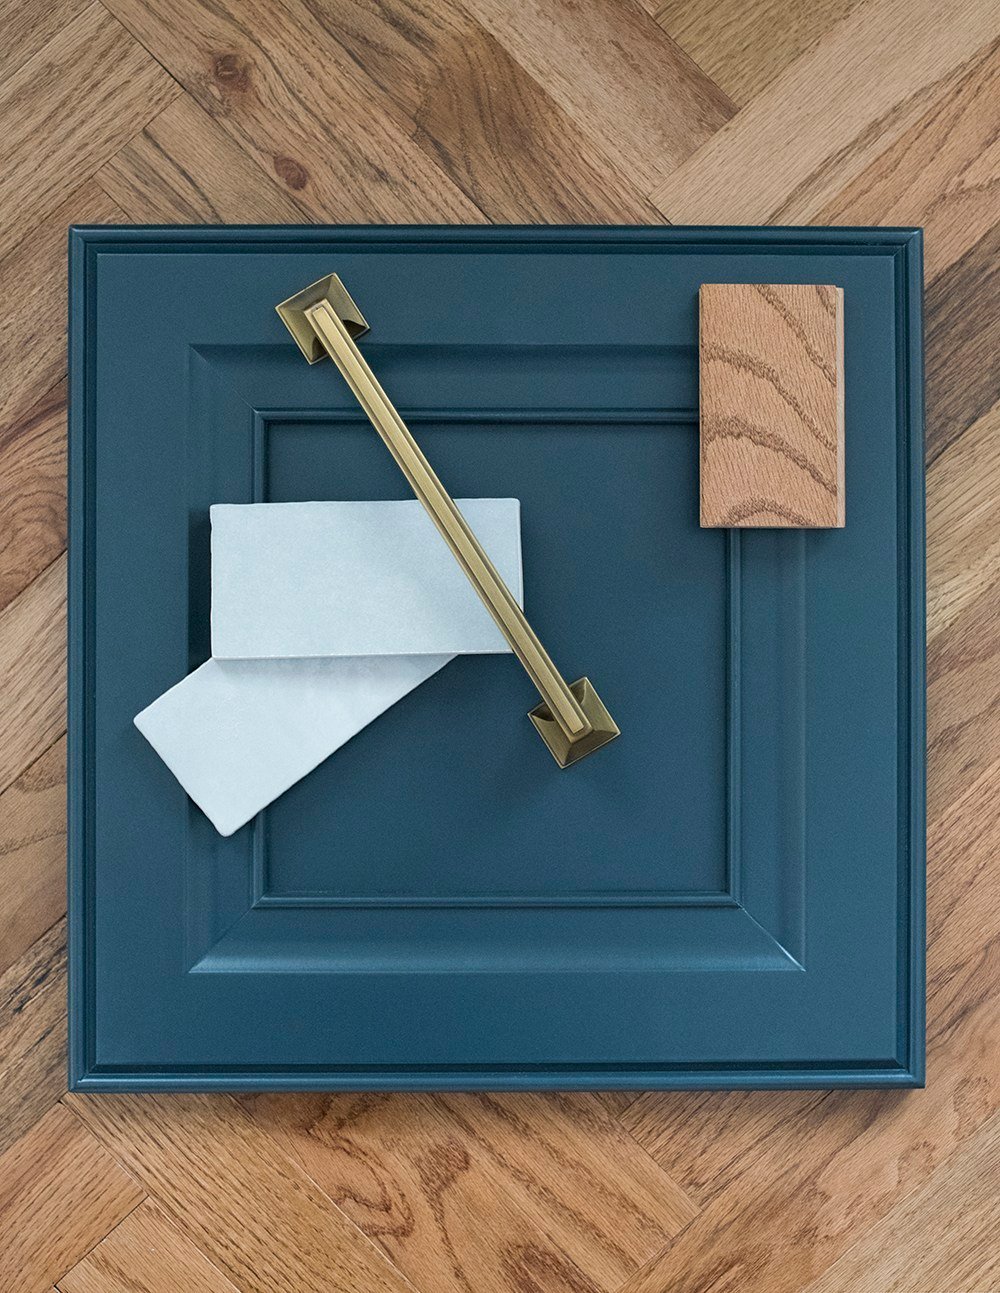
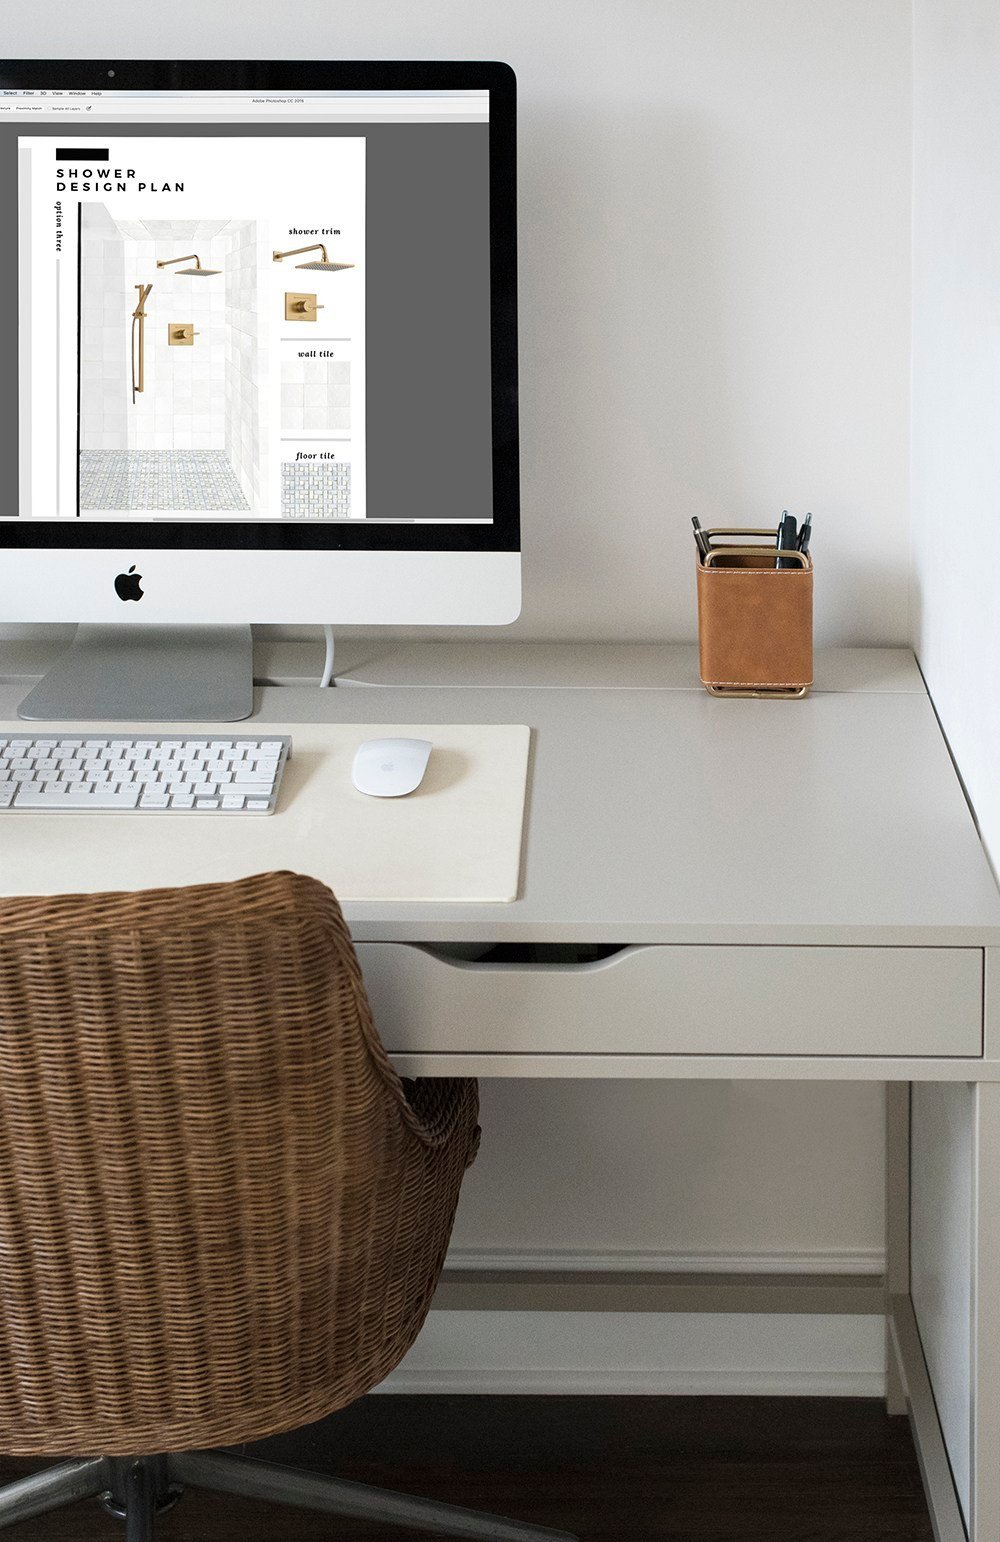
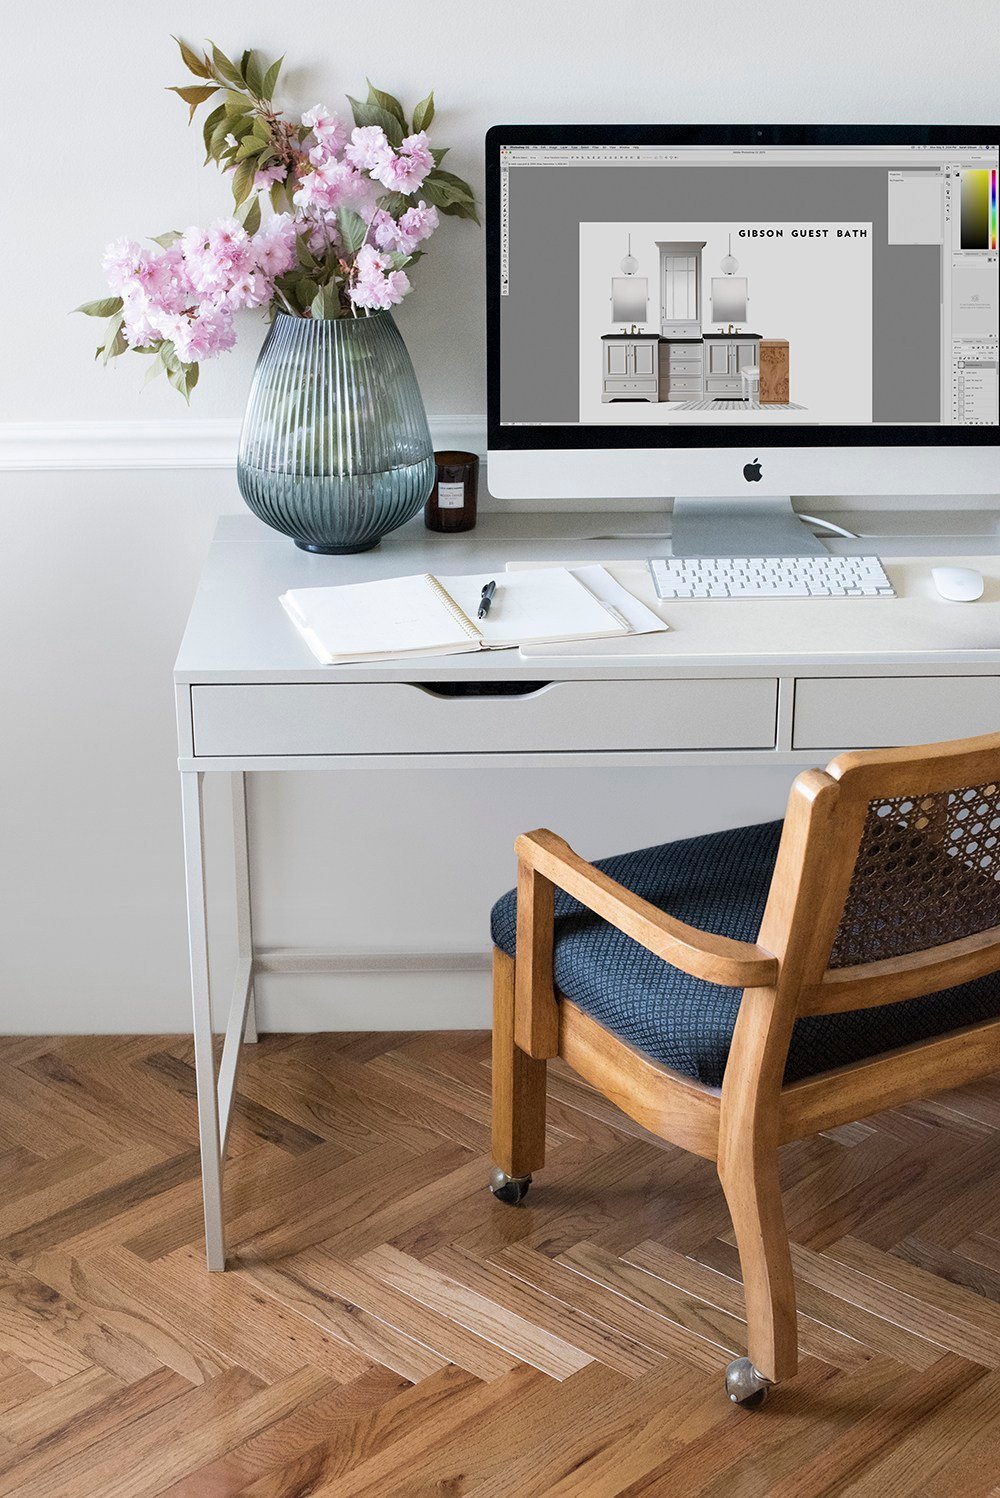 Before renovating a room, I always begin by asking myself important questions, like… how will this space be used, how do I want it to function, what is not working in the current space, what do I like about the room as is, etc. Once I’ve figured those items out, I can begin the design process. That’s when I start visualizing how to fill the space. What materials I’d like to include, what pieces of furniture to add (new & existing), accessories, art, color, textiles … it can become an overwhelming list. This is where making a moodboard is helpful (example of my actual guest bath moodboard pictured above).
By pulling your ideas into a moodboard, you can better visualize how a space will come together. It helps you identify items that feel cohesive, outliers that should be removed, and even brainstorm a better direction or additions you might not have initially considered.
Something important to note? You don’t have to be a designer to make a moodboard. I compile moodboards and visuals for everything- in physical AND digital forms.
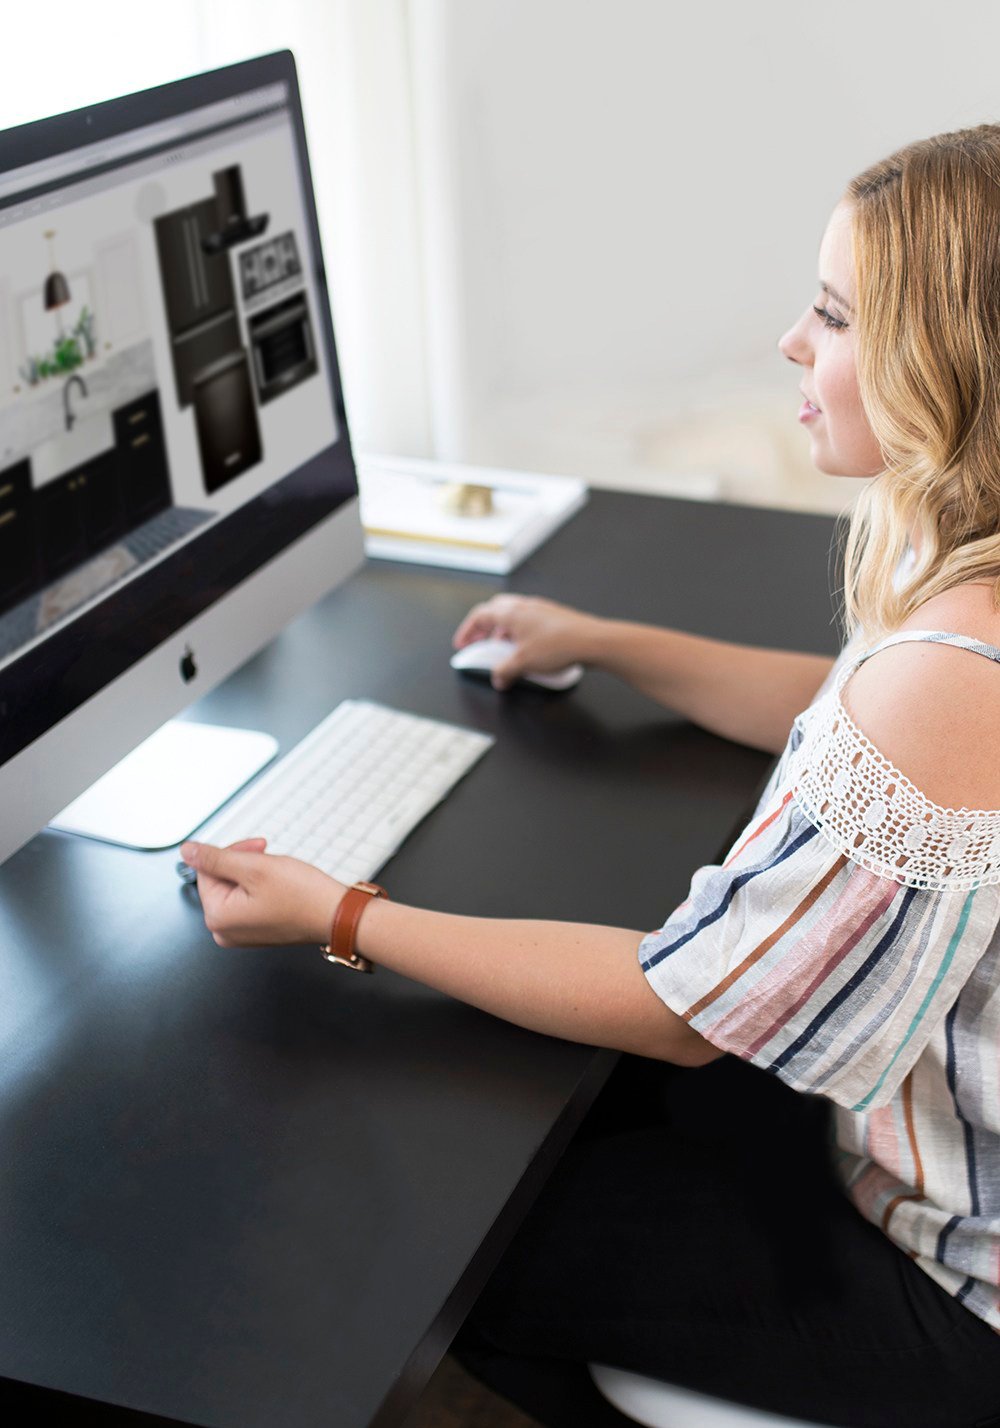
 If you’re proficient in Photoshop, I shared my easy tutorial for creating a moodboard in this post. If you don’t have Photoshop or don’t want to make a digital moodboard using software, that’s fine too! I actually prefer to do both a digital moodboard, as well as a physical visual. I’ll print out images, order swatches, hardware samples, snippets of textiles, paint chips, etc. You’re probably already familiar with both of these options, because I’m often sharing them on the blog as part of my design plan in “project intro” posts.
 No matter how you’re viewing the pieces that will fill into your space, the important takeaway is seeing them all together. Are they cohesive, do they feel balanced, is the overall aesthetic what you had envisioned, is the palette working? Ask yourself lots of questions and make changes until it feels right.
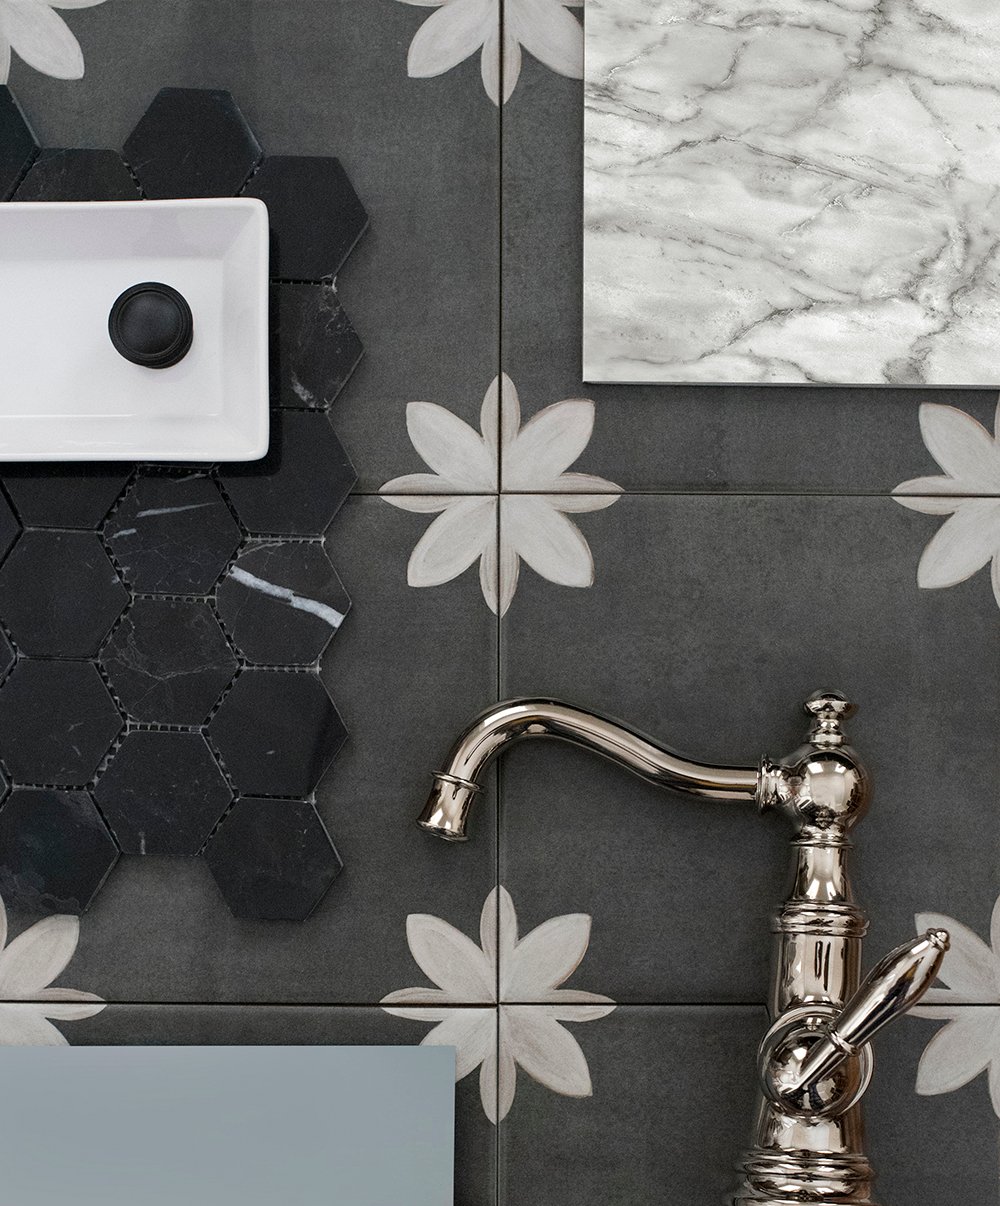 The nice thing about making a physical moodboard, in addition to a digital copy is being able to see the swatches in the actual space. You can touch them, get a better feel for them, and see how they interact with the light and environment- it’s a more tactile, realistic experience. You never know how something will translate from a computer screen to viewing it in person. Due to the nature of screens displaying in RGB (red, green, blue) and based on your monitor settings, colors can easily be depicted incorrectly on your computer. If I’m making a big purchase, I always order a swatch first, if that’s an option. I would rather see it with my own eyes to confirm the accuracy.
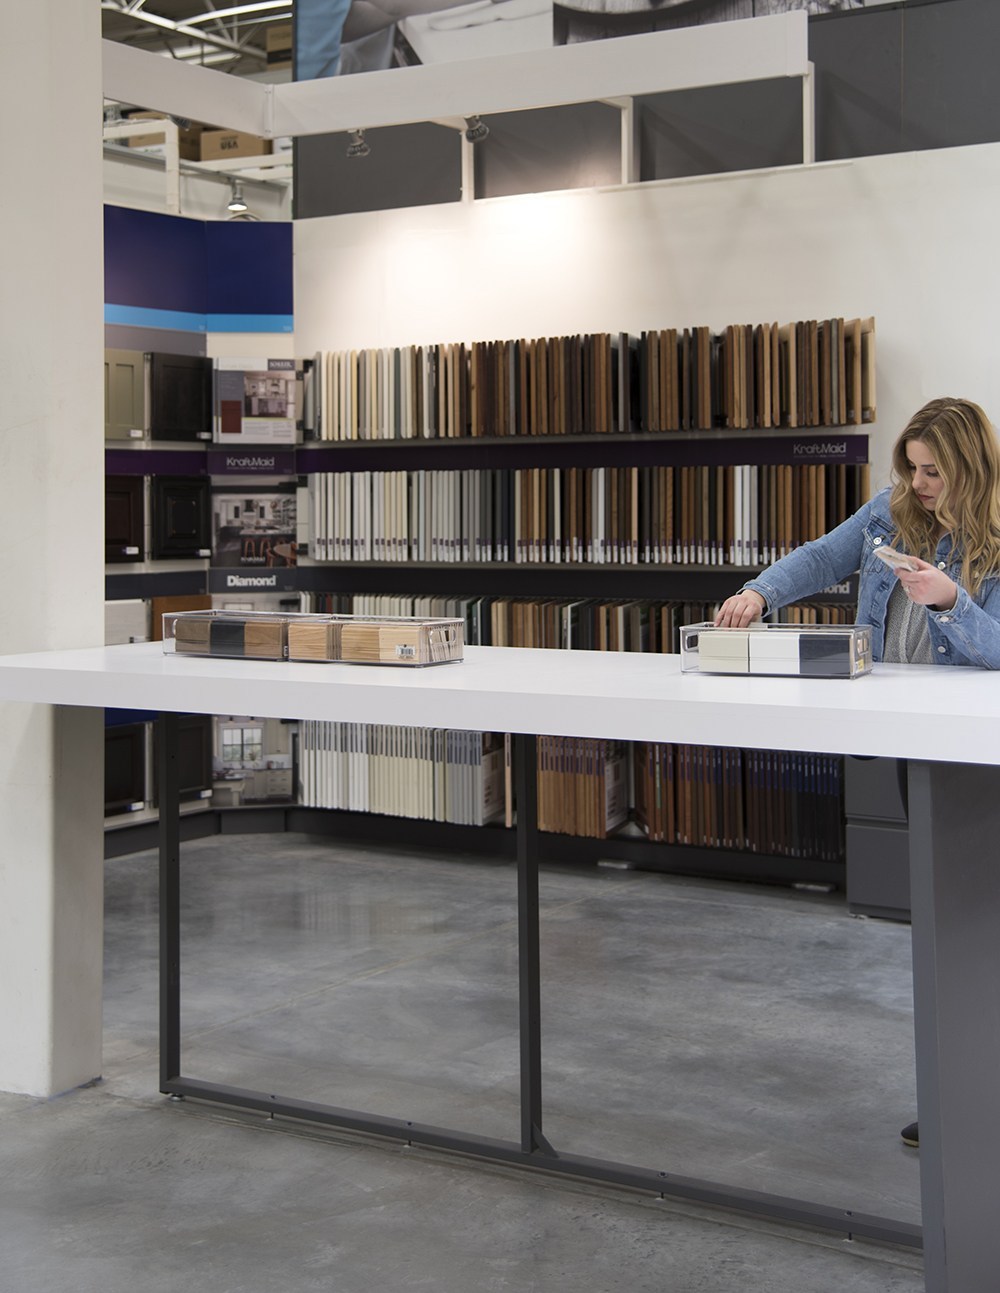
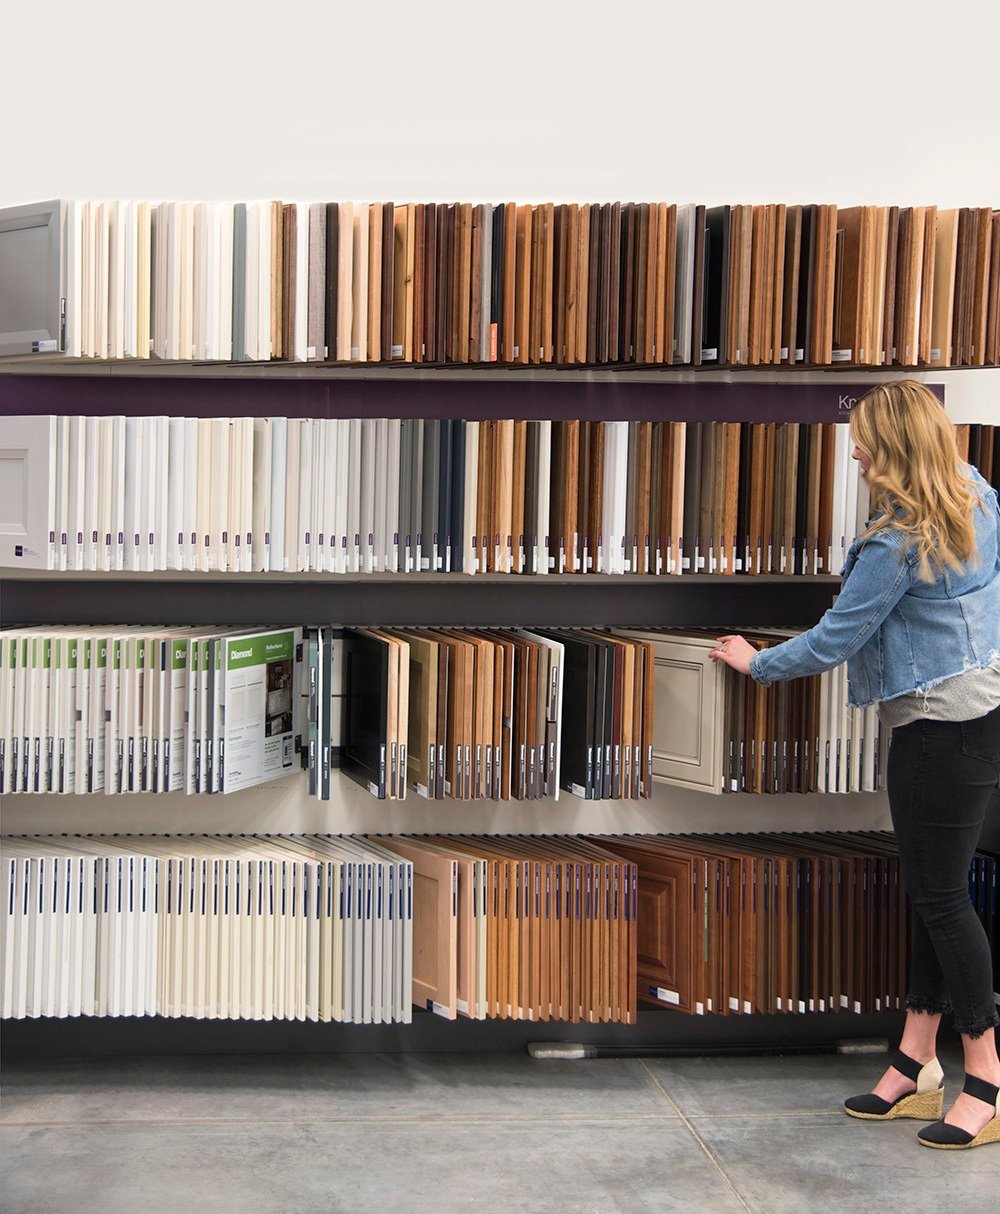 My design process is pretty involved because I want to ensure everything is planned, ordered, and accounted for prior to beginning demo and a full-blown renovation. It’s better to be super organized. Sometimes it takes me weeks to figure out the design plan. When planning our kitchen renovation, I pulled five cabinetry samples and narrowed it down from there. That was the case with most of the items in our kitchen- I would choose a few good options and pick the one that worked best with my overall plan and vision.
 To sum up my personal design process (everyone’s process varies, BTW) I begin by analyzing how the space will evolve to fit our needs, make product selections, create a digital and physical moodboard, then narrow it down, and hone it in. Once I feel comfortable with the plan and swatches, I begin ordering materials, furniture, decor, and accessories. Lastly, Emmett and I work together to bring my vision to fruition.
 I supposed the point of this Designer Trick post was to share a few key things…
- Moodboards (both physical and digital) can be extremely helpful.
- Each person’s process varies- find what works best for you.
- Planning and visualizing before purchasing can save you money and make your renovation go more smoothly.
Will you do me a favor? Let me know what other Designer Tricks you want to learn more about in the comment section below! I’ve got floor planning, organization, and a few others on the calendar, but beyond that- I’d love to add YOUR ideas. I want these to be really helpful! I hope you all have a wonderful week. I went back to the doctor yesterday and can’t seem to get well or kick this bronchitis. Here’s to hoping my new meds will work and I’ll be feeling more like myself before I know it. Fingers crossed! Happy Monday.