DIY Heated Floor Tile
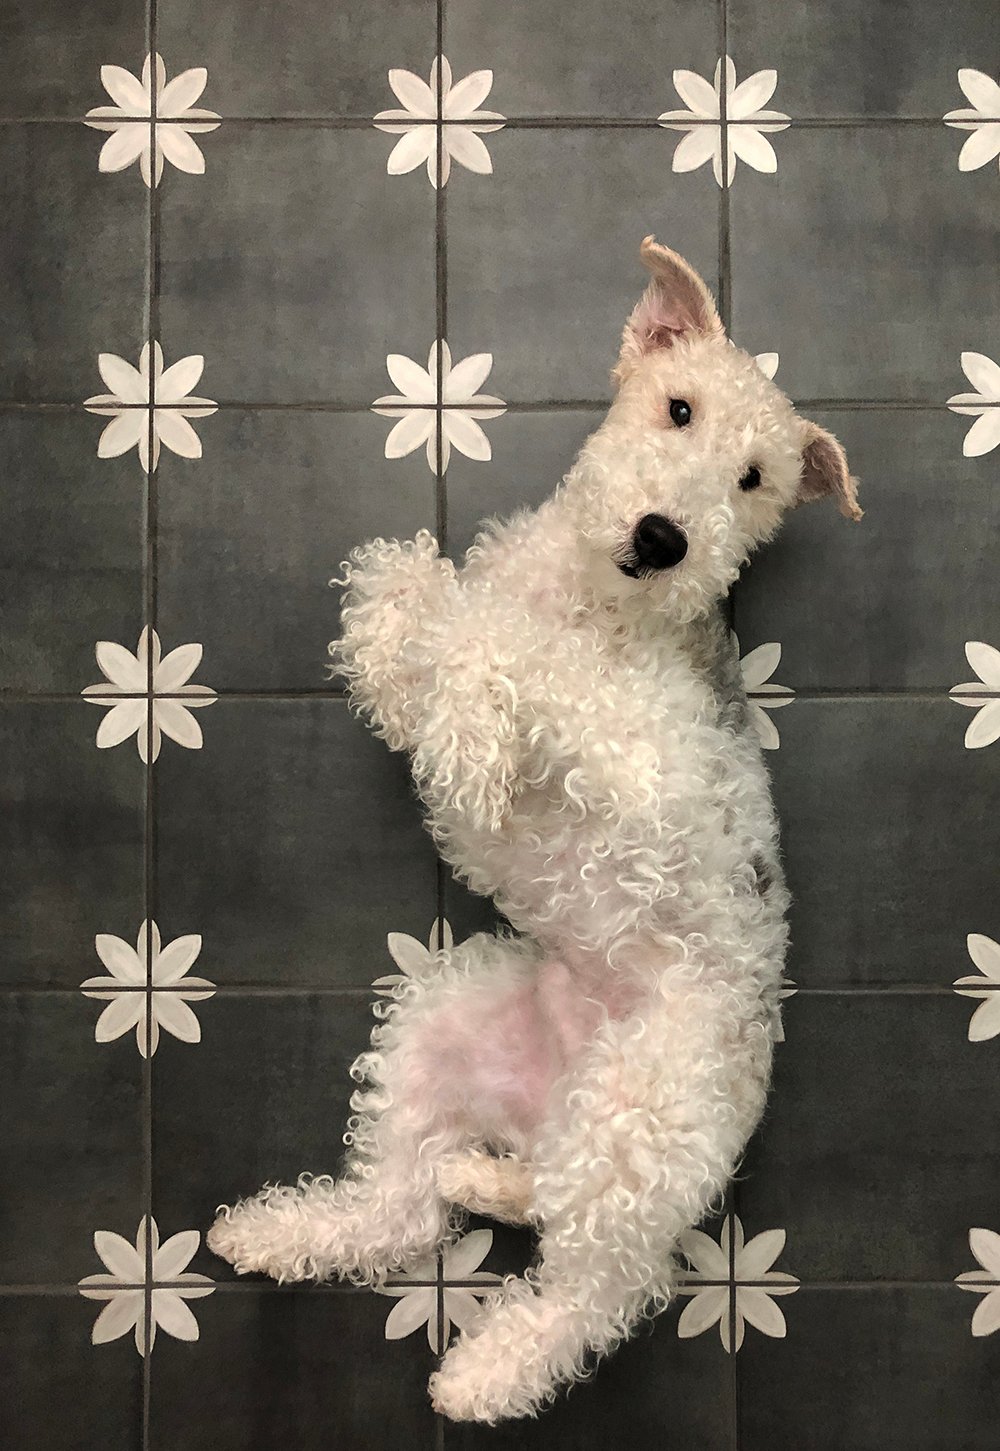
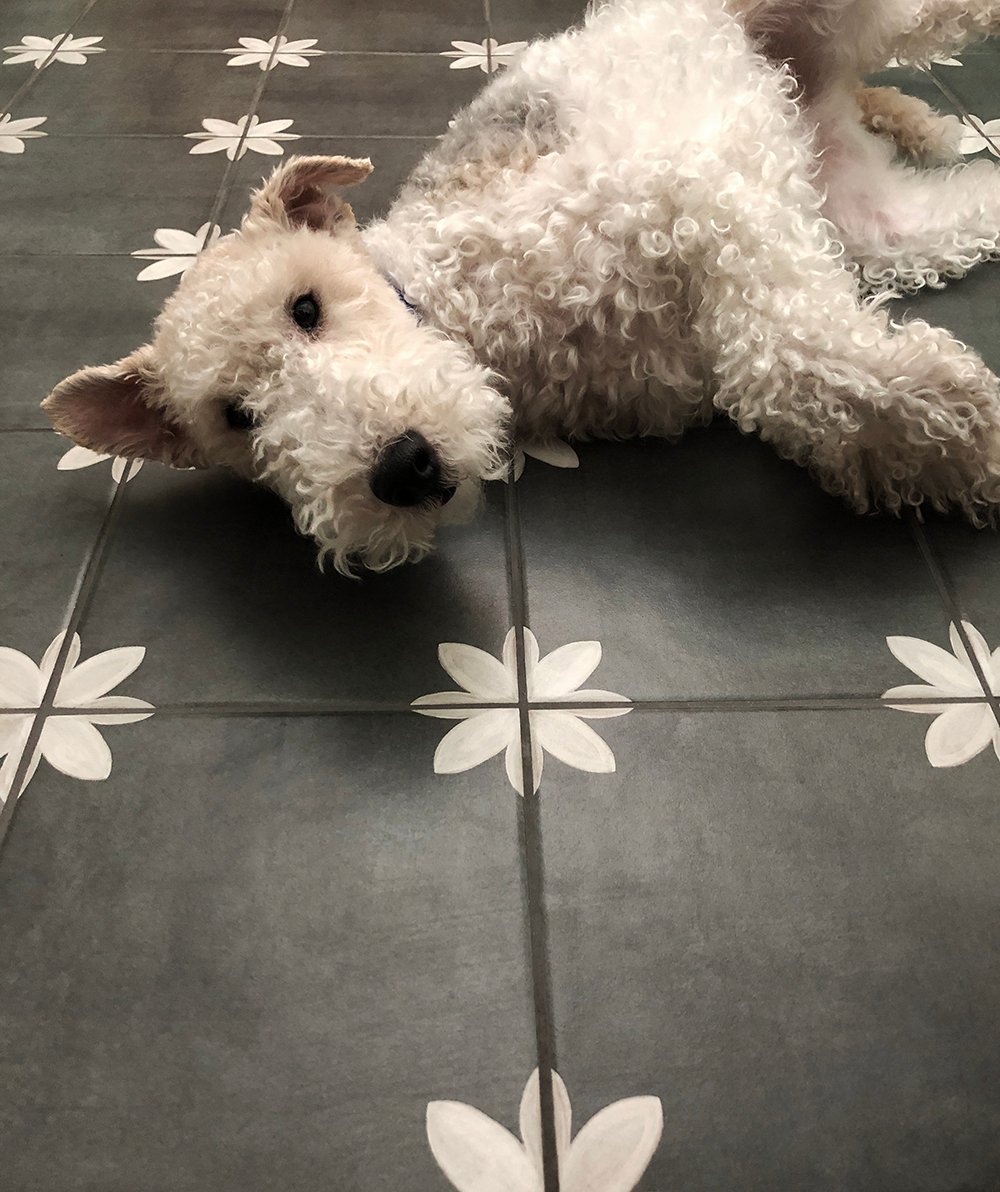
 Guess what?! The basement bathroom is really taking shape and the heated floor tile is finished (one family member is already a fan… ahem, Cash)! We just wrapped up grouting yesterday and it looks amazing. I’m very happy with how the flooring turned out. I was pretty surprised to receive so many Instagram messages from you guys telling me how easy we made this project look. Well, the truth is- it doesn’t just “look” easy- it’s actually a pretty simple DIY. If you’re installing floor tile, it’s really only a couple added steps to get a heated floor. Given we have 20+ inches of snow on the ground right now, and the bathroom is in the cold basement, I know Emmett and I (as well as our house guests) will be using this cozy feature often. As promised, I’m breaking down a very detailed tutorial in this blog post. Click through to learn how to install your own heated floor tile! I promise it’s easy.
*This post is sponsored by Lowe’s. All content, ideas, and words are my own. Thank you for supporting the brands that allow us to create unique content while featuring products we actually use & enjoy!
 The Schluter Systems Floor Heating Kit is key in making this project easy. It comes with everything you need and very specific directions for installation. Emmett and I were both really happy we went this route. Here are the other basic materials you’ll need…
SUPPLIES + TOOLS
- Johnson Level
- Marshalltown Trowel (1/4 x 1/4)
- Schluter Systems Floor Heating Kit
- Della Torre Fiona Tile
- Mapei Unmodified Thinset
- Project Source Tile Spacers
- Mapei Keracolor Grout (we used color “charcoal”)
- Marshalltown Rubber Grout Float
- 2-Gallon Buckets
- Stanley Scissors
- Armaly ProPlus Sponge
- Dewalt Wet Saw
- Bosch Laser Level (helpful for installing tile in straight lines)
- Marshalltown 4″ Putty Knife
- Nitrile Cleaning Gloves
 Before I dive in, I want to quickly chat about the electrical for this project. Emmett runs permitted electrical (to code) and is comfortable doing the work of an electrician. If you’re not comfortable running electrical wires, this is a quick, easy, inexpensive job that you could definitely hire an electrician for. There are also instructions in the kit that depict the electrical installation process. We ran the electrical wires to code prior to installing the drywall, so you won’t see them in this post. The wire that heats the floor will run underneath the baseboard (it isn’t visible), up behind the drywall through a plastic conduit, and into an electrical box connected to a thermostat that controls the floor temperature. Alright- now that you know how the heated floor functions (it’s hardwired), ready to see the tutorial?
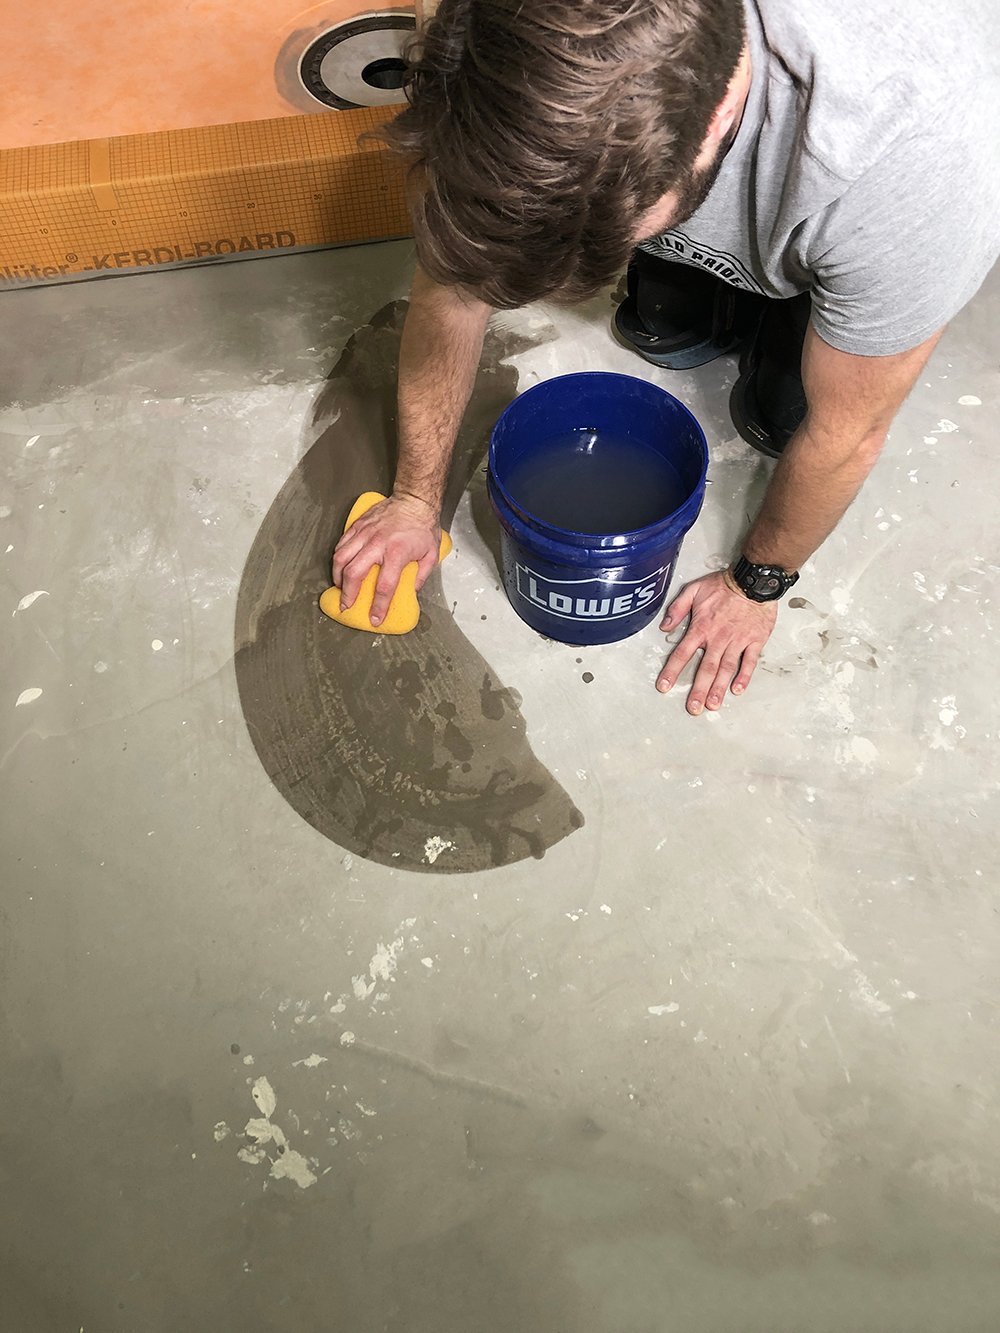
Step 1 // Clean the floor. We began by scraping up bits of drywall mud, then we thoroughly cleaned the floor using a sponge with soap and water.
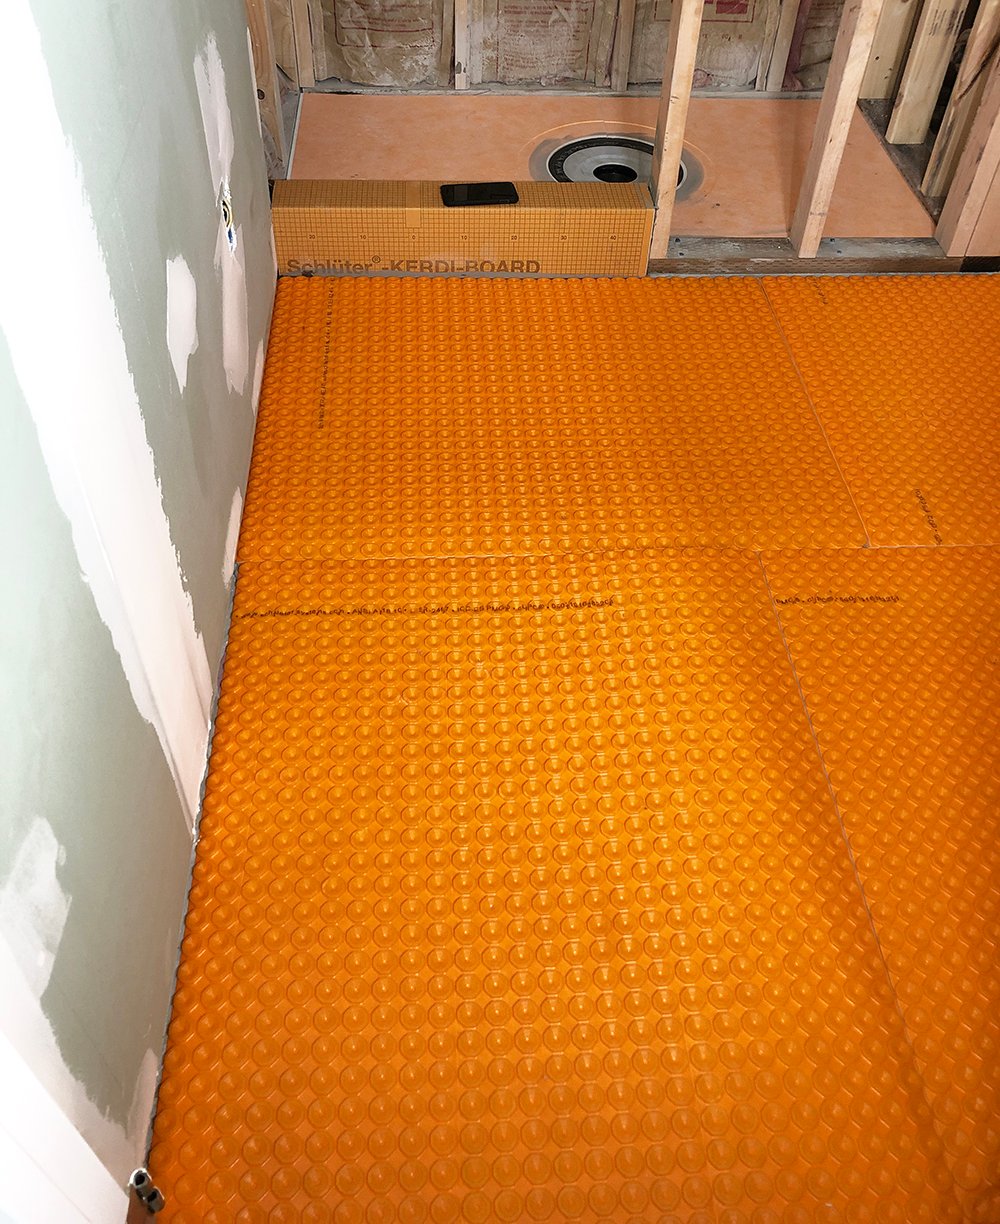
 Step 2 // Dry fit and layout the membrane. The entire floor needs to be covered with the orange membrane panels. This part of the process is like putting together a puzzle. Cut the sheets to fit your space in the most efficient way possible. You can even turn them in different directions. We ended up using five pieces of membrane. Once you have the surface area covered, dry fit the pieces to ensure they fit properly.
 Step 3 // Set the membrane. Using Mapei unmodified thinset and a 1/4″ x 1/4″ trowel, apply the mortar directly onto the floor in an even and consistent pattern.
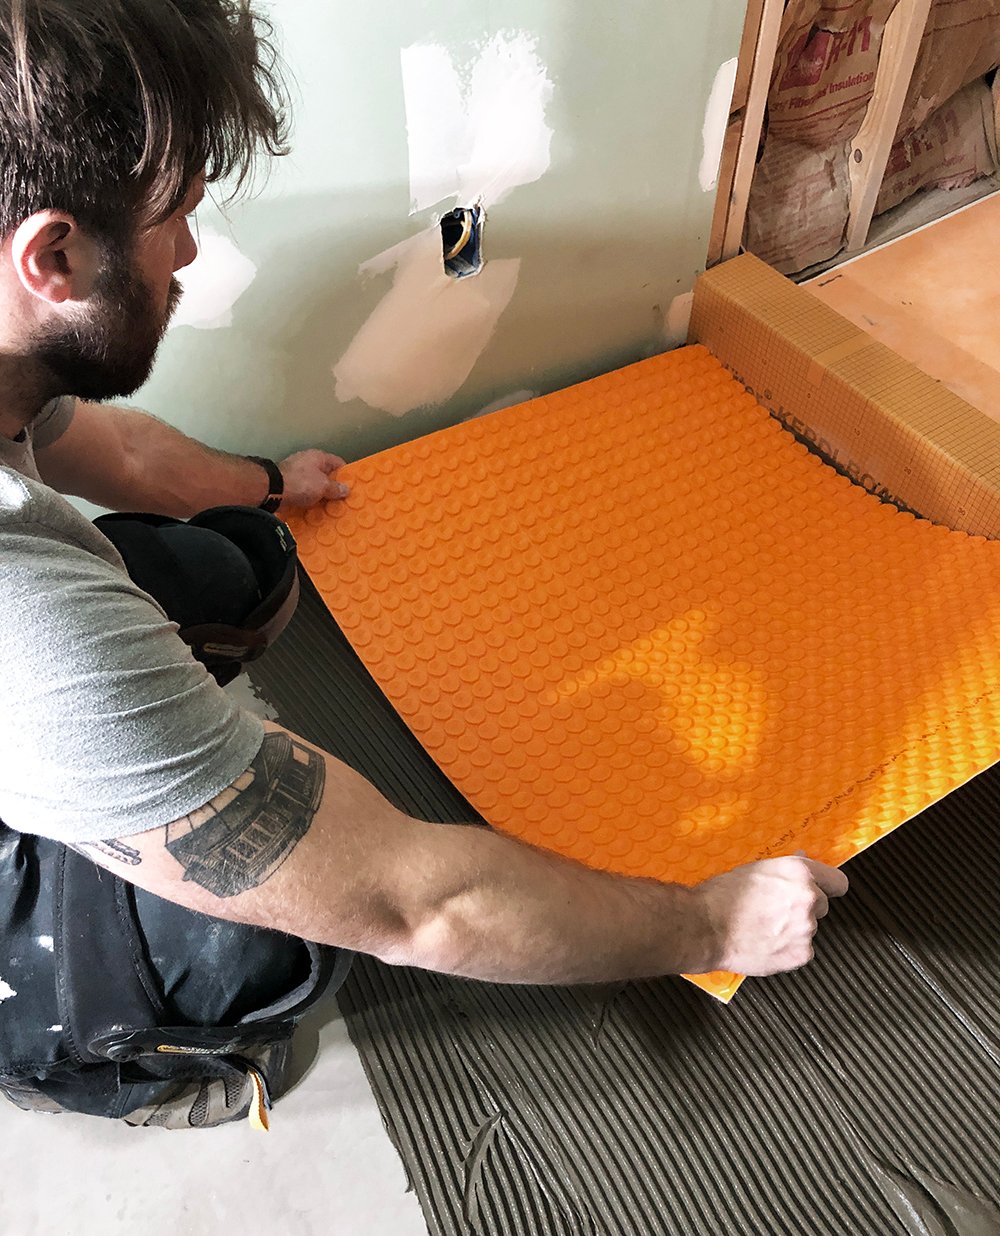
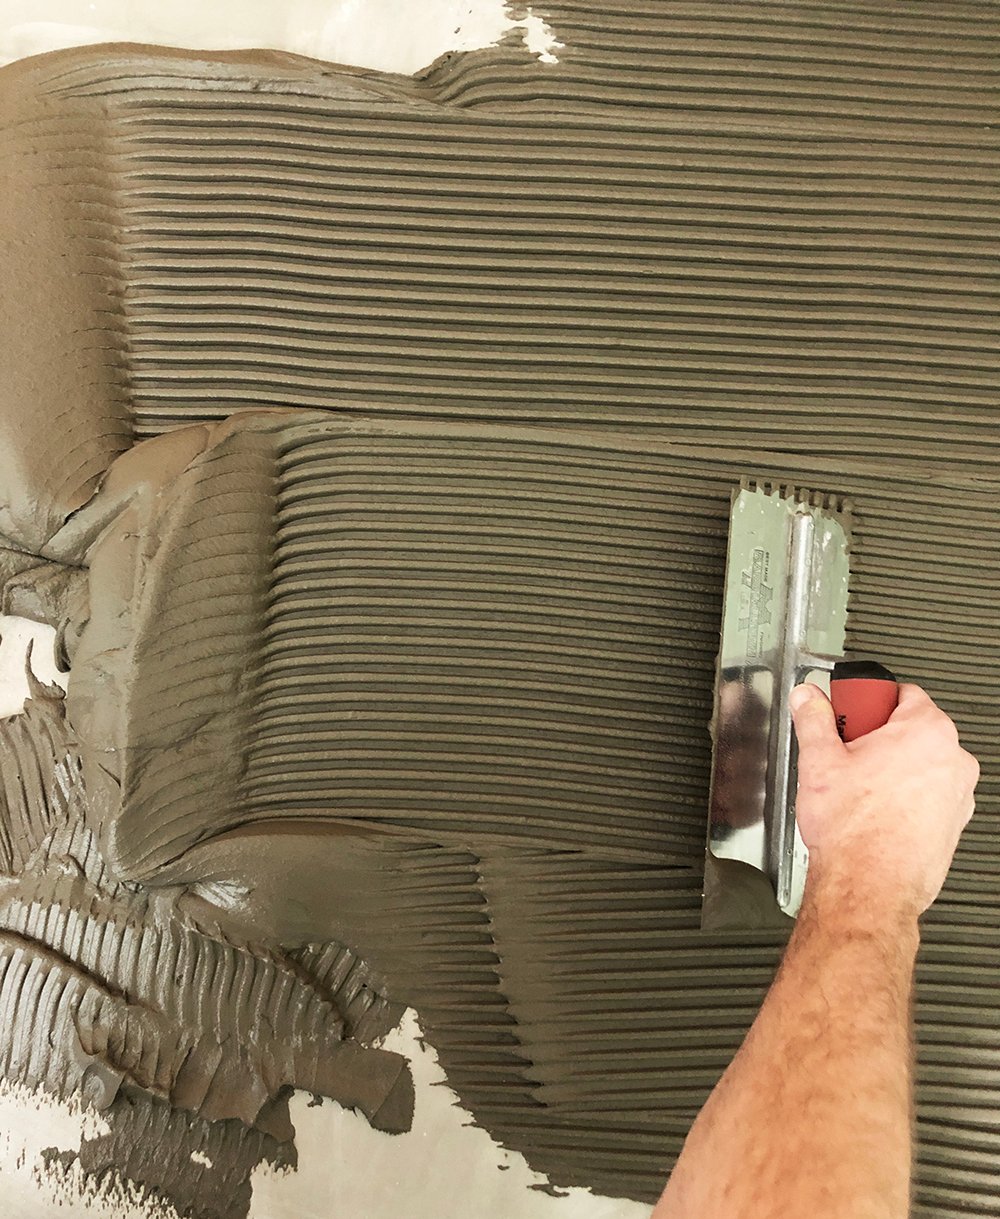 Starting in the corner of the room, lay the first sheet of membrane onto the thinset. Press down and apply even pressure to set the membrane. The instructions in the kit recommend using a roller to flatten the membrane, while applying even pressure. Alternatively, you can also use a flat trowel or grout float… as long as the pressure is even and consistent, that’s all that matters.
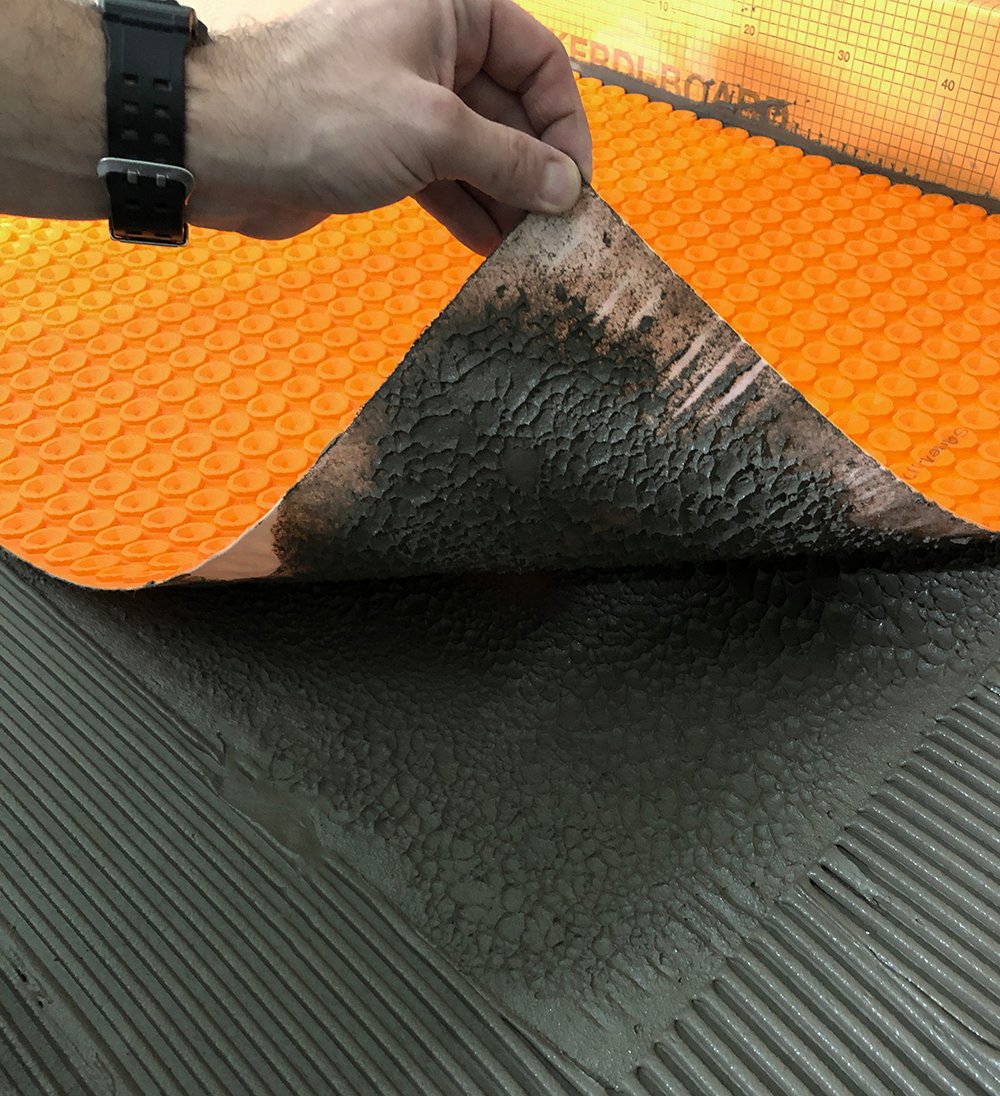
 On the first piece, peel back the corner to check the coverage before moving forward. The bottom of the membrane should look something like this…
 Make sure the membrane panel is completely level before moving onto the next piece.
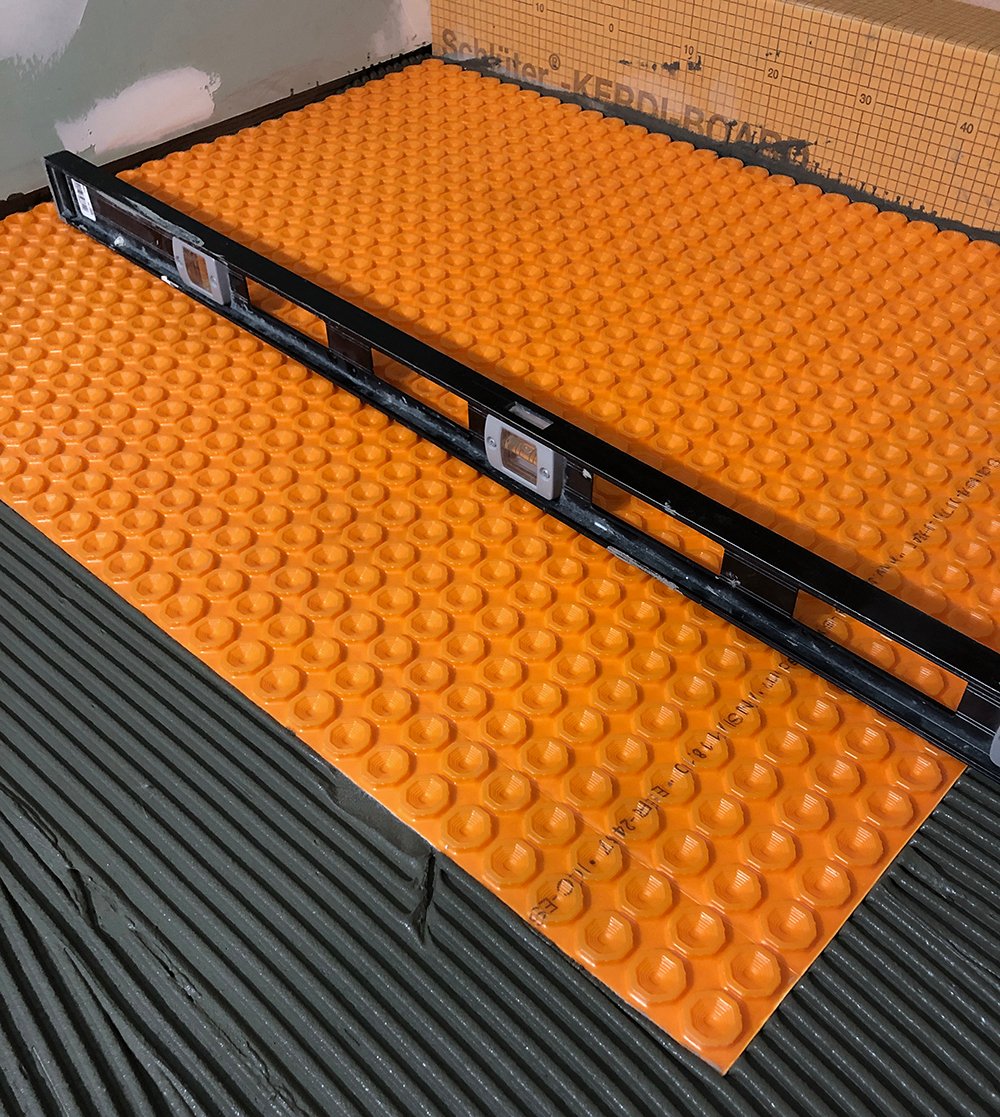 If everything looks nice and level, repeat this step until the entire floor is covered in the membrane panels. Allow this to cure and harden for 24 hours before moving onto the next step. Once it’s totally solid, it’s safe to walk on!
 Step 4 // Install the heat cable. Now that the floor and membrane has cured, it’s time to install the heat cable. The Schluter packet includes VERY specific instructions on how to layout the cable pattern. Each room is unique and it will help shed light on where the cable can be installed safely within a space. For example- you have to keep the cable 2″ away from any wall, 7″ away from the toilet flange, and the cable cannot be installed under a vanity. The packet goes into further details, but once you have the information- you can layout and begin installing the cable.
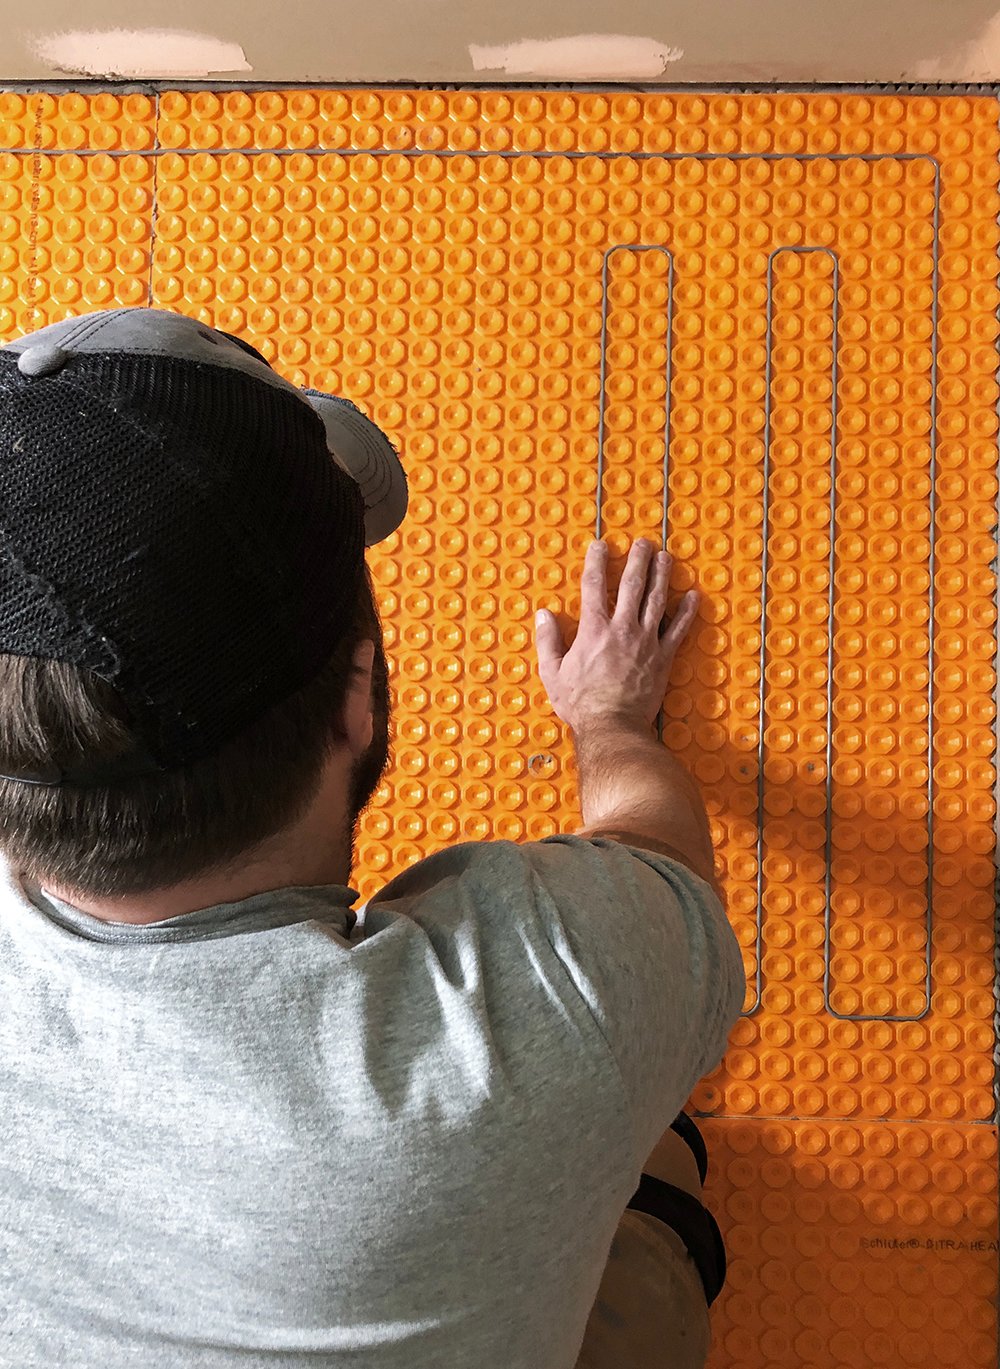
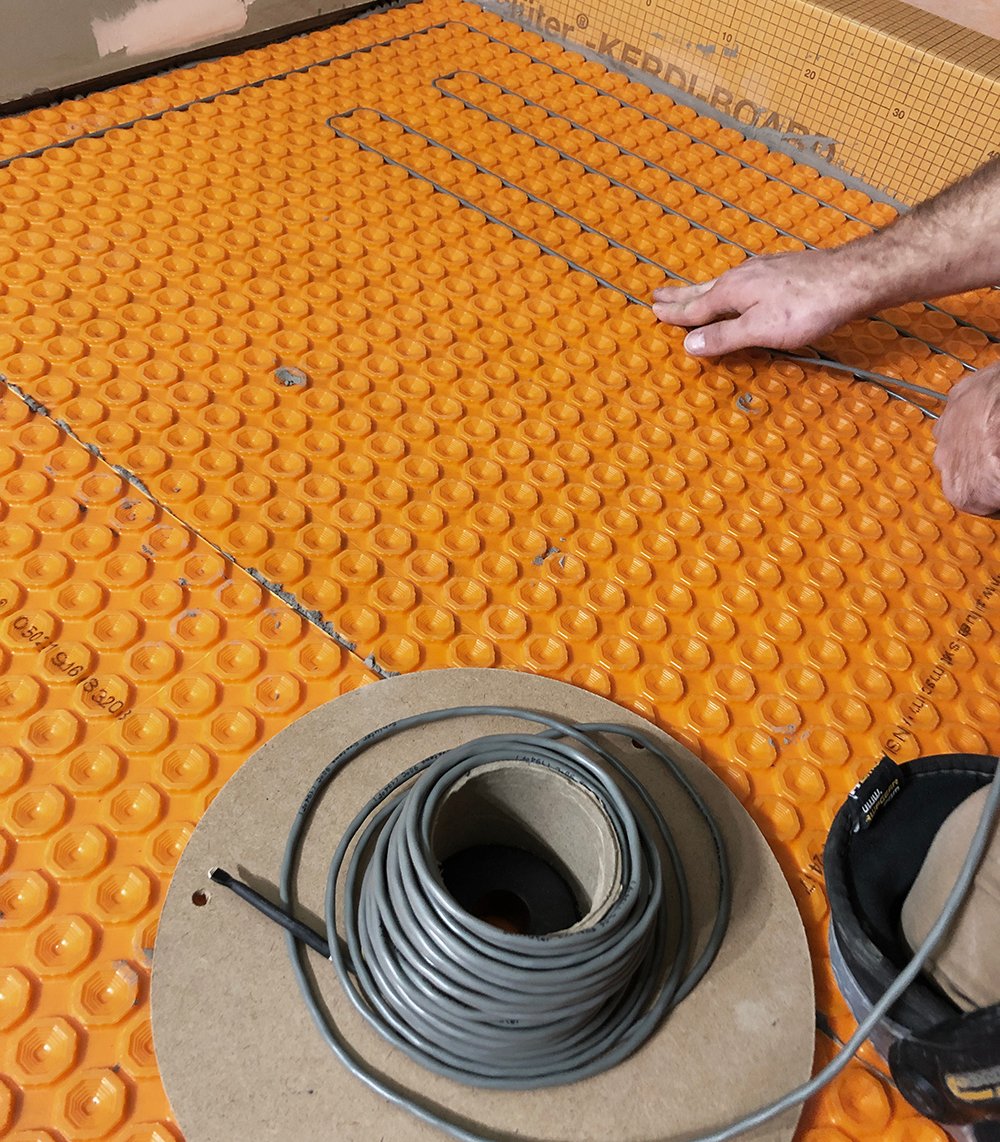 The cable itself is very easy to install. It snaps right into the membrane, between the round studs. This was the most fun part of the process for me! It was almost as gratifying as popping bubble wrap. It makes a nice clicking noise, so you know that it is secure. Once the cable is set in the membrane, test it to make sure the cable works (per the instructions).
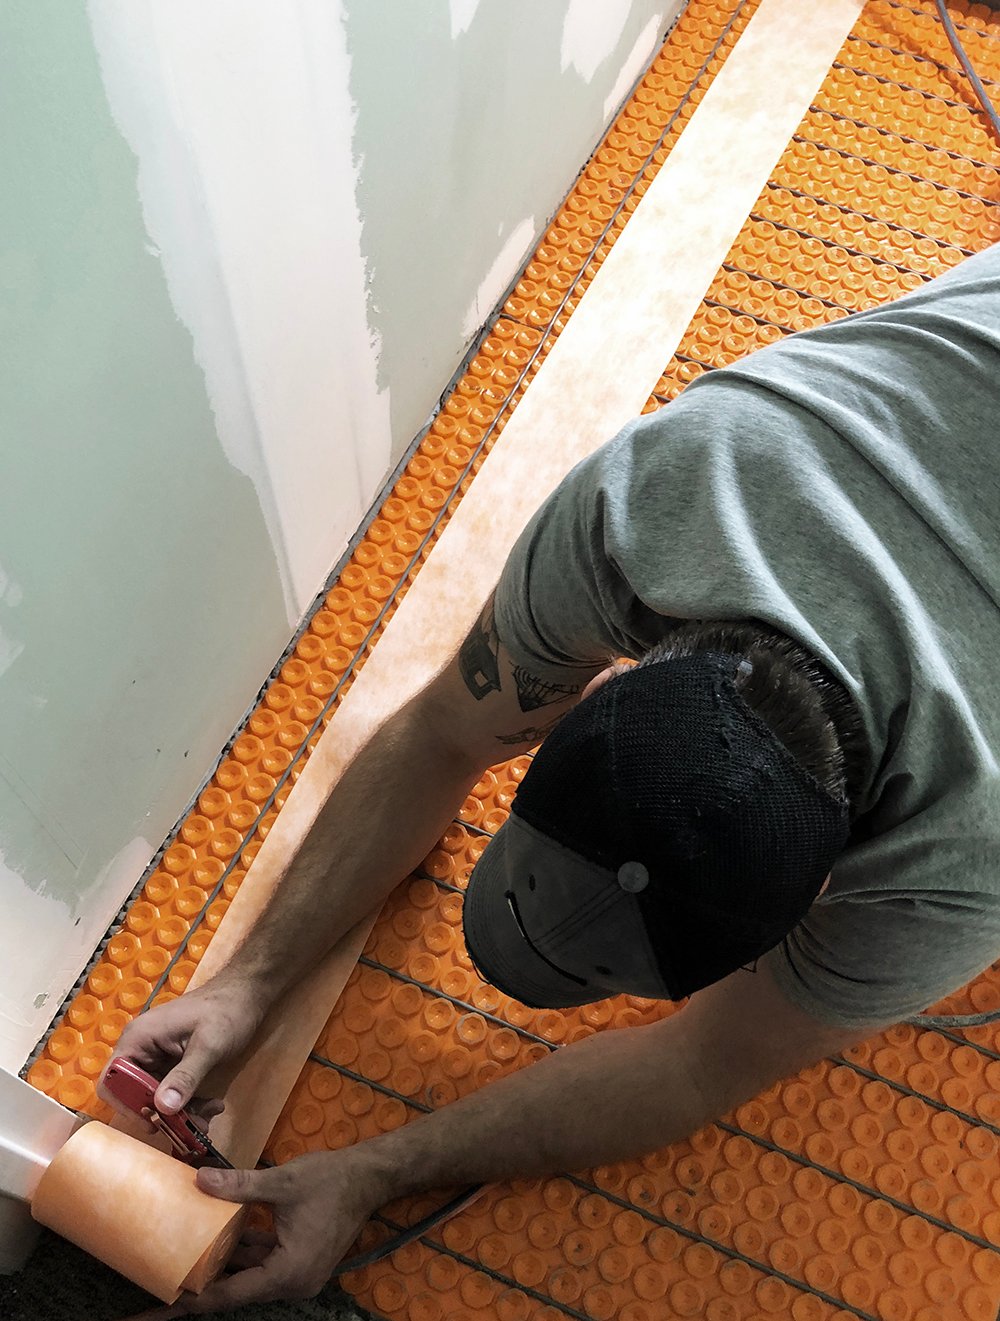
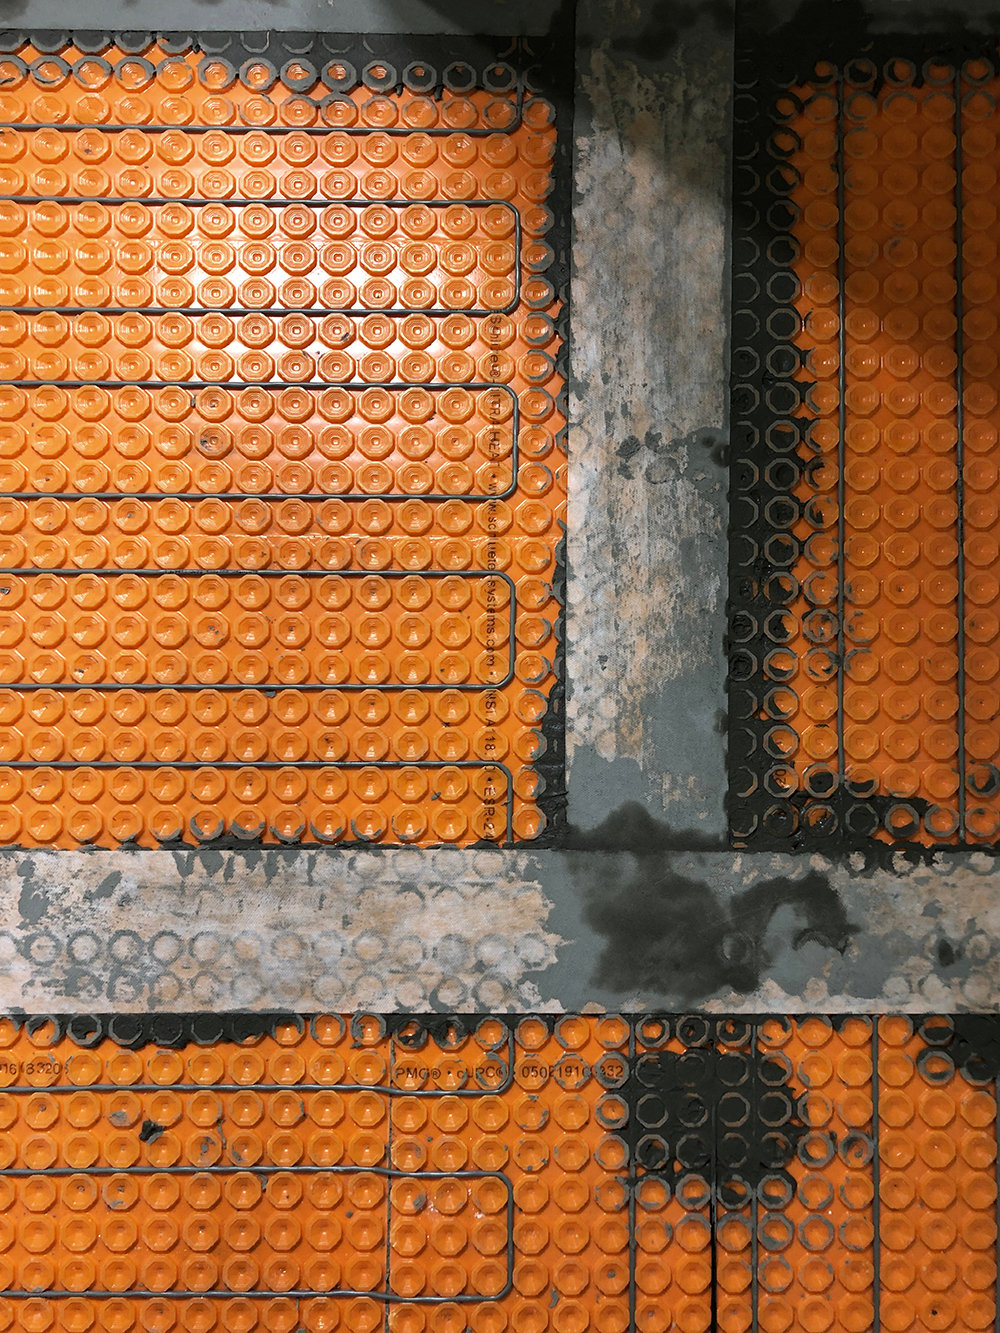
 Step 5 // Water proof the seams. The next step is to “tape” or waterproof the seams and edges. The kit comes with a roll of material- cut strips to size that fit the perimeter of the room, as well as the seams or gaps between the membrane panels.
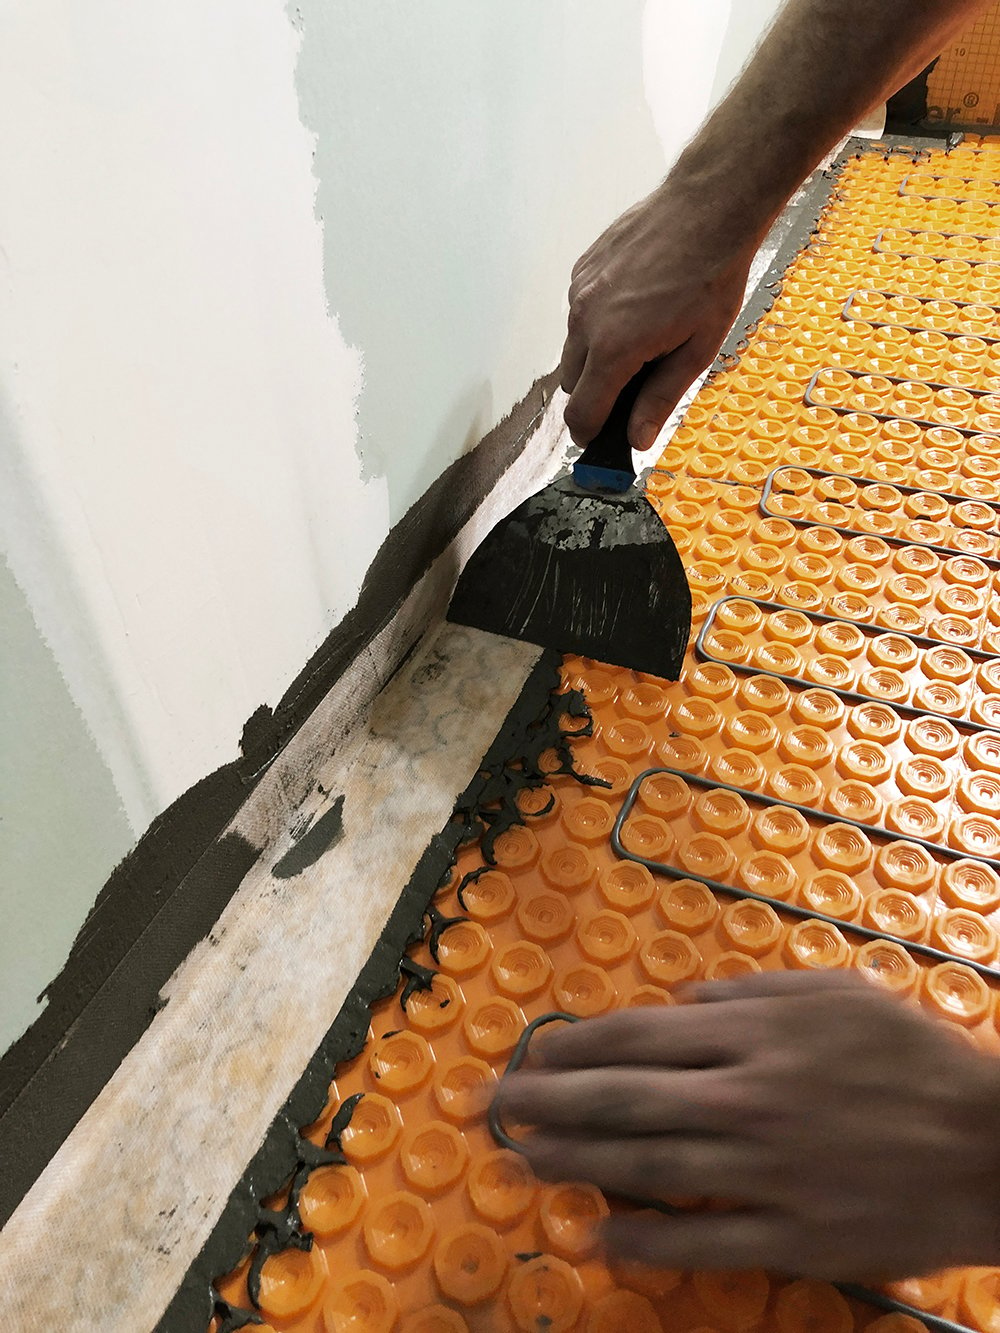
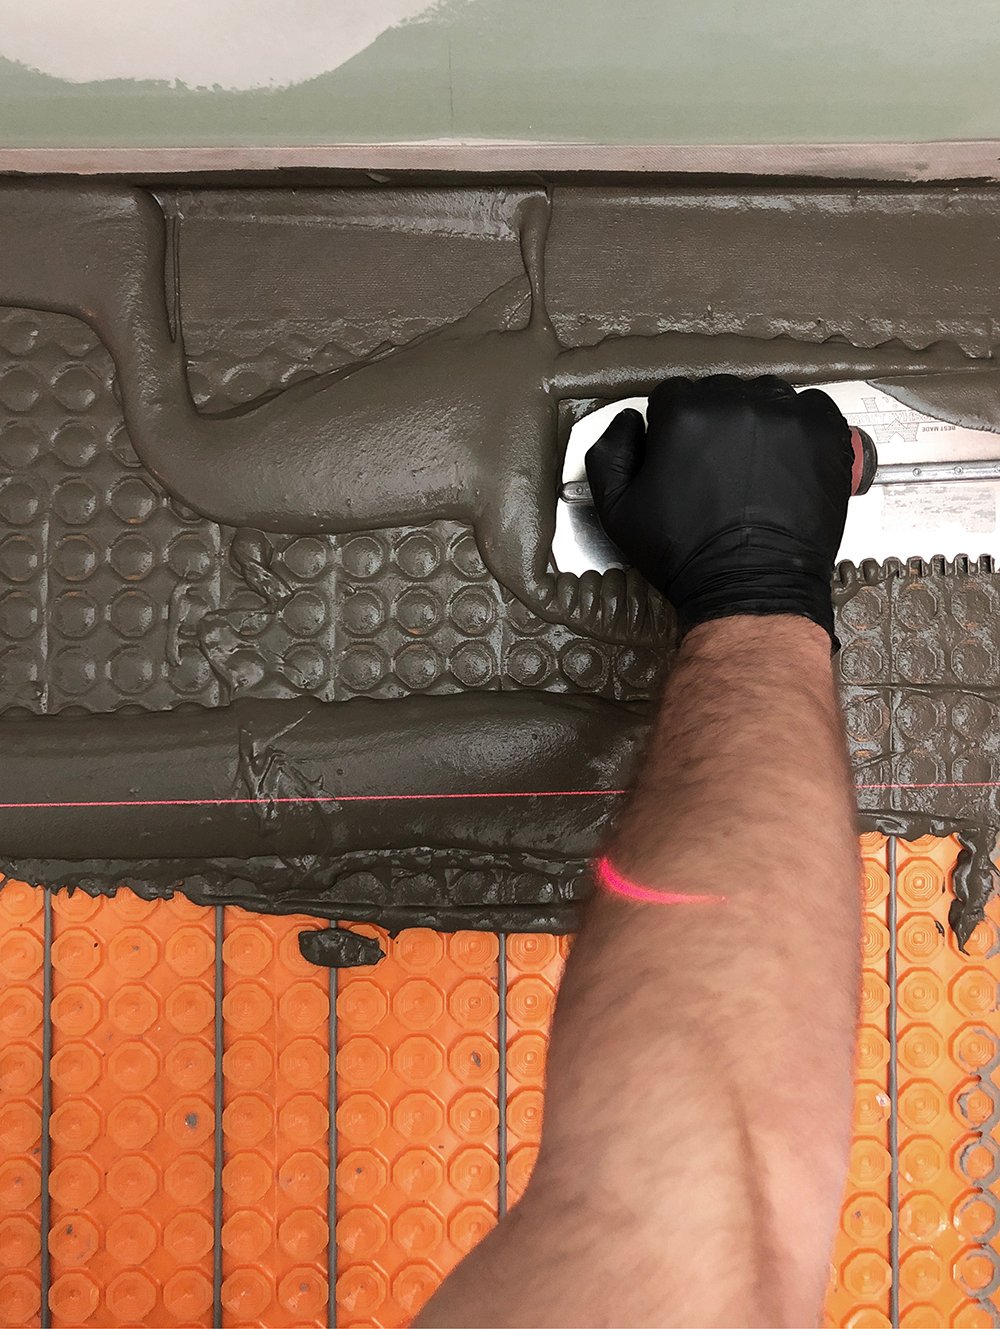
 Using unmodified thinset and a putty knife, press the mortar onto the wall AND the membrane on the floor, all along the edge of the room.
 Next, press the tape into the corner, along the edge… splitting the different (as shown below).
 Use the putty knife to press the tape into the thinset and create a sharp corner.
 Repeat the process on the flat seams where the membrane panels meet. Once all of the seams and edges have been taped and sealed, allow it to cure before moving onto tiling!
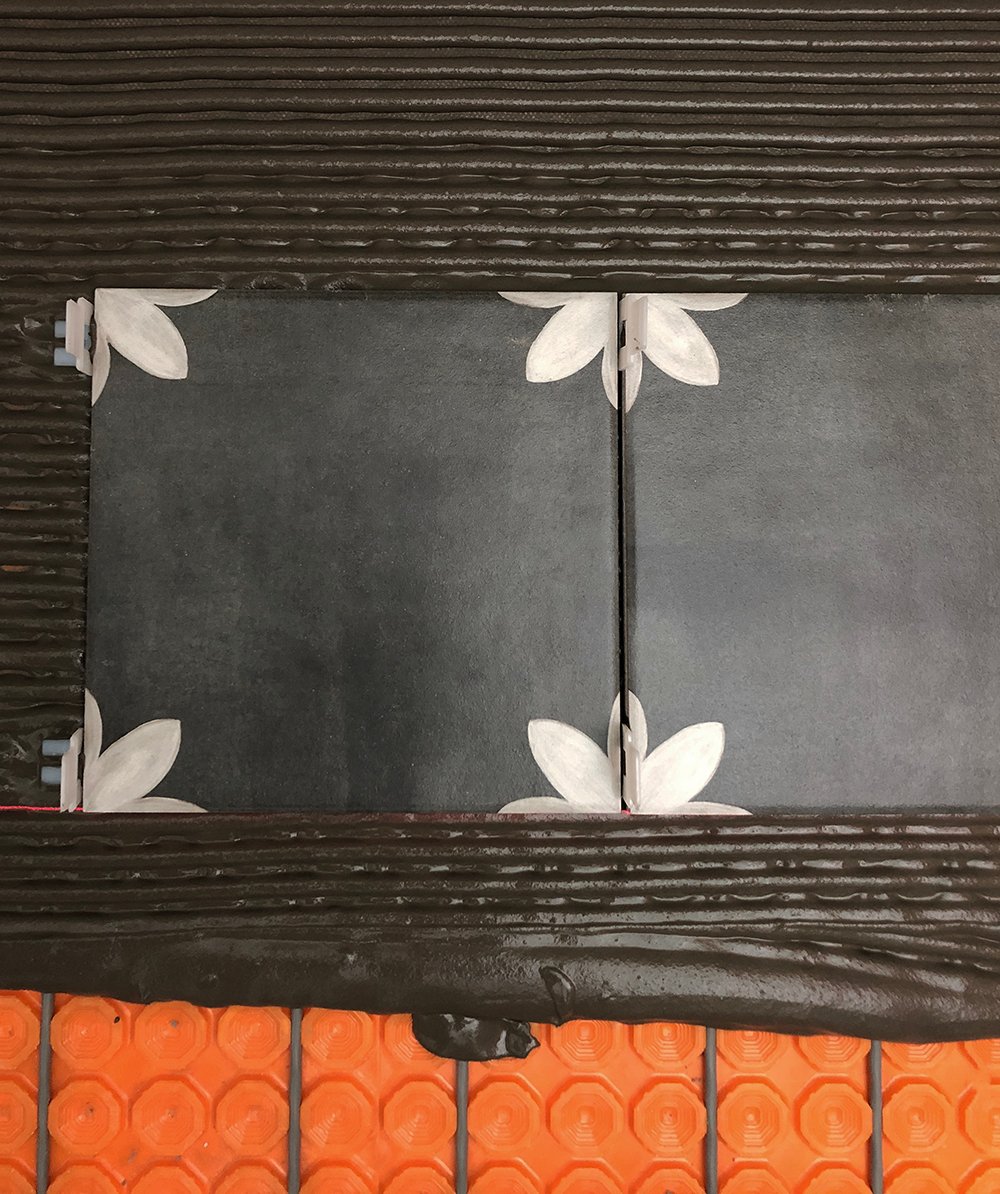
 Step 6 // Tile. Now for the fun part… tiling! Again, using unmodified thinset, lay the mortar with a 1/4″ x 1/4″ trowel, making sure to press it evenly into the membrane panel. No orange should be showing through.
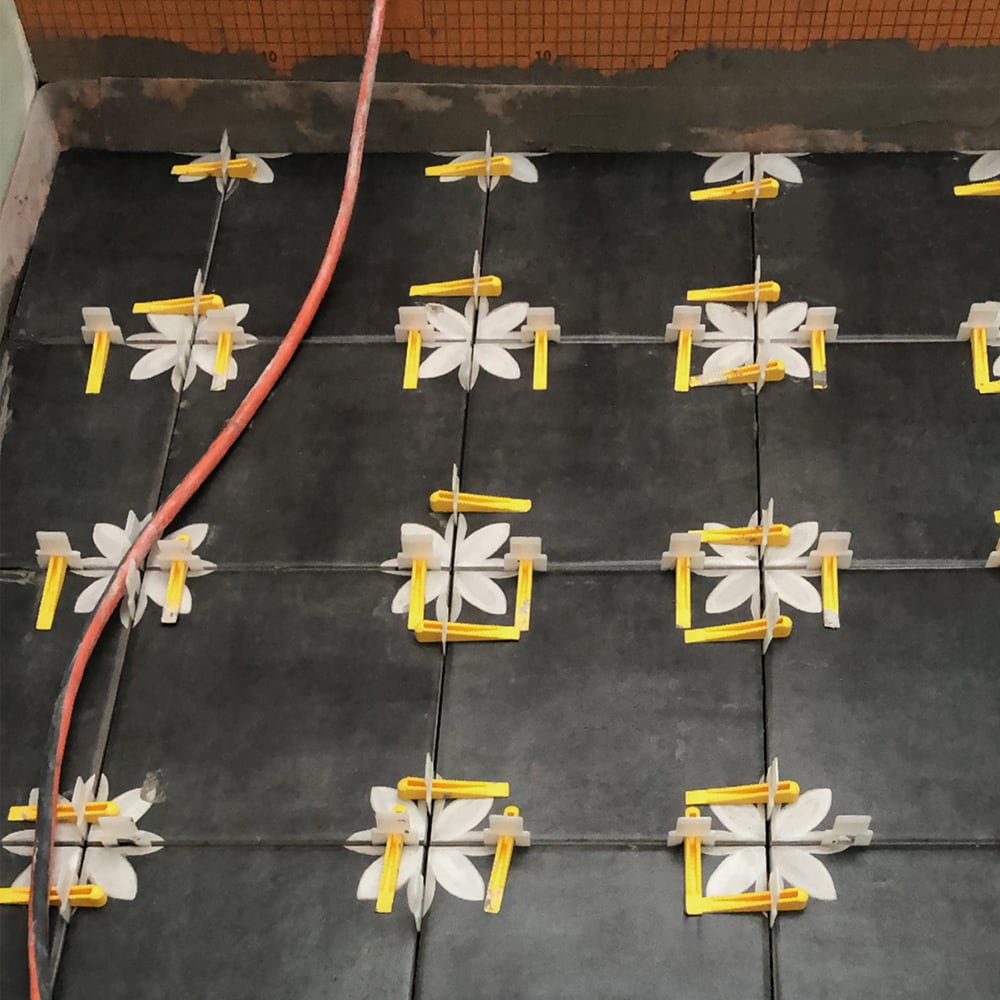
 Use the trowel notches to line the mortar and begin setting the tile. A laser level REALLY helps with this. We ensure our tile is straight by setting up our Bosch laser level. I never tile without it. Our kitchen backsplash was a breeze thanks to that handy tool.
 If you’re looking for a detailed floor tile tutorial, click here for large format tiling instructions (like the tile we’re installing in the basement), or click here for mosaic floor tiling instructions (like the tile in our guest bathroom)! I shared our process, tips for mixing thinset, grouting, and much more. These are great resources if you’re new to tiling! Otherwise- carry on, repeat the tiling process until the entire floor is covered.
 Step 7 // Clean the negative space between the tiles, then grout. If any thinset pushed up between the tiles, now is the time to clean the negative space between each tile prior to grouting. You can buy a special tool for this, or- we like to use a small flathead screwdriver.
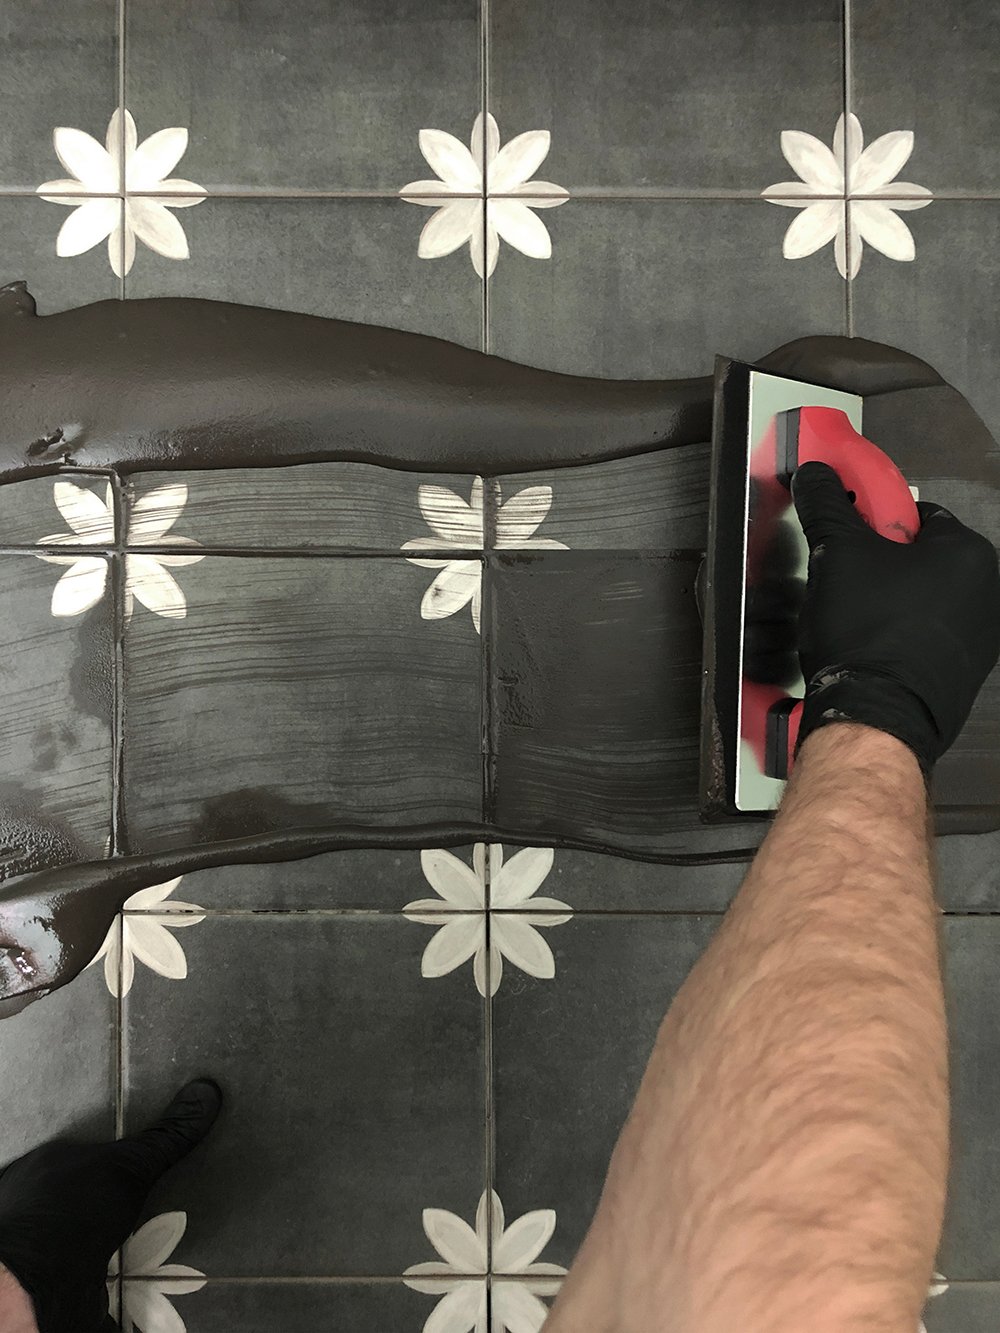
 Mix your grout according to the instructions on the package. This time around, we used Mapei Keracolor (in color Charcoal). Wearing gloves and using a rubber grout float, apply your grout.
 Once you’ve adequately filled all of the negative space, allow the grout to sit for 10-15 minutes before wiping it up with a sponge and water.
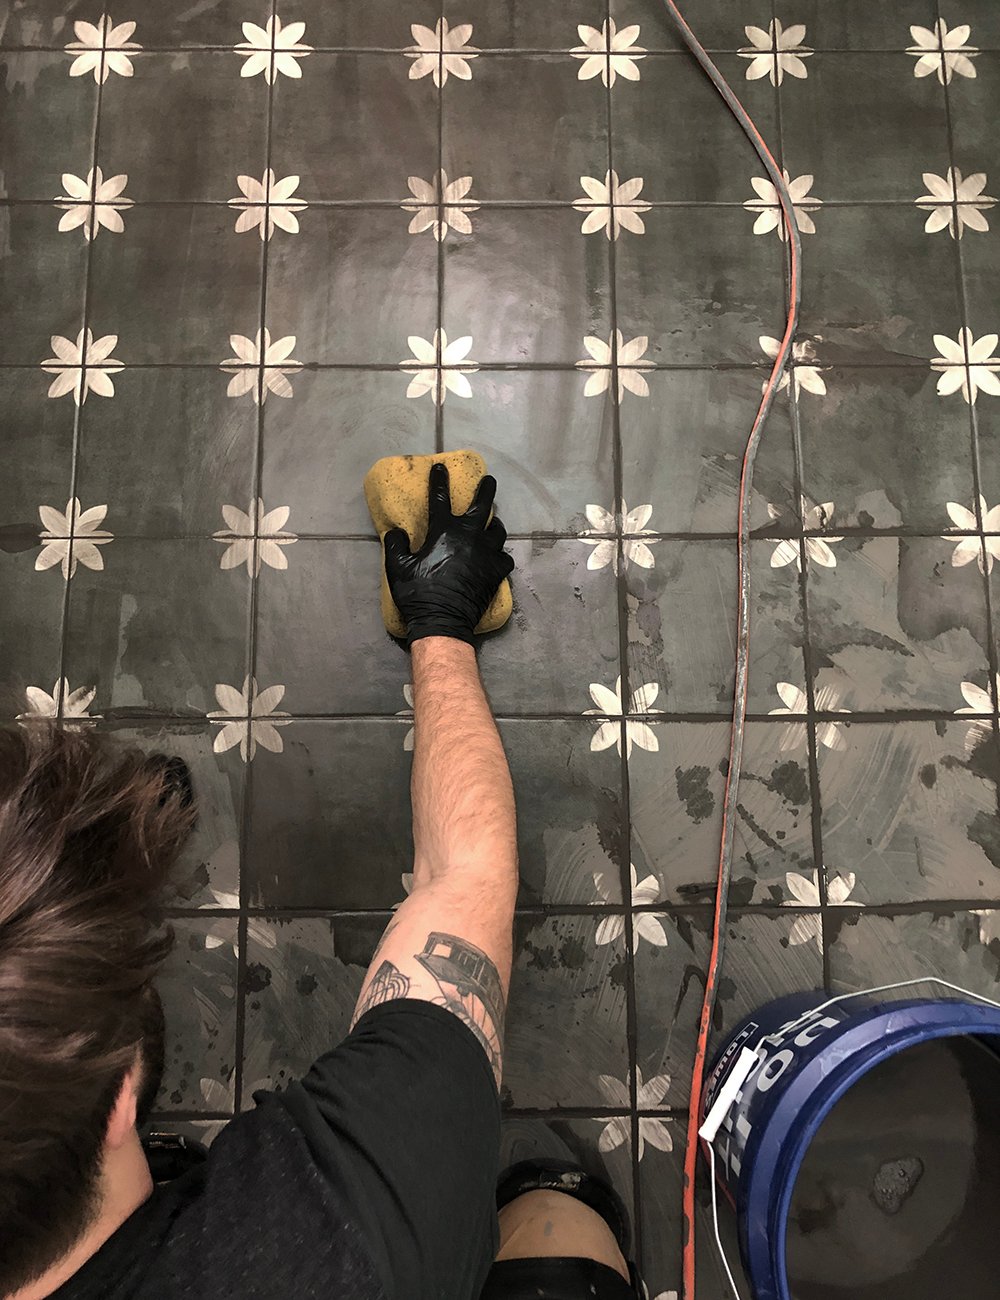 This will take multiple passes to remove all of the grout residue. The object is to get it as clean as you can! Don’t be alarmed if you can’t get rid of the last bit of grout haze- that can easily be cleaned off of this particular tile once the grout is set. That’s all there is to it!
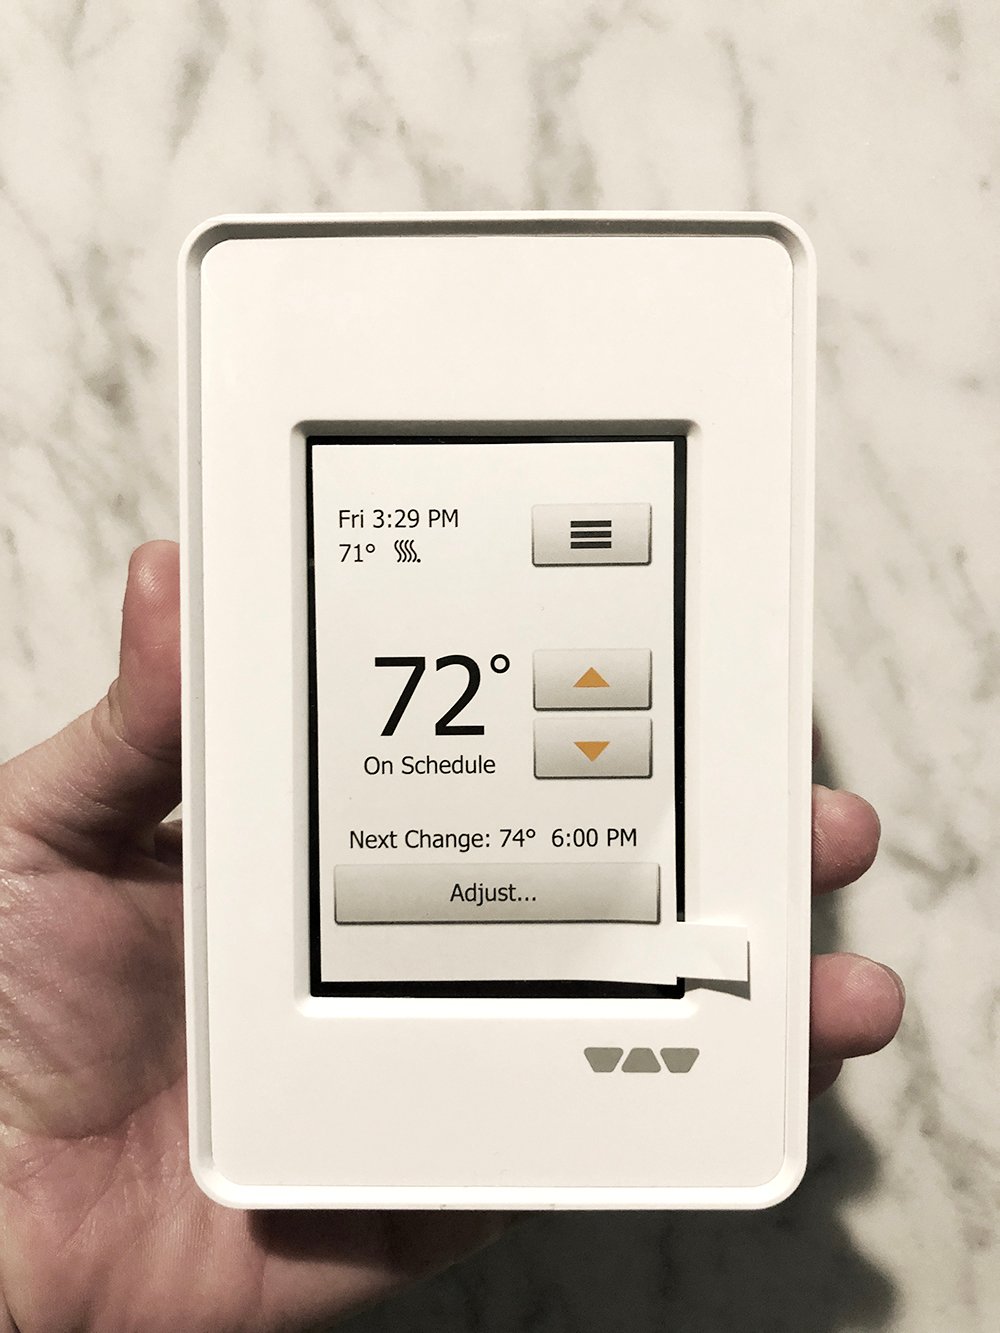
 This project really just takes patience and precision, but it isn’t difficult at all. As we finish the wall tile and prime & paint the drywall, we’ll install the digital thermostat next (pictured below). It has a simple, sleek look.
 If you’re on the fence about tackling heated flooring yourself- I honestly think it’s much easier than people expect. It certainly adds a level of luxury to a bathroom that is very functional and feels high-end. Having heated floors in our basement is going to be wonderful. This bathroom probably gets the second most use (first would be our master) in our home. Not only is this a guest bathroom, but we spend a lot of time lounging in the basement, so Emmett & I also use this bathroom often. I wanted it to feel cozy (not like being in a cold basement), so adding heated floor tile made perfect sense. On snowy days like today, I’m even more excited to test this feature out very soon! The room is really coming together and I can’t wait to get started on the wall tile. If you missed the design plan, check it out (along with the before photos) in this post.
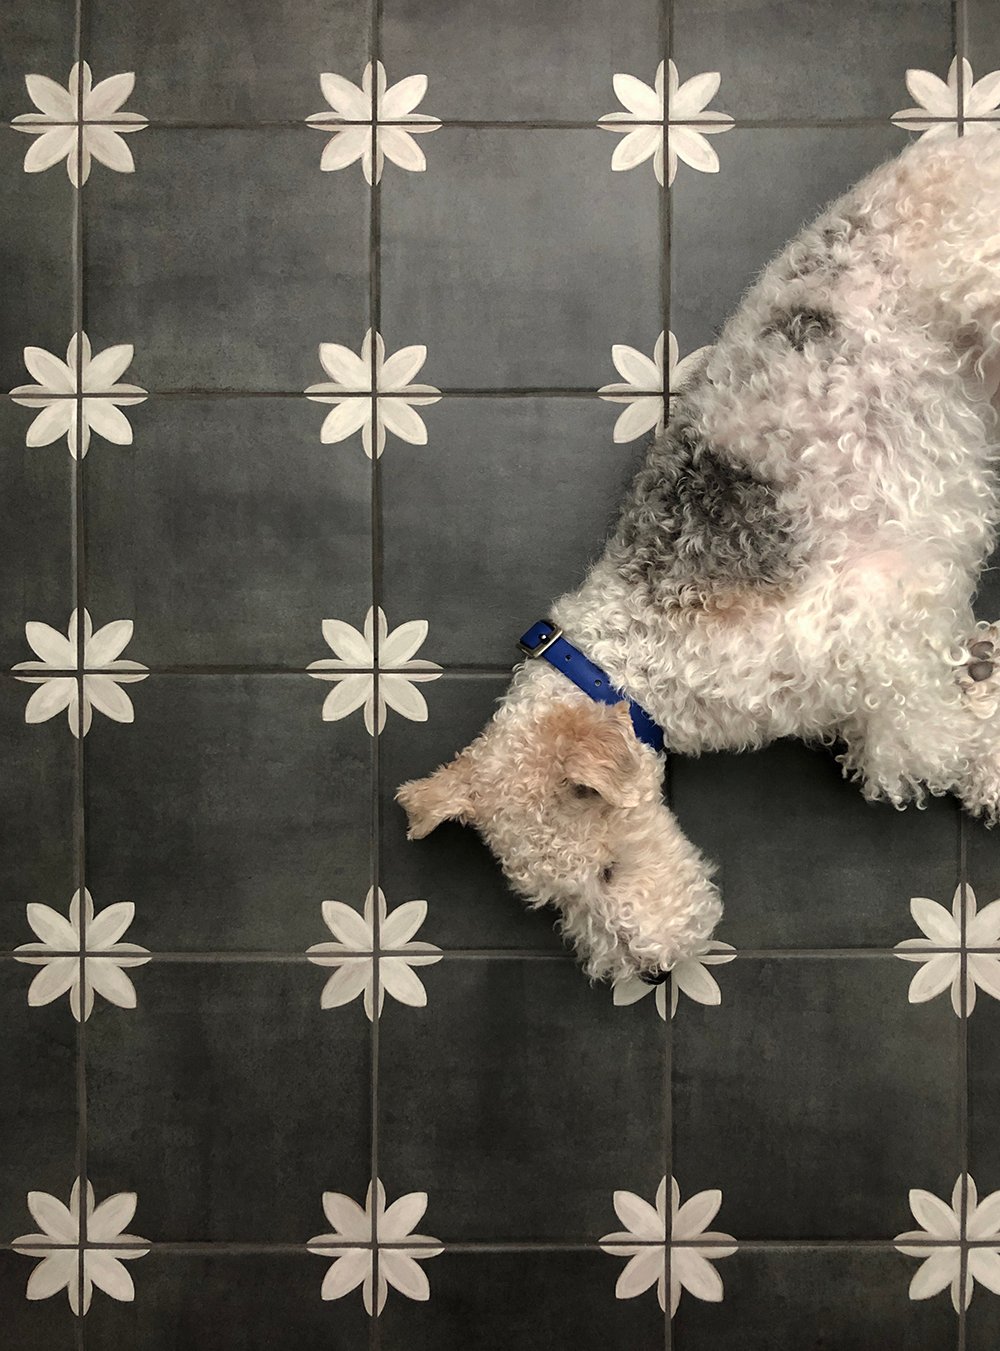
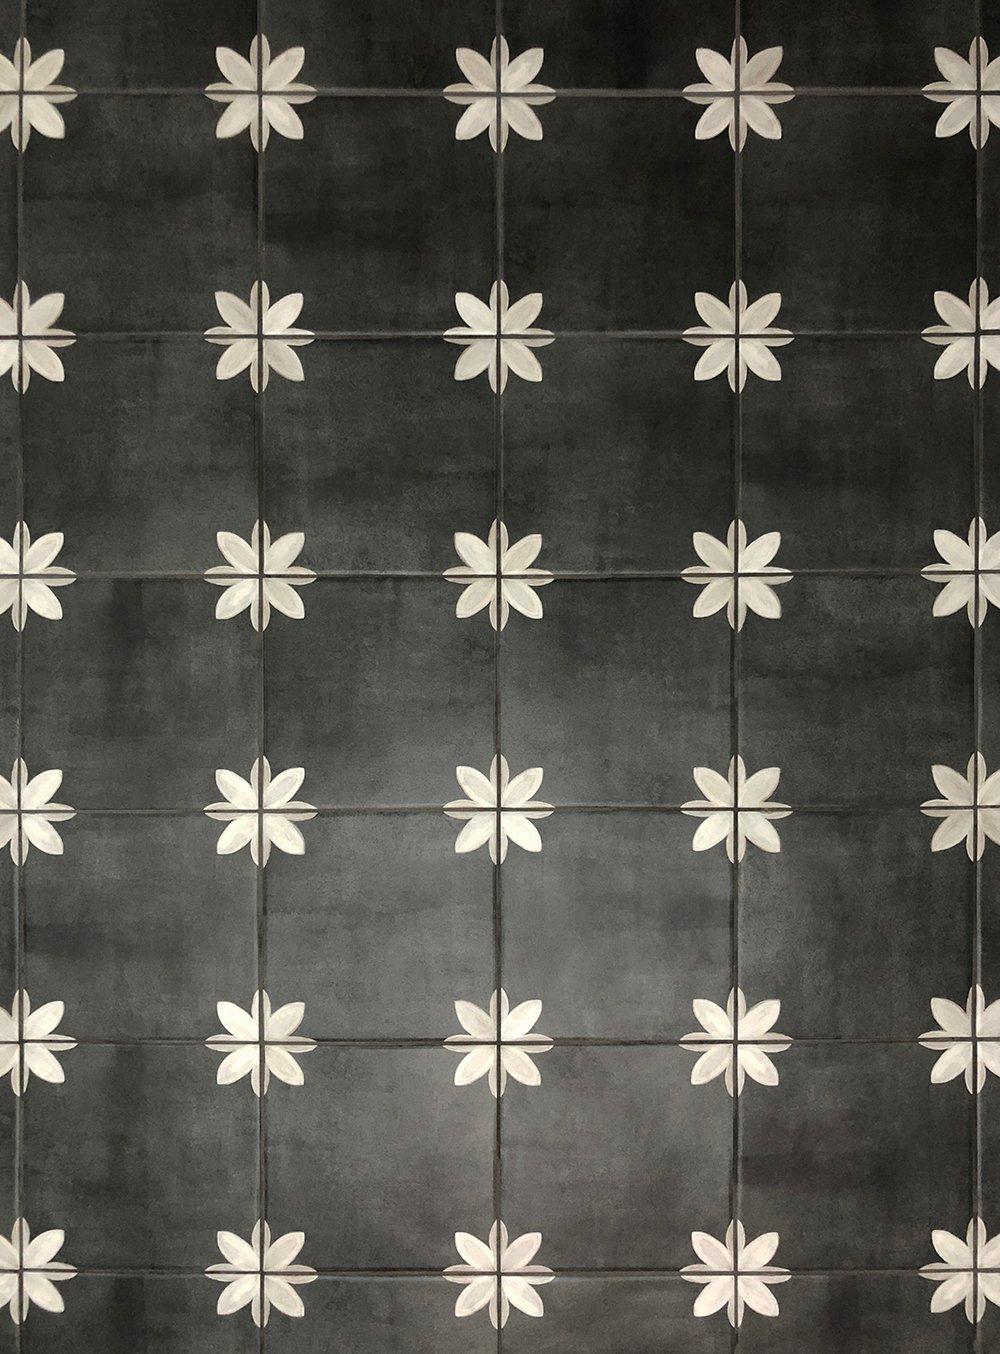
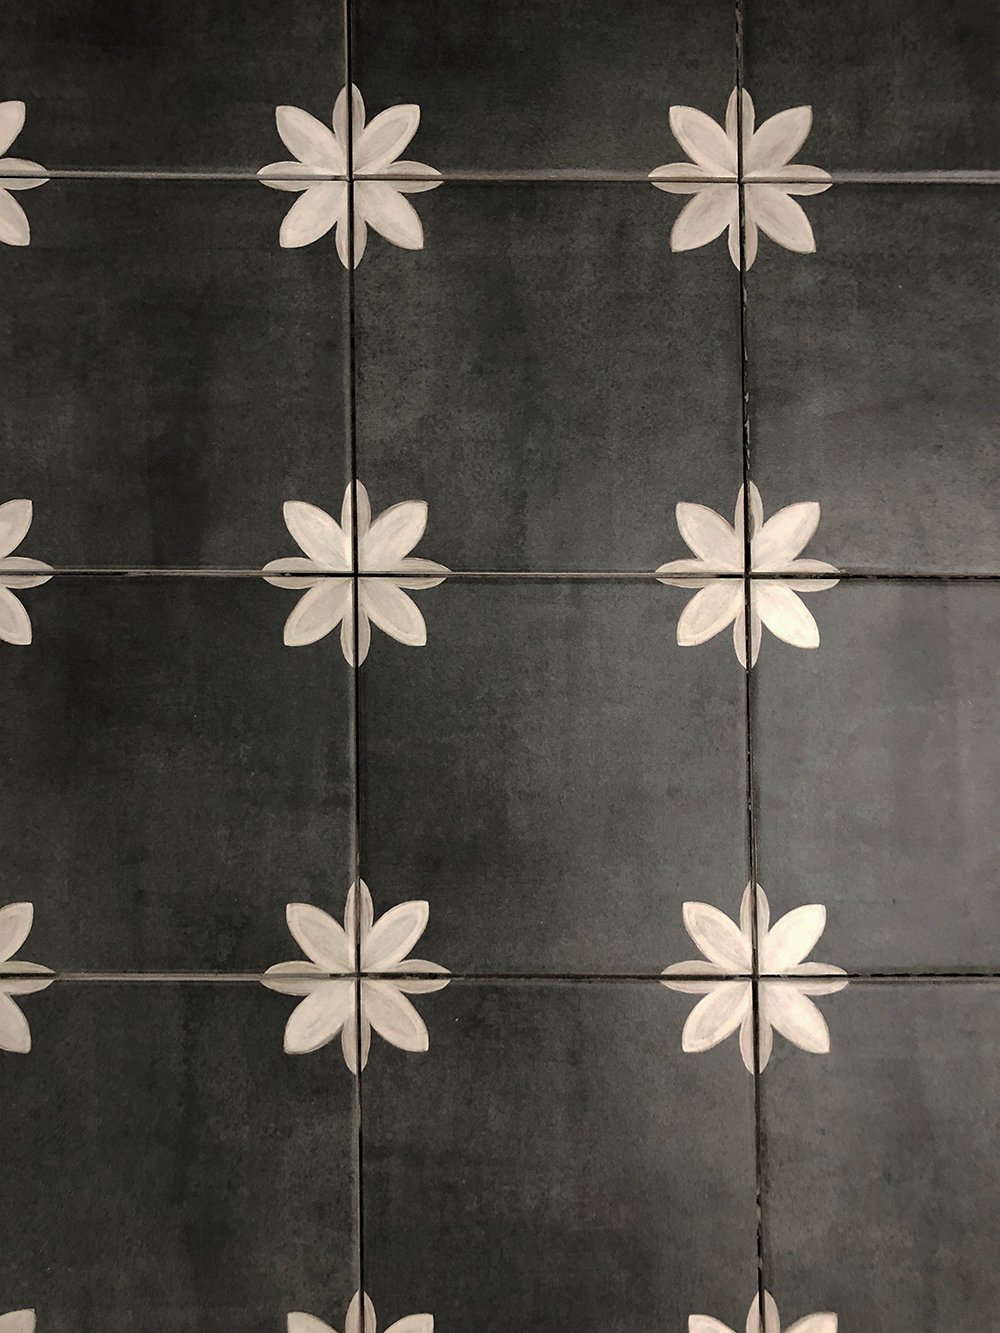
Speaking of tile- I received lots of questions about the patterned floor tile in this space. I knew I wanted something classic, yet fun and playful. This Delle Torre porcelain tile is slip, scratch, and fade resistant. It’s also rated for indoor and outdoor (wet) spaces. It can be used on the floors or walls, and require zero maintenance (no sealing like natural stone). It’s just a great, durable, affordable tile that is pet and kid-friendly, that I think feels pretty timeless. Another perk? The square 8″ x 8″ shape is very easy to install! Overall, I’d recommend it.
 If you have any other questions about the process or products, please let me know in the comment section below! You know I’m always happy to help. I will say- this project was a thousand times easier having the Schluter Heated Floor Kit. That was definitely a game changer. We’ll actually be using another Schluter Kit for the shower. You can get a sneak peek of it in some of the images throughout this post. I’ll share more on that soon! Emmett and I also agreed that we’ll use these same kits when it comes time to renovate our master bathroom. Was this tutorial helpful? I sure hope so!