Entryway Renovation : Demo, Stair Parts, & Flooring
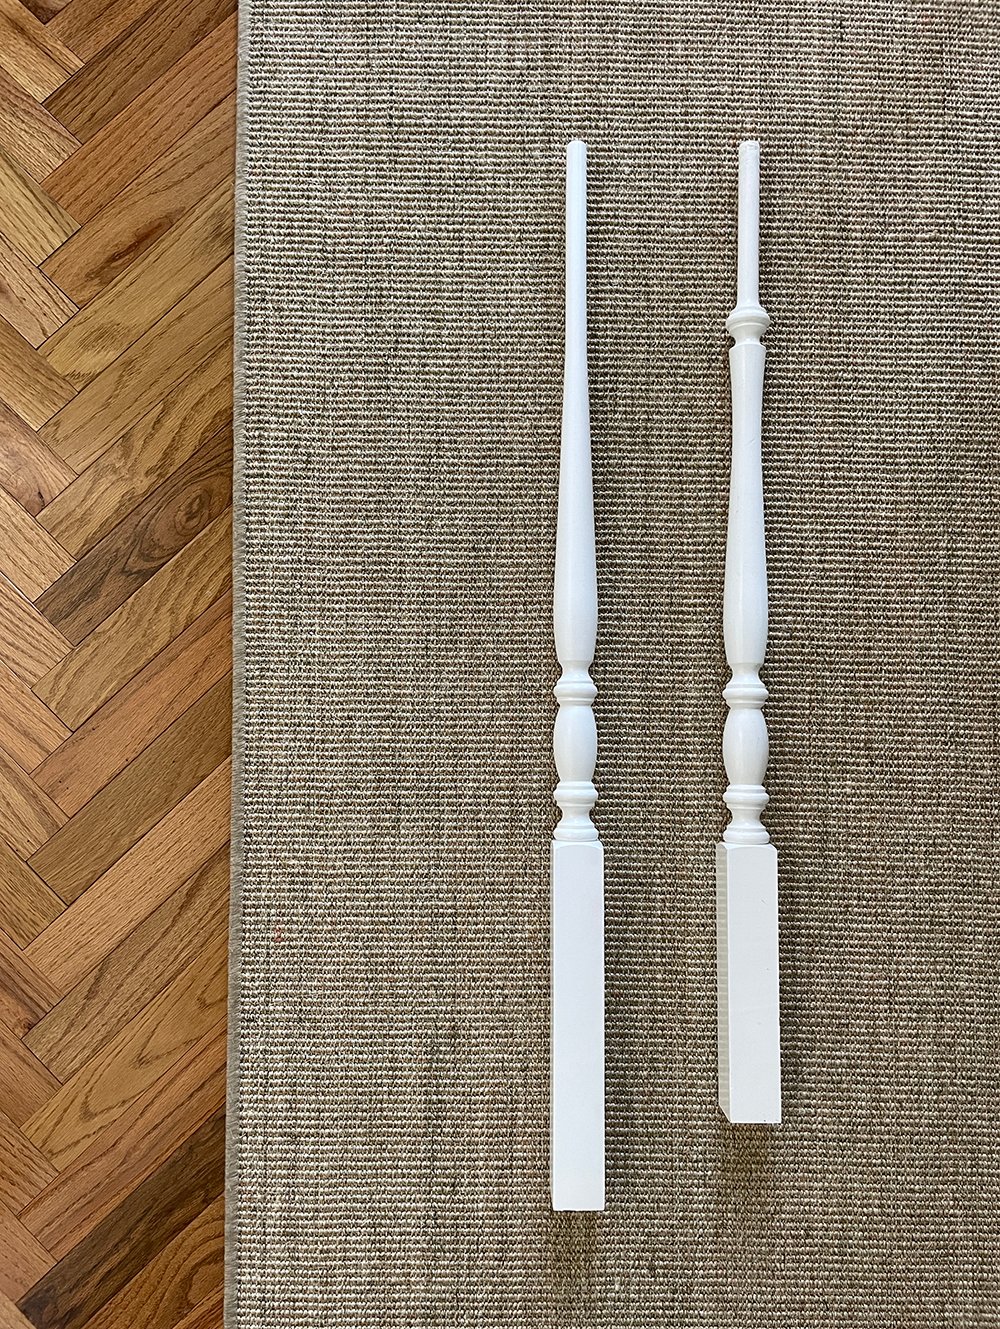 Today, I wanted to share where we’re at with our entryway renovation… it’s another one of those projects that will take us awhile to complete, as supplies have trickled in and it requires tedious work. We finished the beautiful French cabochon limestone floor tile a couple months ago (it’s finally grouted!), and now we’re turning our attention to the stairs and upstairs hallway. Above, you’ll see our new balusters on the left, and the old on the right… they’re actually quite similar. I’m covering all of the design details and progress in this post. Click through for the latest update, to see what we’ve accomplished thus far, and where we’re headed…
 Before I dive into this post, I thought a simplistic diagram may be helpful if you’re unfamiliar with stair part vocabulary-just so you know what I’m talking about or referring to. It might also be beneficial to pin for later- in case you’re planning your own future staircase makeover.
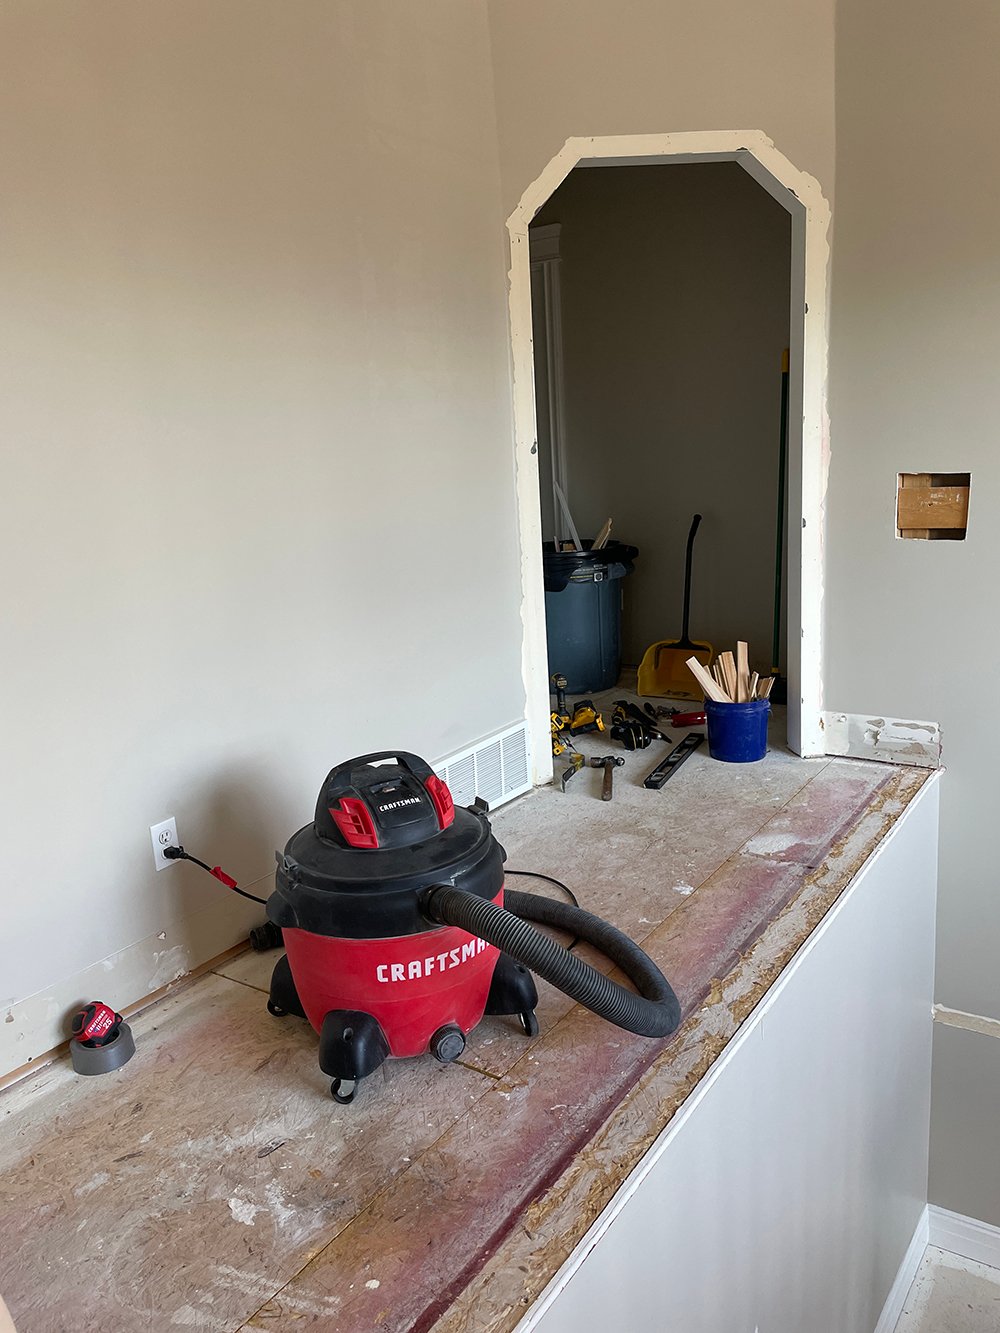
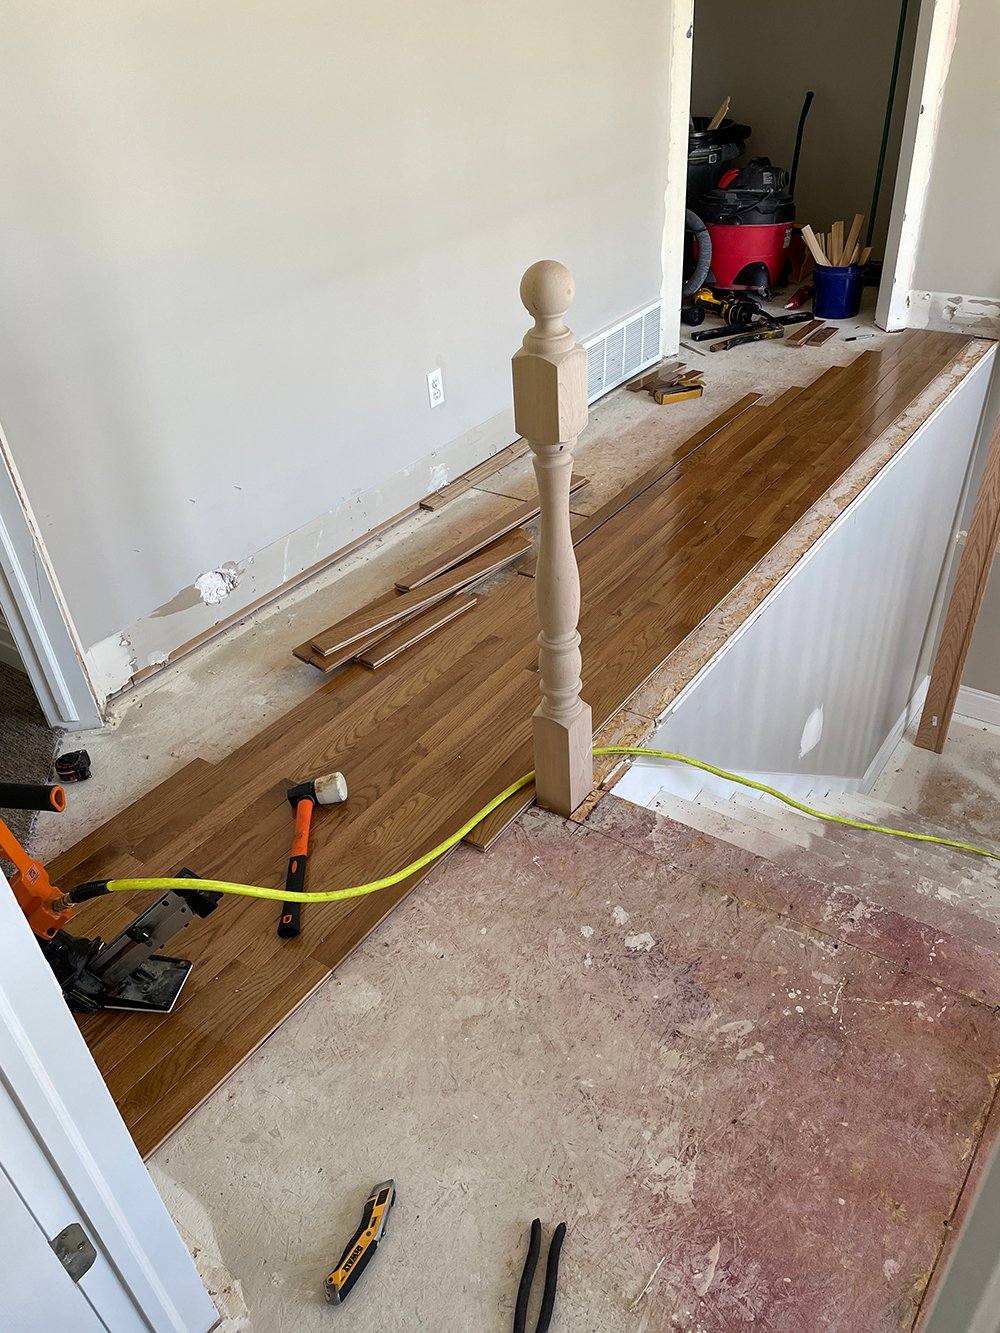
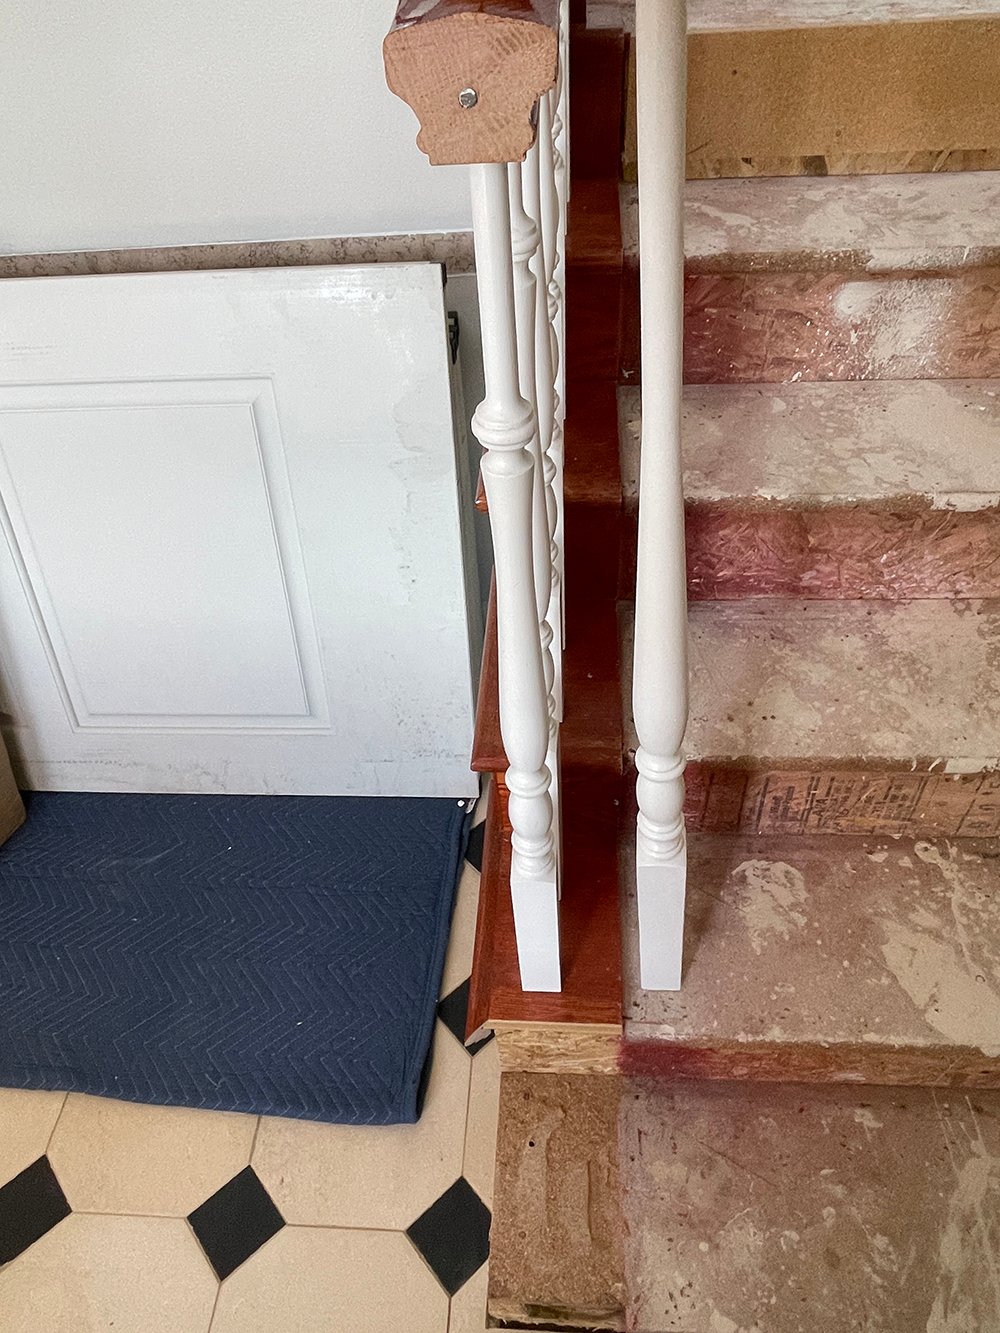
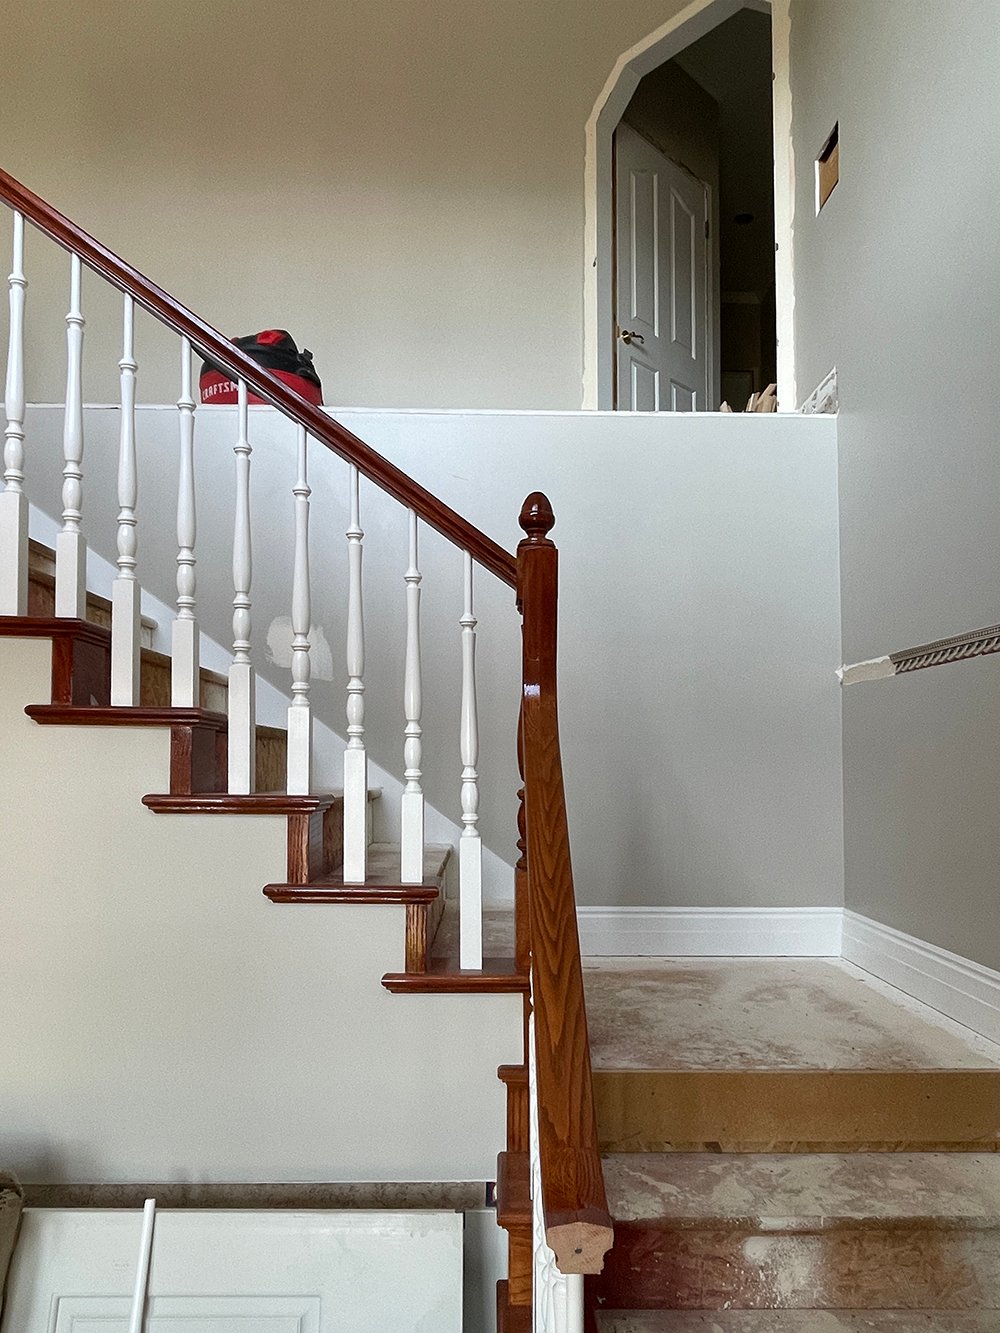 First, here is a quick glimpse of demo. As you can tell, we’ve got the top railing, balusters, and newels completely removed. It looks pretty wild up there! During the day-to-day, we actually block off that section and have been keeping a close eye on the dogs sans railing (for safety), but we’re hoping to knock that part out rather quickly, instead of putting up a temporary railing. It’s not too terribly steep, but is still a safety hazard.
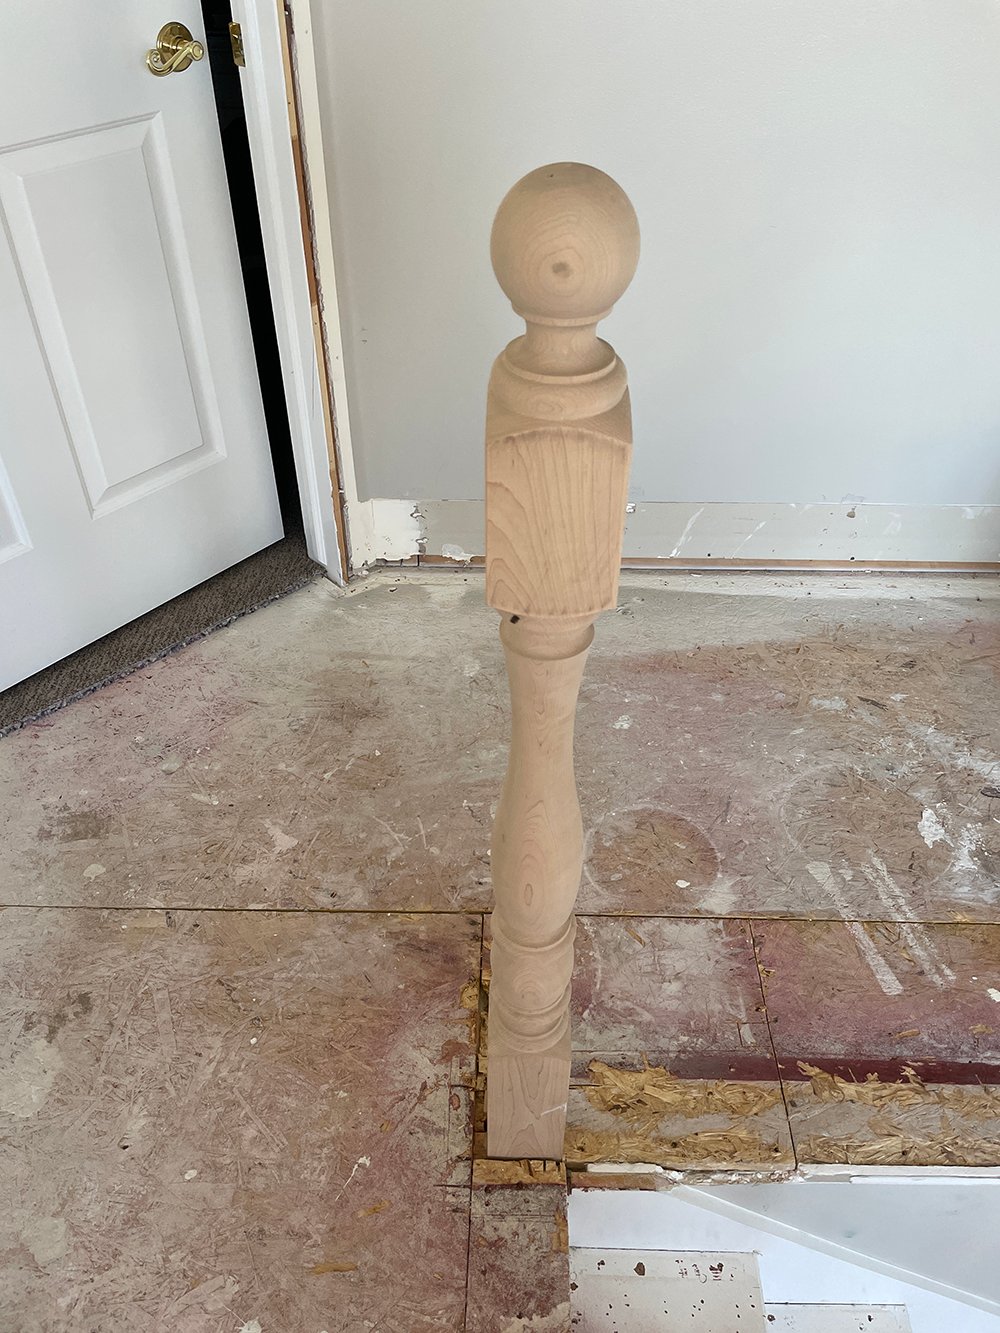
 Emmett had to set the first newel post in order to proceed with our upstairs hallway flooring. This thing is sturdy! It feels so much more secure than the previous one. For craftsmanship and safety reasons alone, I’m glad we replaced it. I also love the sphere shaped finial.
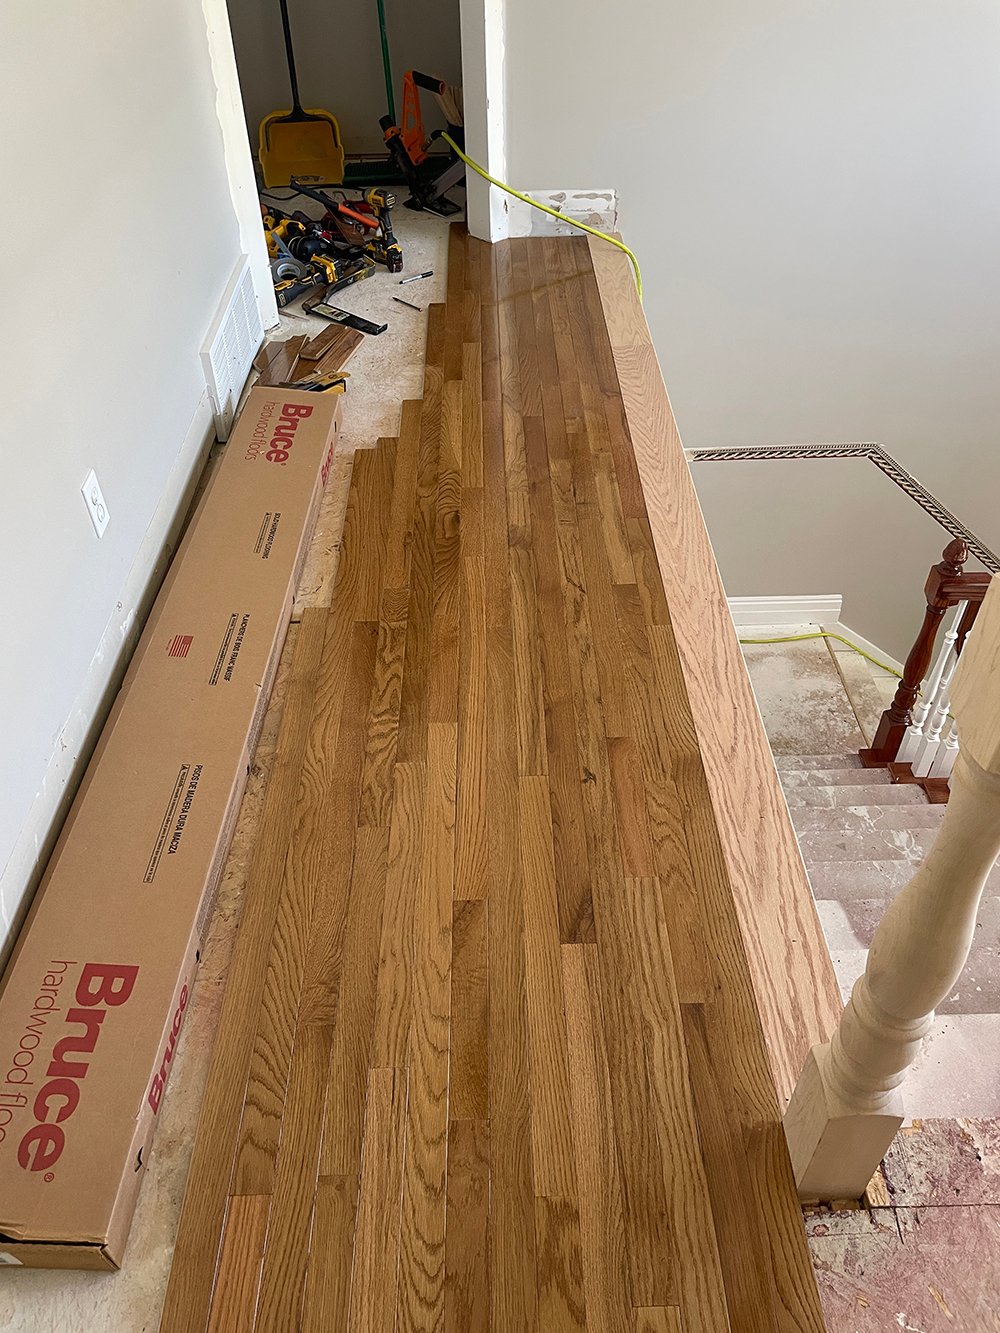
 I knew I wanted to continue our hardwood flooring from the main floor in the upstairs hallway (and hopefully primary bedroom later on), but honestly Emmett was not thrilled about installing more herringbone. For the sake of our budget (overage for herringbone), time, and his back… we comprised for a standard installation with the same material. It will cut our costs and time.
 I actually think this casual look feels more fitting for our upstairs living quarters anyway- and using the same material & finish keeps it cohesive with our main level. We’re both happy!
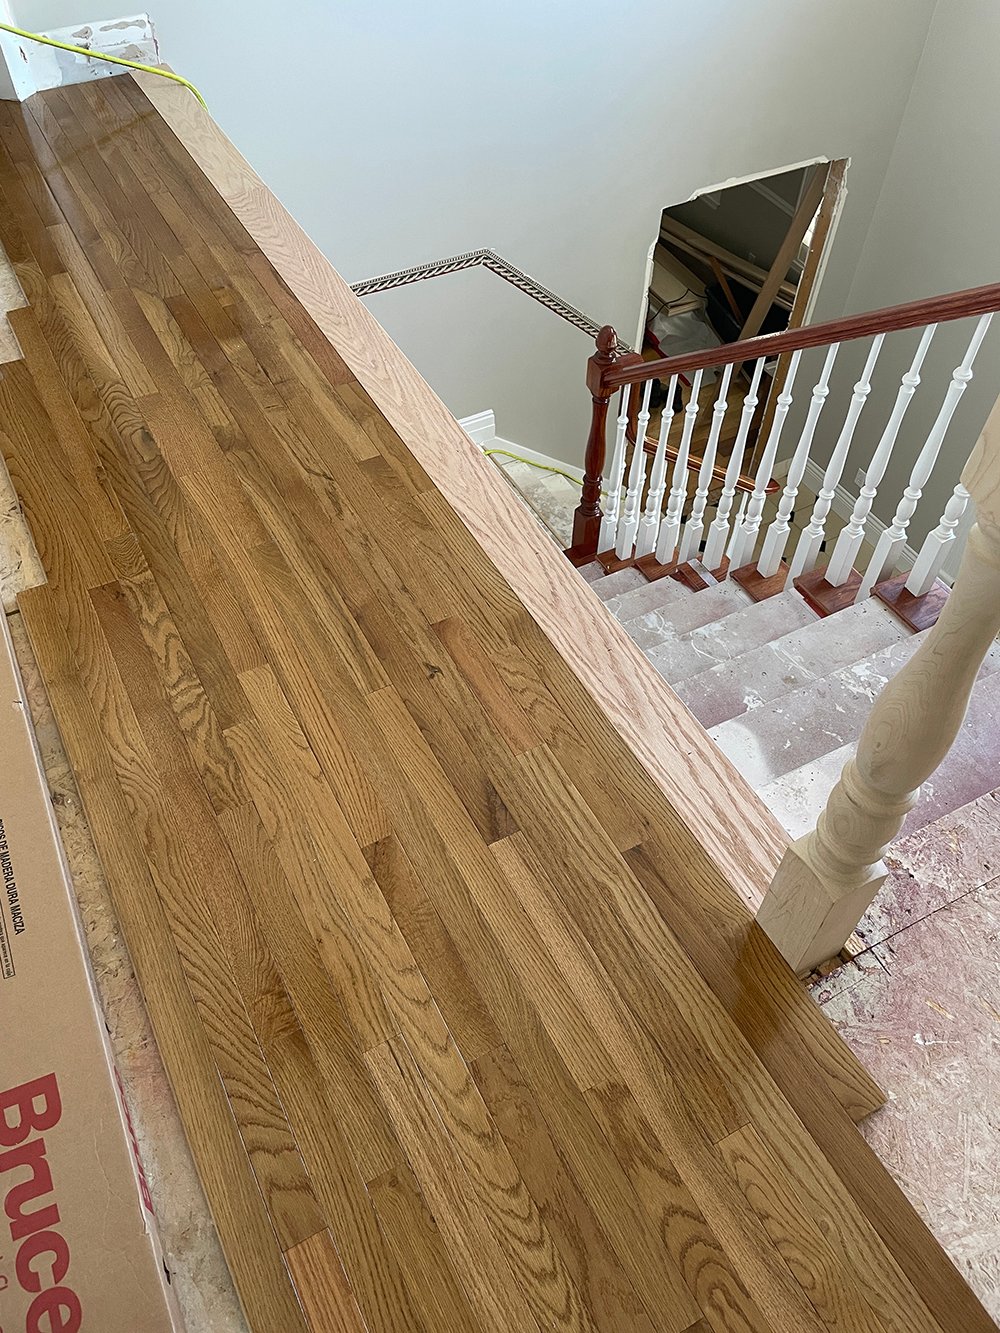
 Everything on the floor will be stained to match (the oak pieces), and we’ll be painting the stair parts in a couple different colors. I actually liked the look of our previous staircase, having a different colored railing. We’re going to replicate that… just not in the cherry finish, for a more modern aesthetic.
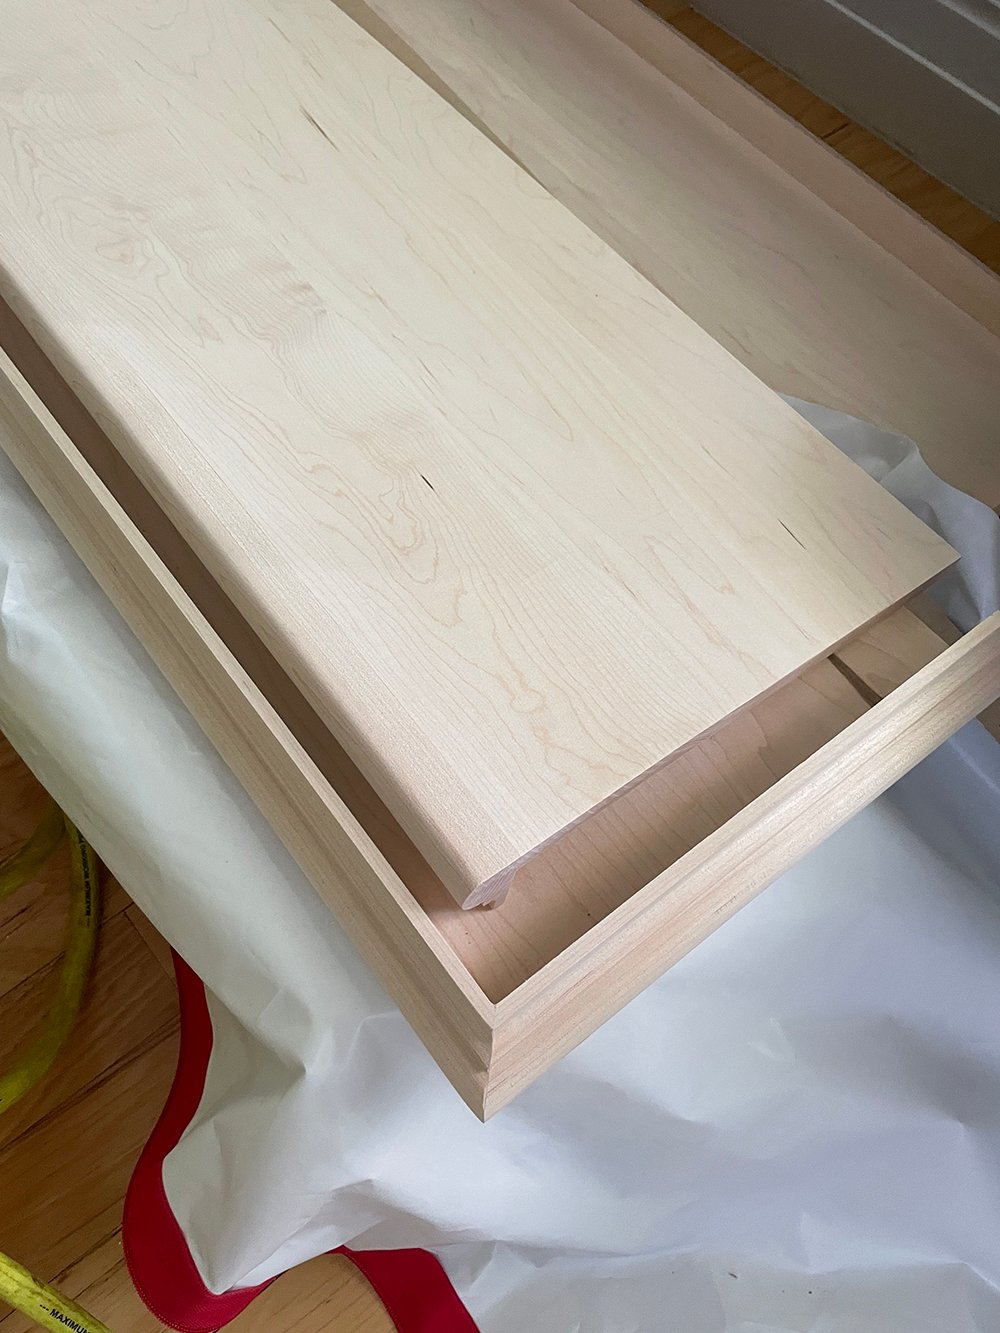
 We finally have all of the stair parts in our possession and I wanted to give you a peek and quick comparison. Below, you’ll see our wood stair treads. They have a standard bullnose edge profile, and we’ll be adding a runner for better traction, acoustics, functionality, and design.
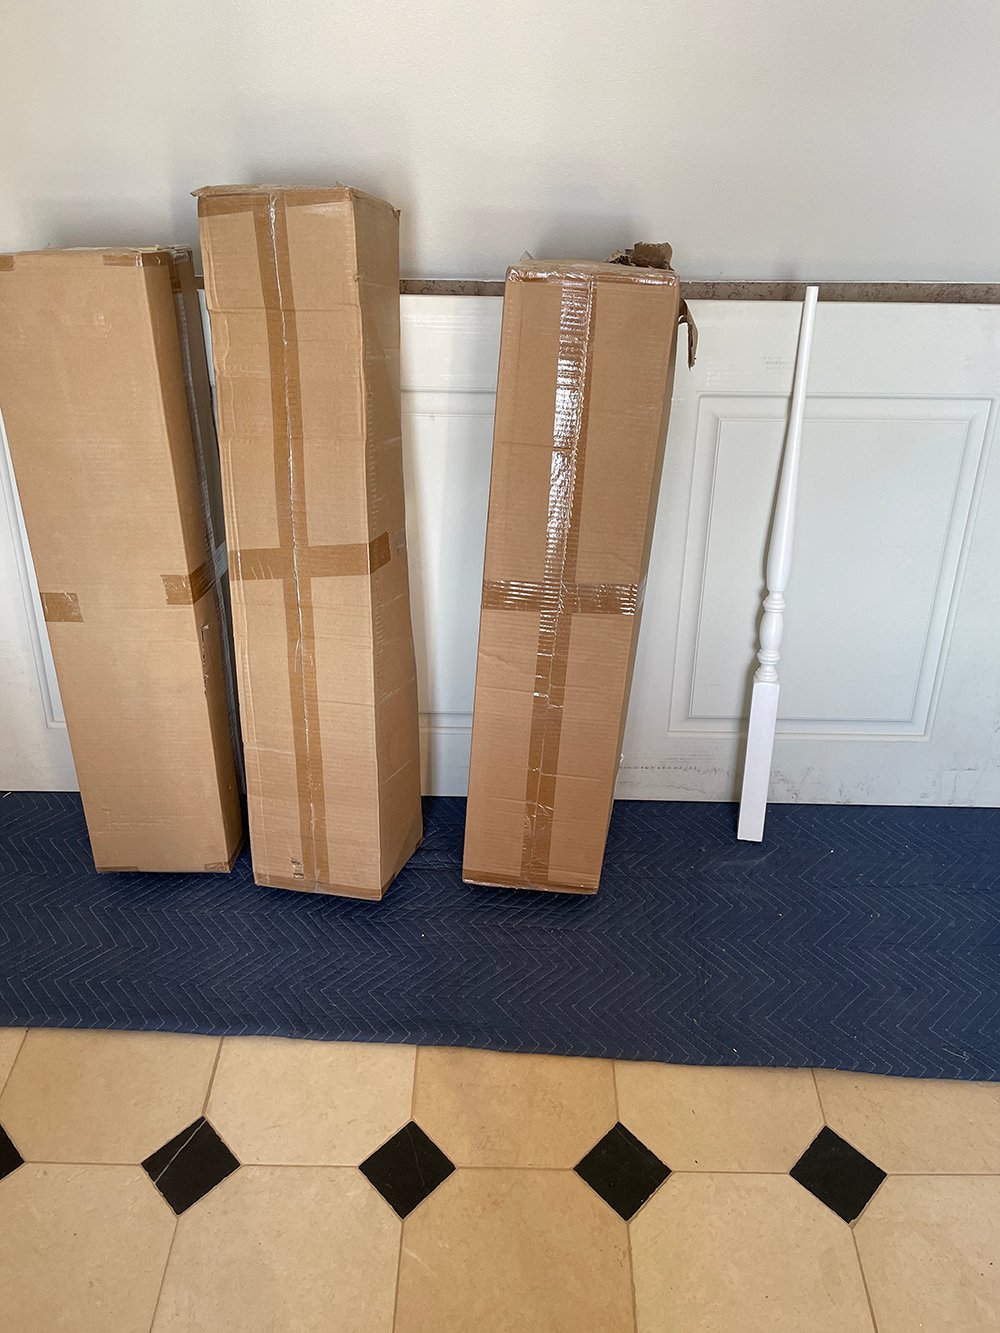
 The balusters are actually very similar, as I liked the traditional profile… but I did want to streamline it a bit. I had them remove the top third detail for a tapered colonial look, leaving the ogee on the bottom portion of the baluster for balance. Below, the old is on the left and the new is on the right…
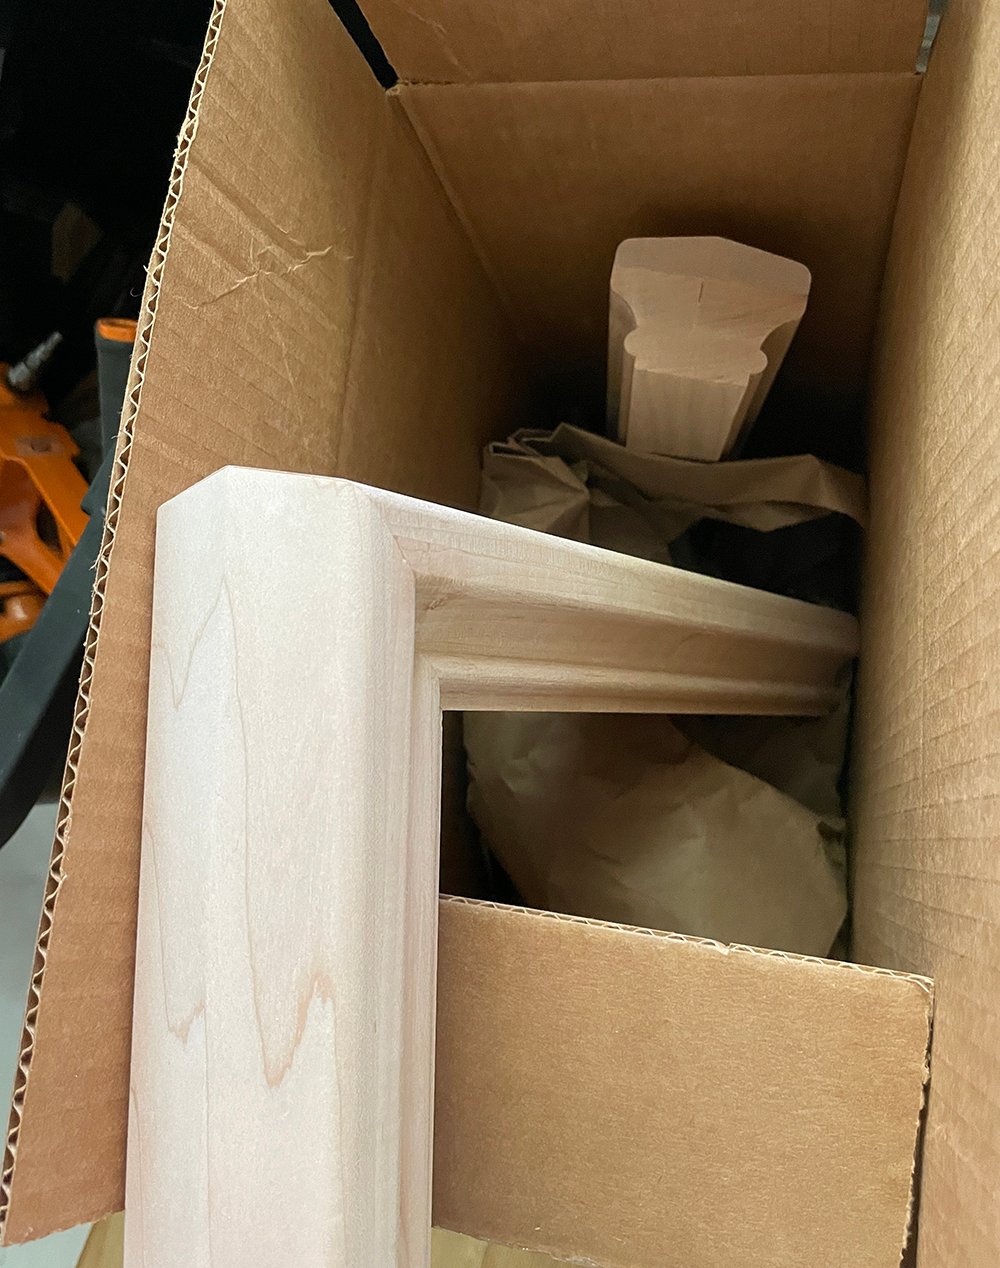
 The railing will look identical… you can see the existing in the demo cut above, and the new in the box below. Oddly enough, it was less expensive to order a new railing than to refinish and repair the existing one (since other parts were changing). Since we had to order a new one, I did change the lower portion of the railing a bit, where it will meet newel post.
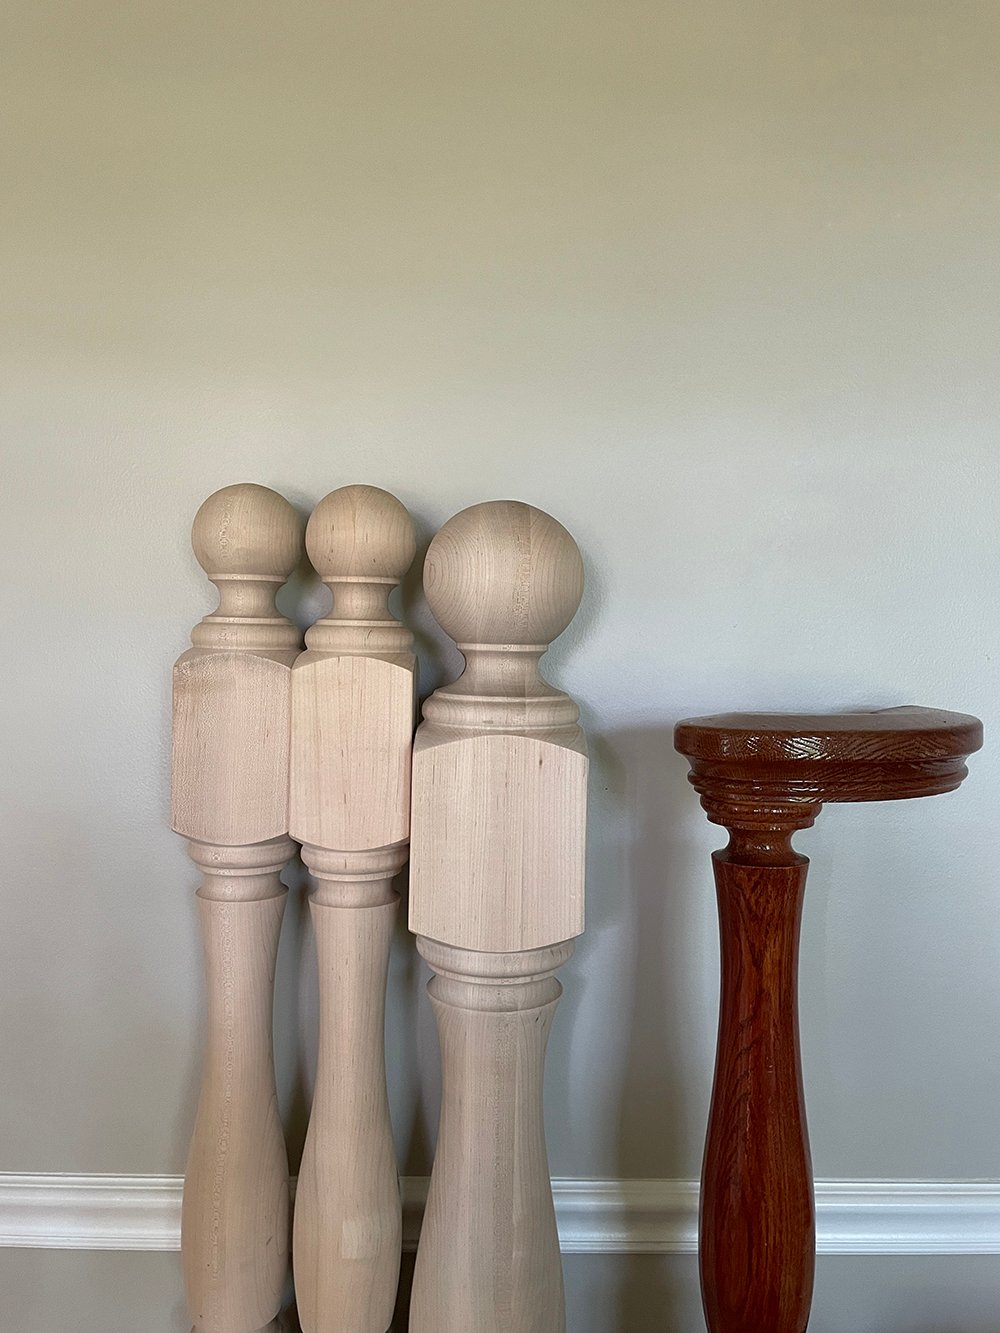
 Here is an example of the updated newel posts in comparison to the old. They’re very similar in style (again- sticking with the colonial profiles), but I did change the finial tops to a sphere.
 In other exciting news, our doors for the upstairs bedrooms also arrived! Since we’re reworking the entryway and upstairs hallway, it made sense to go ahead and replace the hollow core doors for a solid option. We went ahead and replaced the guest bathroom and guest bedroom doors when we renovated those rooms, but we still have four to replace in the upstairs hallway. I can’t wait to finally have consistent and matching doors up there… complete with gorgeous hardware! If you’re curious about our doors and hardware, check out this blog post.
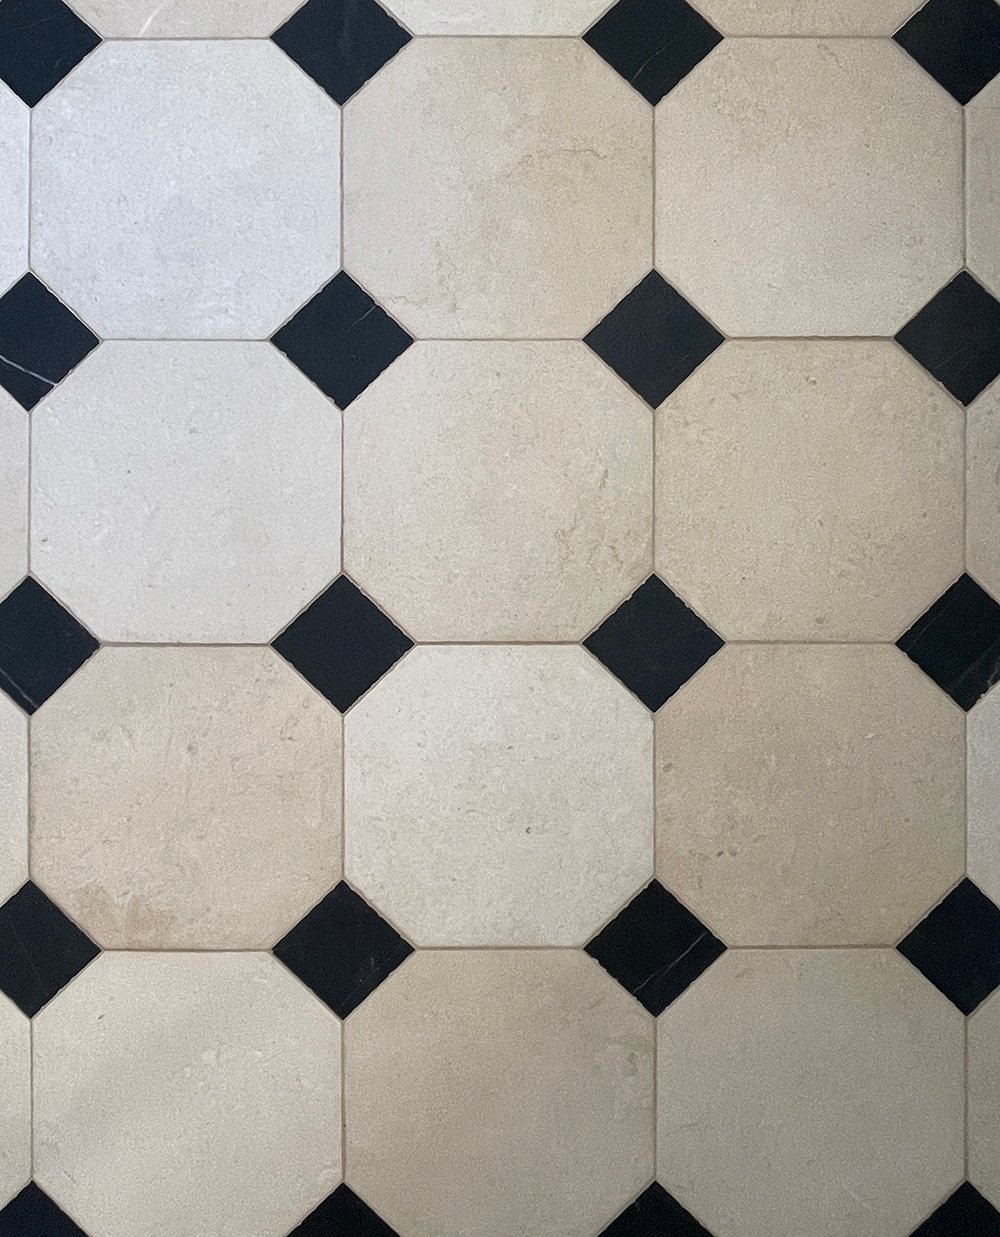
 One last update for the floor tile in the entry… it’s totally finished! Now that’s it grouted, we’ve turned our attention to the wood flooring upstairs and the stair parts. During this part of the renovation, we’re just trying to protect it the best we can, but it’s very durable and looks amazing. If you’ve missed any entryway process or design posts, I’ll link them below- if you’d like to catch up:
- Our Entryway & Staircase Plan
- Entryway Renovation : Before Images & Demo
- Our Entryway Tile + Alternative Options
 Things should begin to look very different soon. I’m looking forward to seeing the finished flooring, and then we’ll dive into installing & staining / painting the stair components. We’ll also be installing lighting, a runner, artwork, and of course- styling is always my favorite part of the process. Let me know if you have any stair questions! I hope you’re having a great day.