Quick Plaster Bust DIY
 I picked up this extra large resin bust from an estate sale a few months ago- knowing the color wasn’t my favorite, but it could easily be changed. Rather than painting it, I thought plaster would add a nice texture and would make it look a bit more high end and original. This isn’t my first plaster project… the last one I shared on the blog was my DIY lamp last year. Remember that one? Every once in awhile when I pull out my plaster, I go on a rampage hunting for things around the house that could benefit from the finish. Click through for my quick process and to see how my thrifted bust turned out.
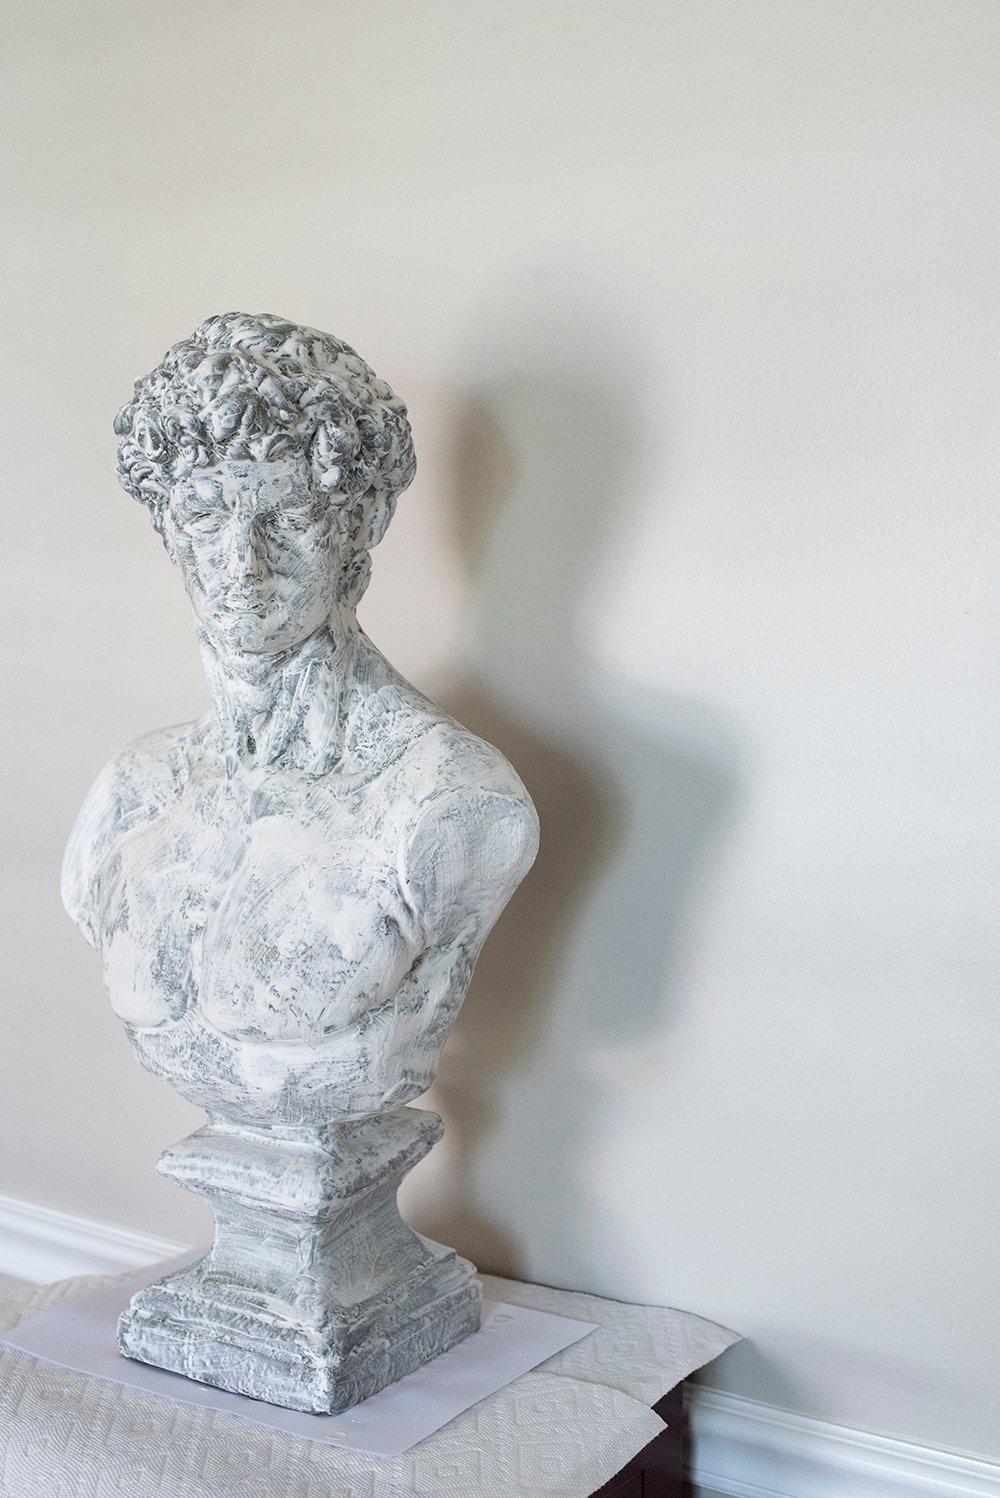
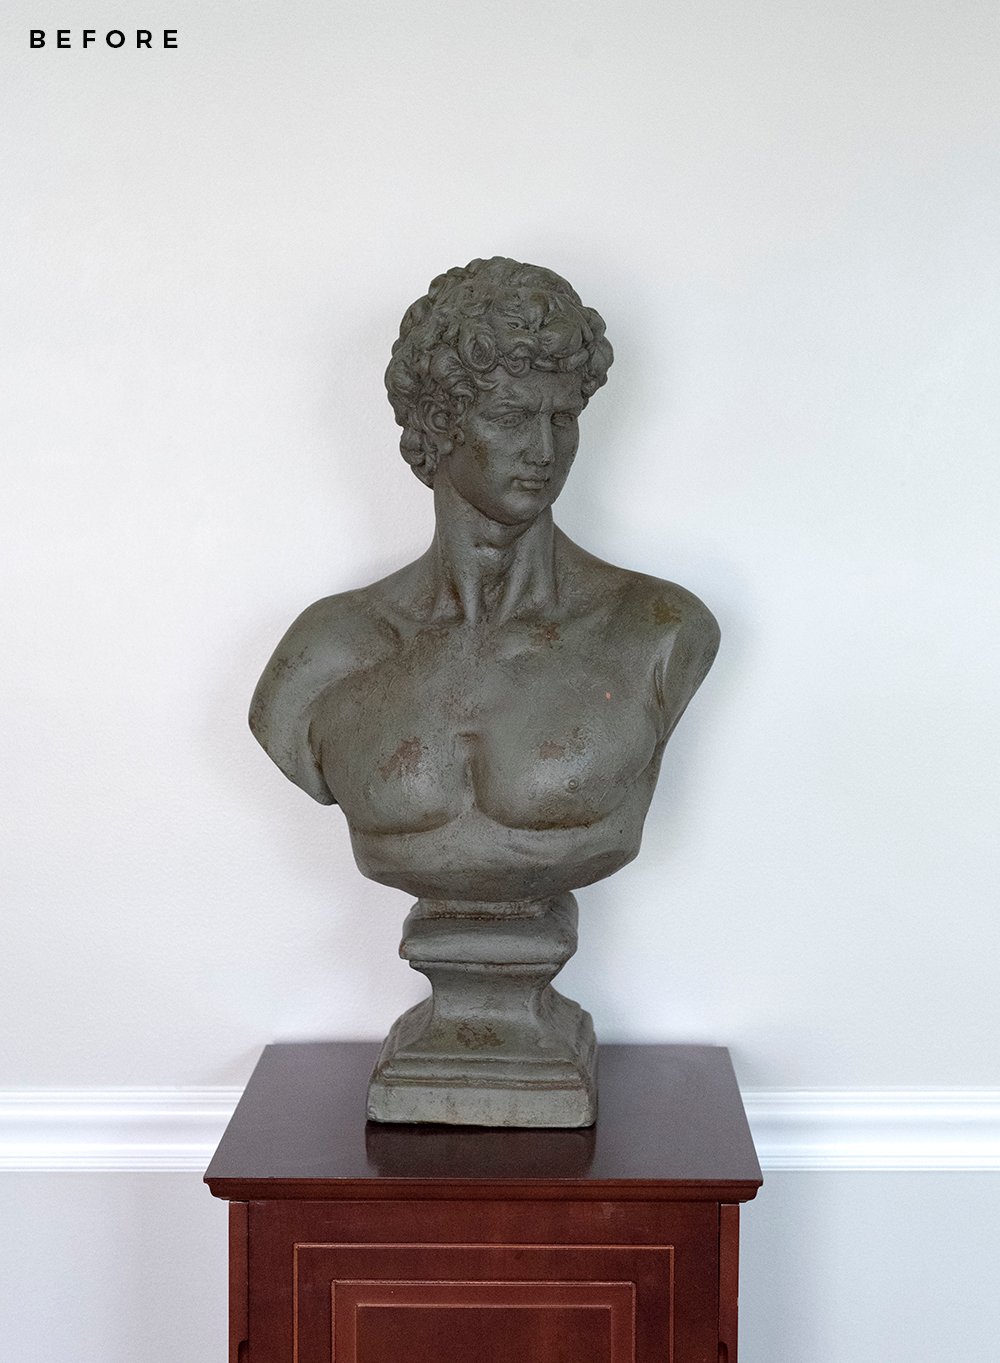 Here is my thrifted bust sitting atop my thrifted pedestal (that I still need to refinish or paint). They both have great scale and actually look pretty nice paired together, but I definitely want to address the color on both items. First up? I was excited to tackle the bust with multiple layers of plaster.
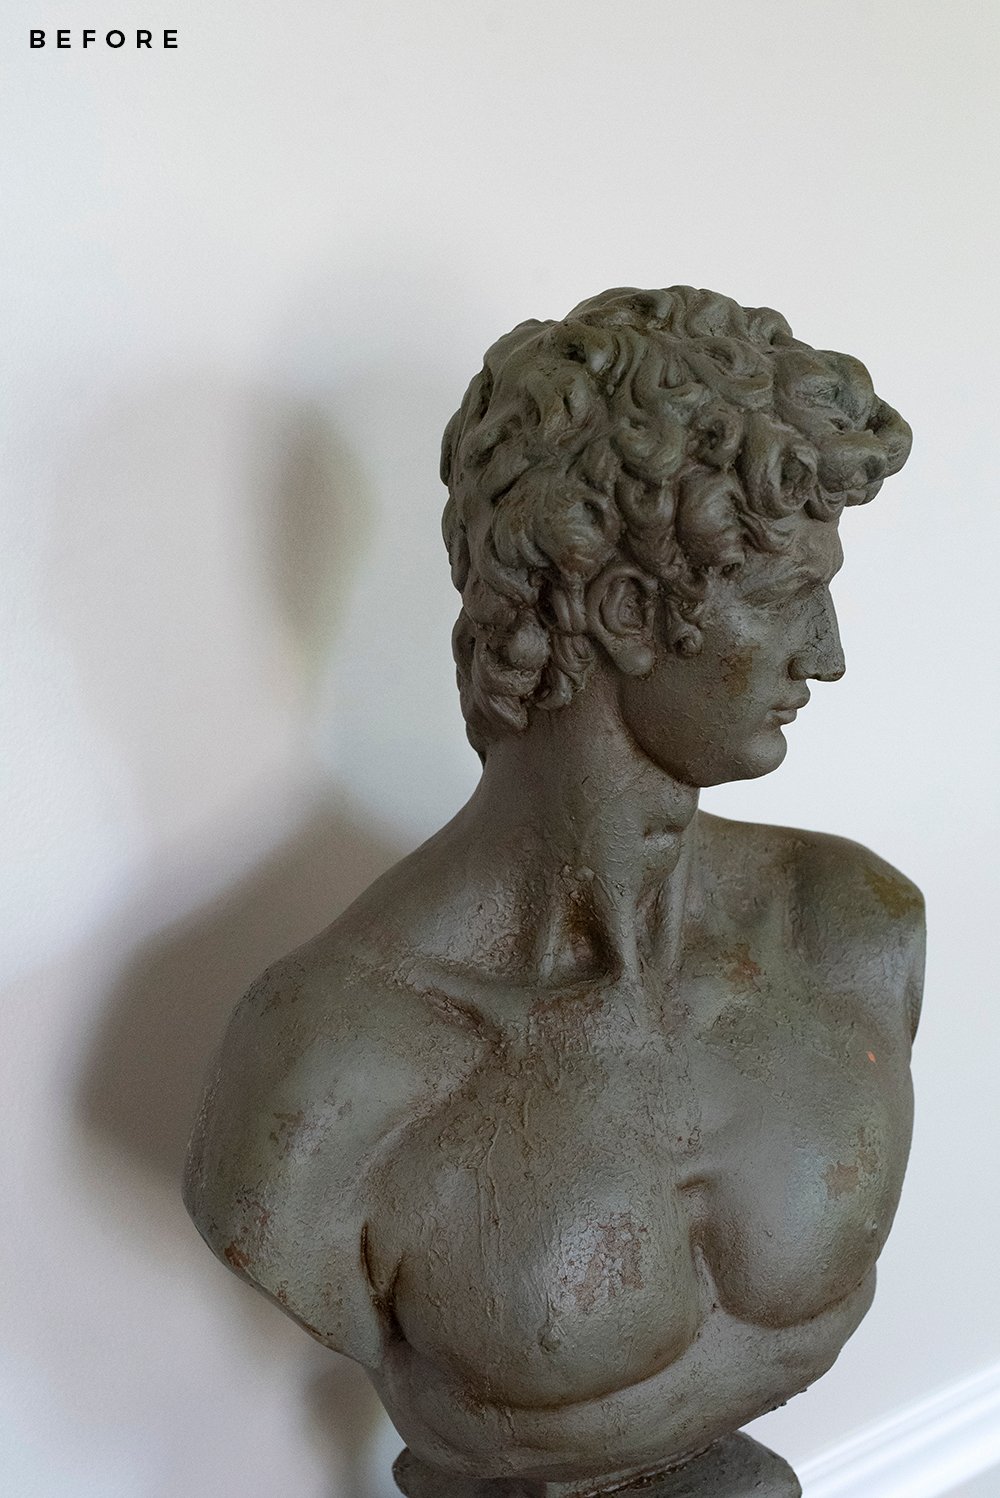 The existing finish definitely looked manufactured and faux. It had a plastic type of feel to it that wasn’t doing the large bust any favors. This project was quick and easy. You really only need three things to achieve a similar look…
SUPPLIES + TOOLS:
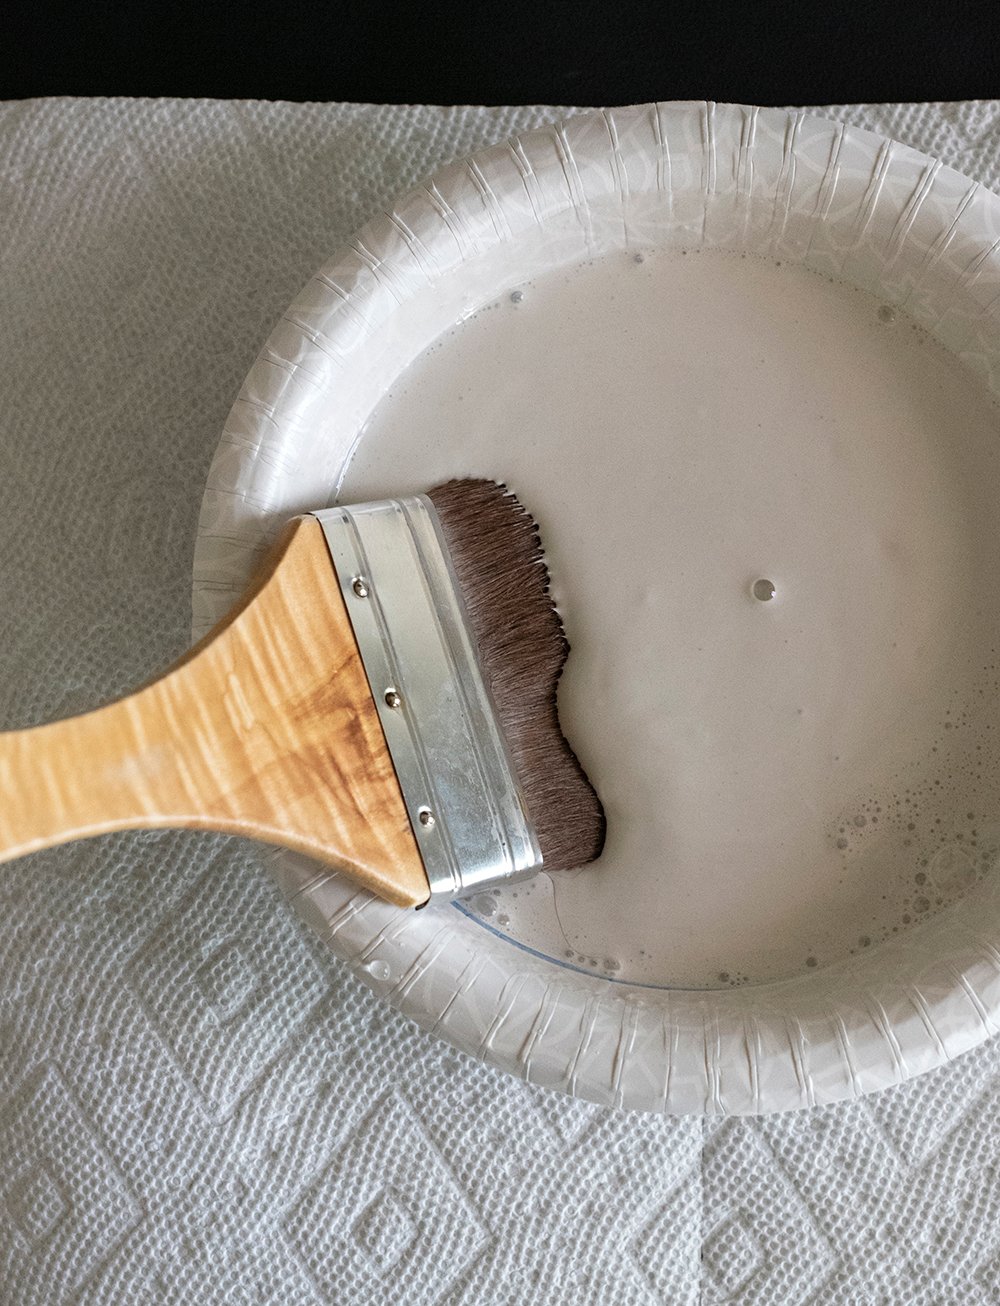 Add a splash of water to the dry plaster mix, smoothing the clumps until it resembles something that looks like pancake batter. I went ahead and applied the plaster directly to the bust, but feel free to prime your piece white, if you’re looking for a more perfect application.
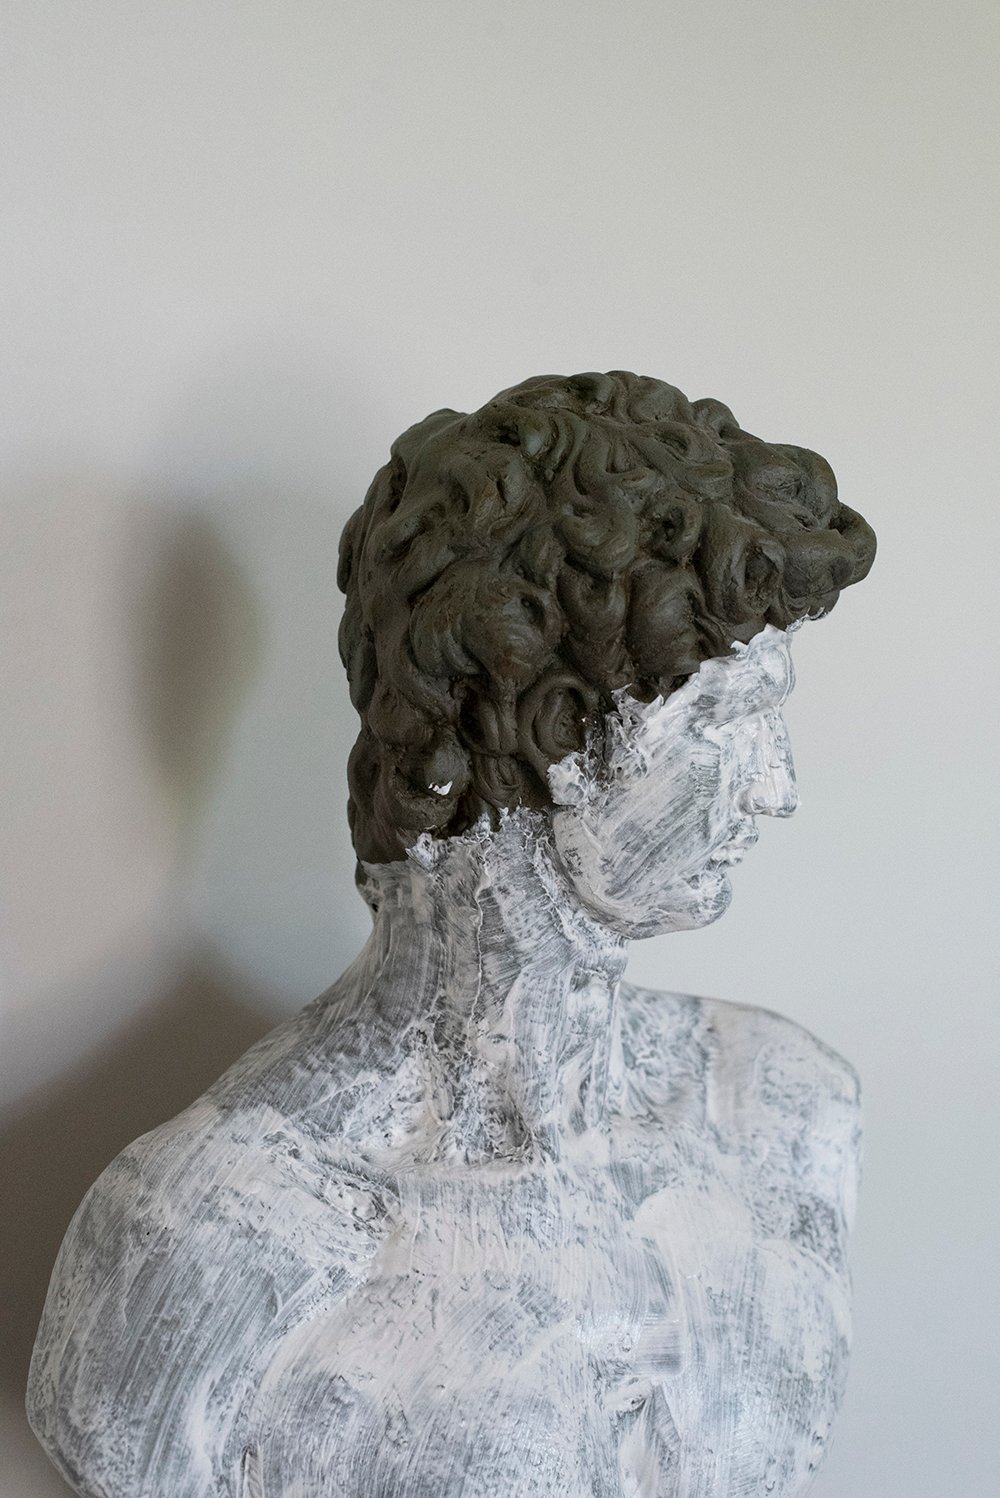 I began layering the plaster onto the bust in thin, imperfect layers. My goal was really coverage at this point in the process.
 It will look pretty terrible and scary at first, but rest assured- the more layers you add, the better it gets! Unlike paint, plaster isn’t easy to layer up.
 With each coat of wet plaster, it pulls up the previous coat. The key is to think of your brush as a sculpting tool, rather than a paintbrush. Plaster and paint are nothing alike, so you really have to press the plaster onto the object (like clay or slip), smoothing and sculpting as you go.
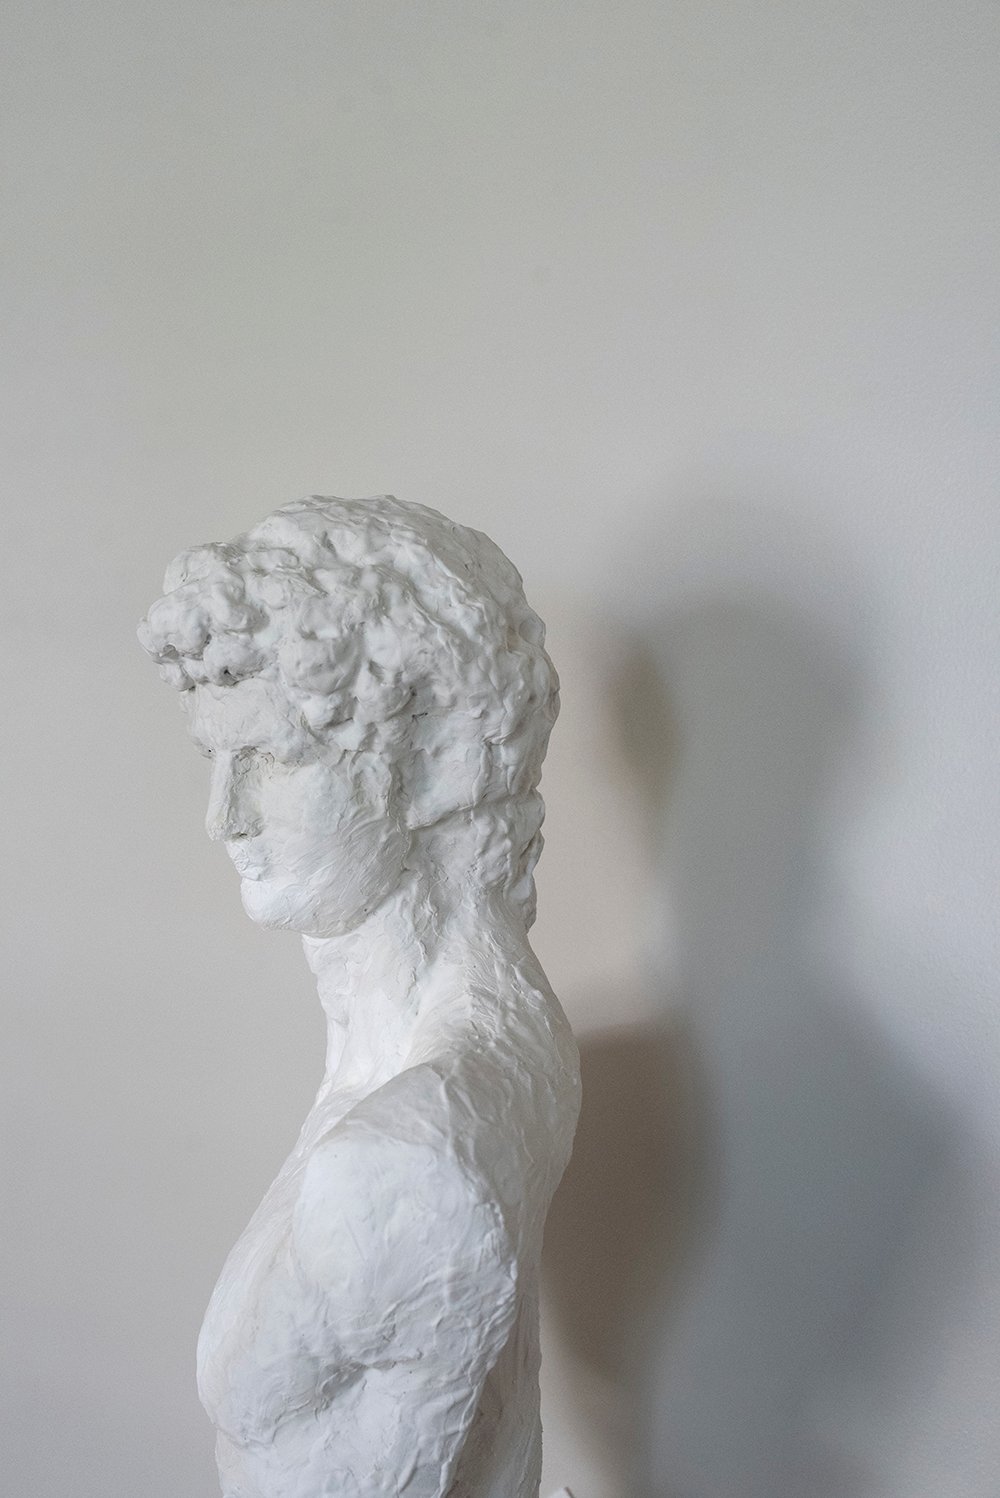
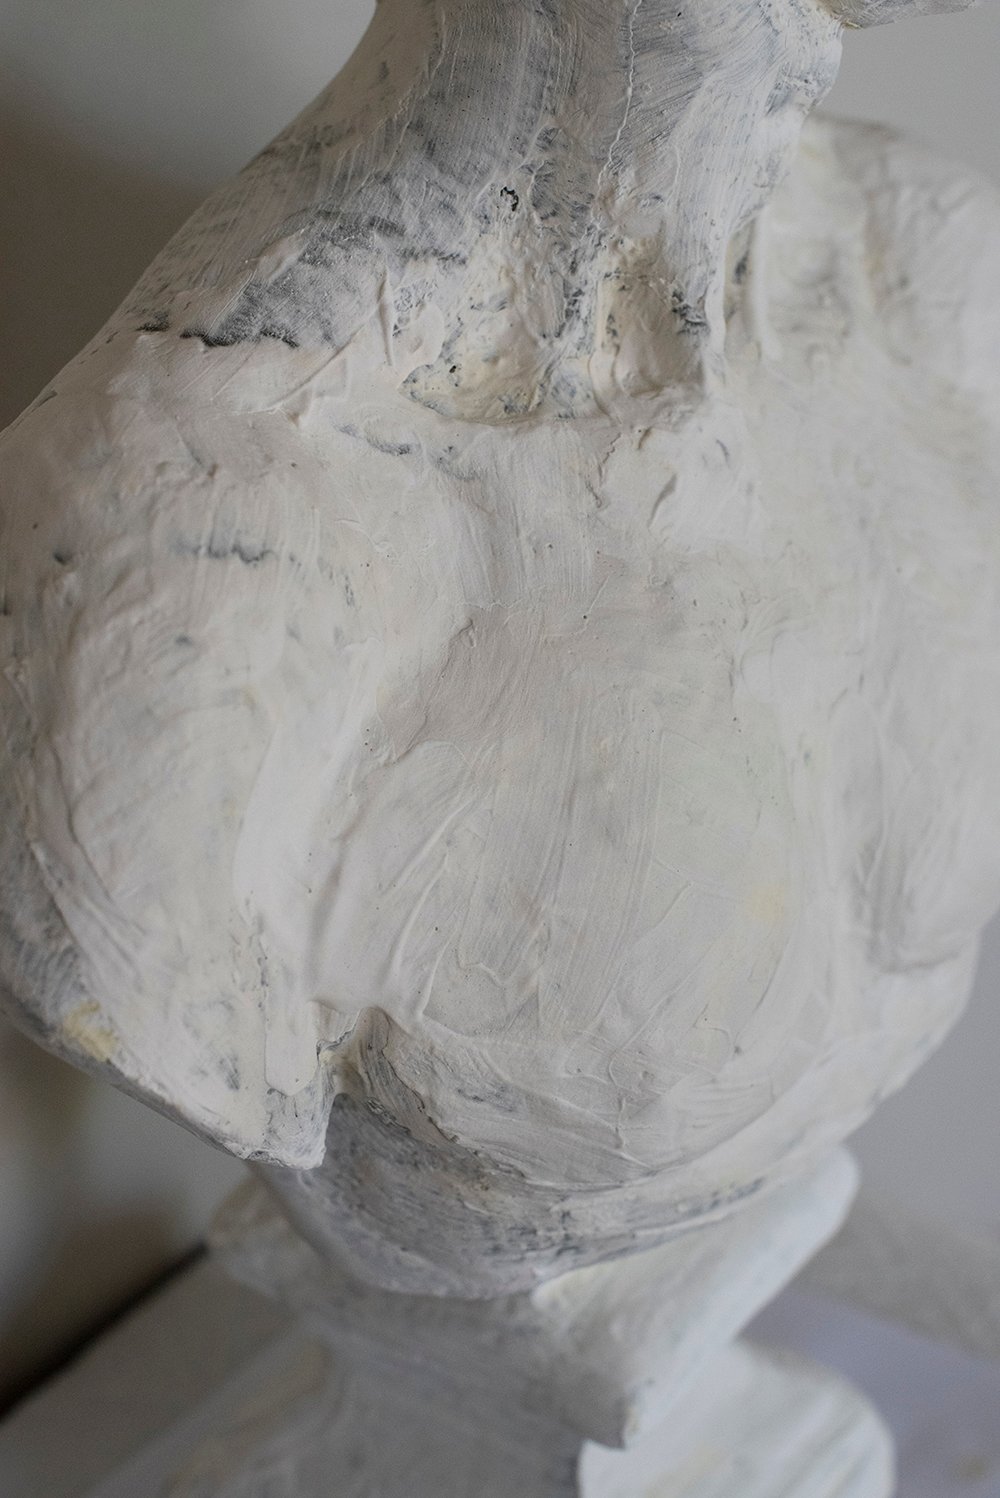 That’s when you’ll see the layers really begin to build, and the object will become more opaque. I was going for a molded, textural look (rather than sanded or smooth), so I really emphasized the brush strokes.
 If the organic look isn’t your thing, you can still follow this same process, and sand the piece down at the end to smooth the finish. I really wanted this bust to have the appearance of marks and fingerprints- like something had sculpted it by hand… therefore I leaned into the texture!
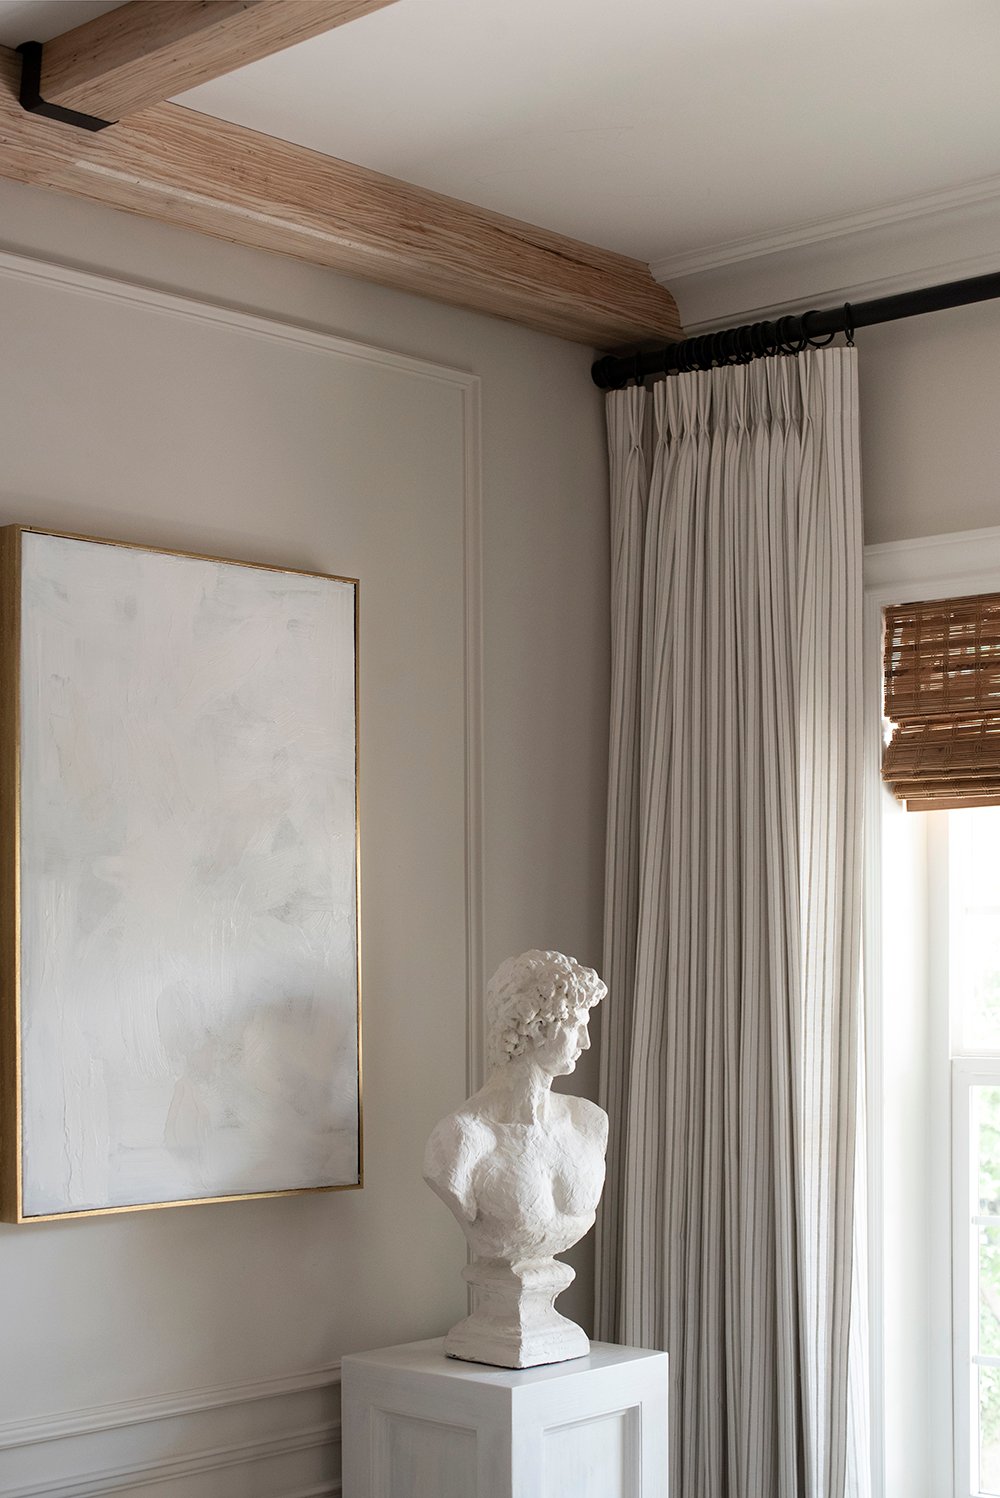
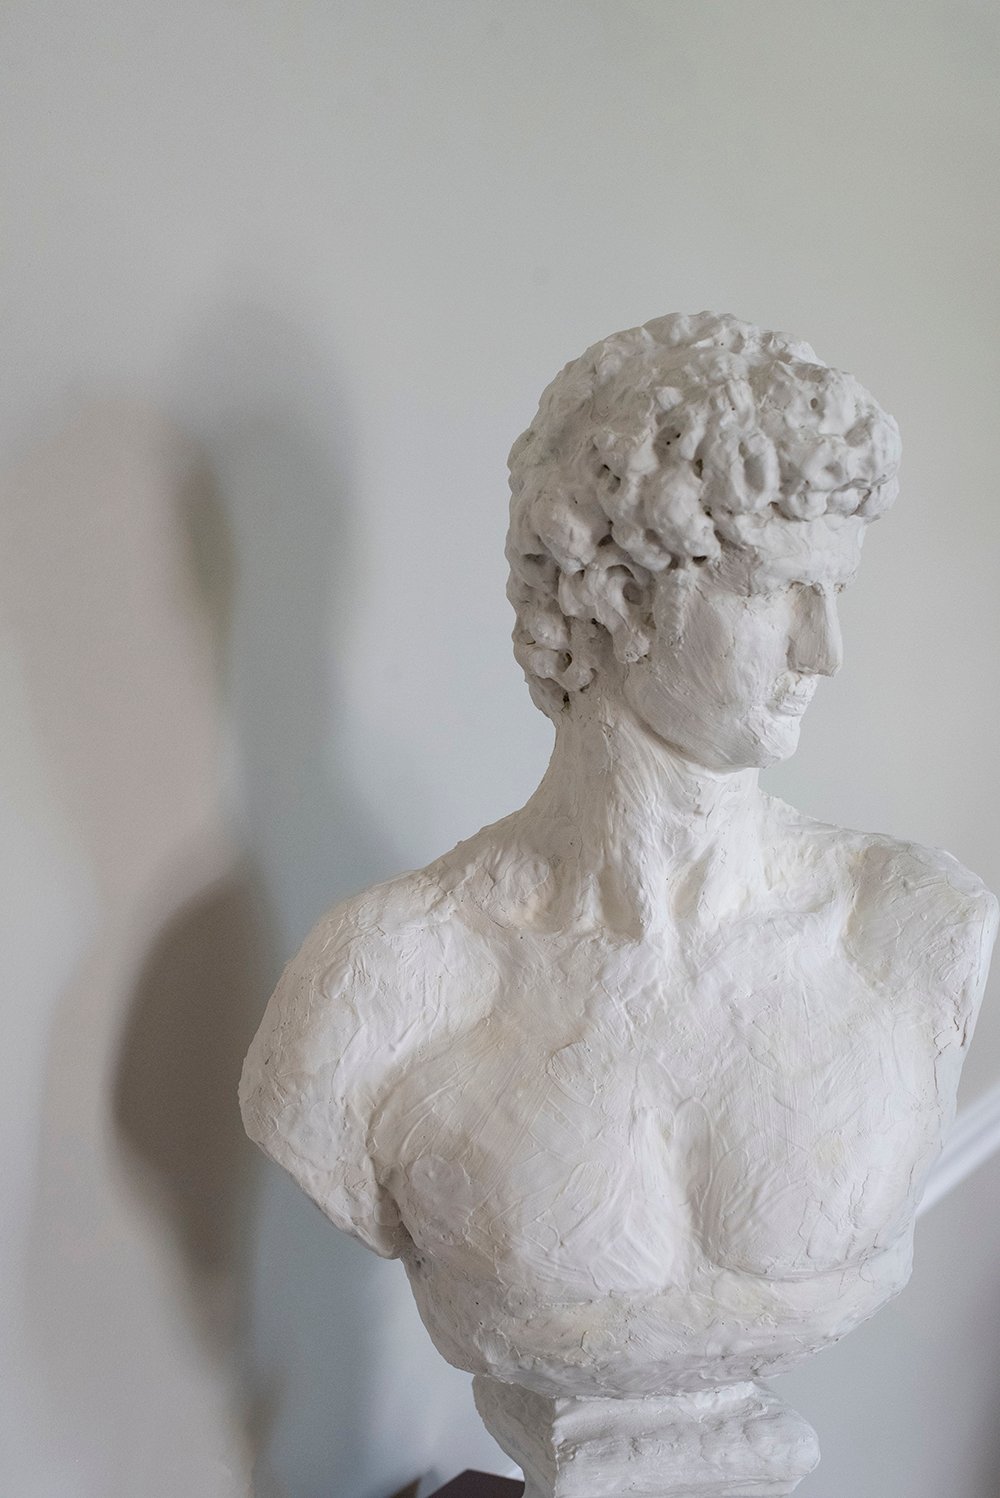
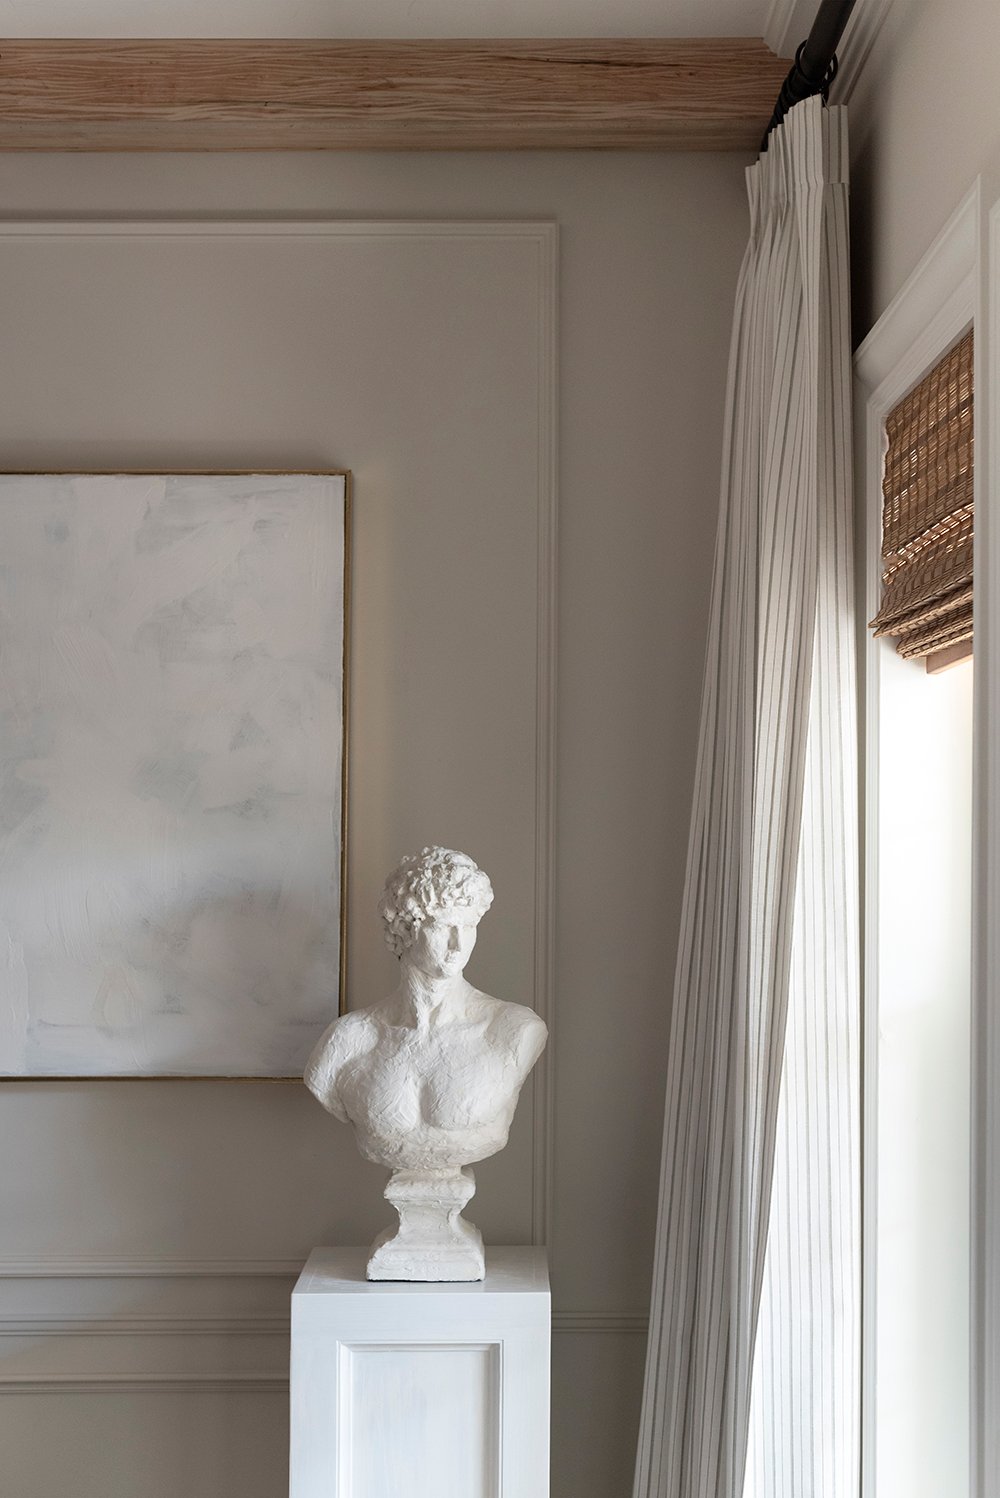
 I think it turned out really nice! The finish is definitely more artistic and interesting than where it started, and it was a quick, budget-friendly project. I’m definitely calling it a win!
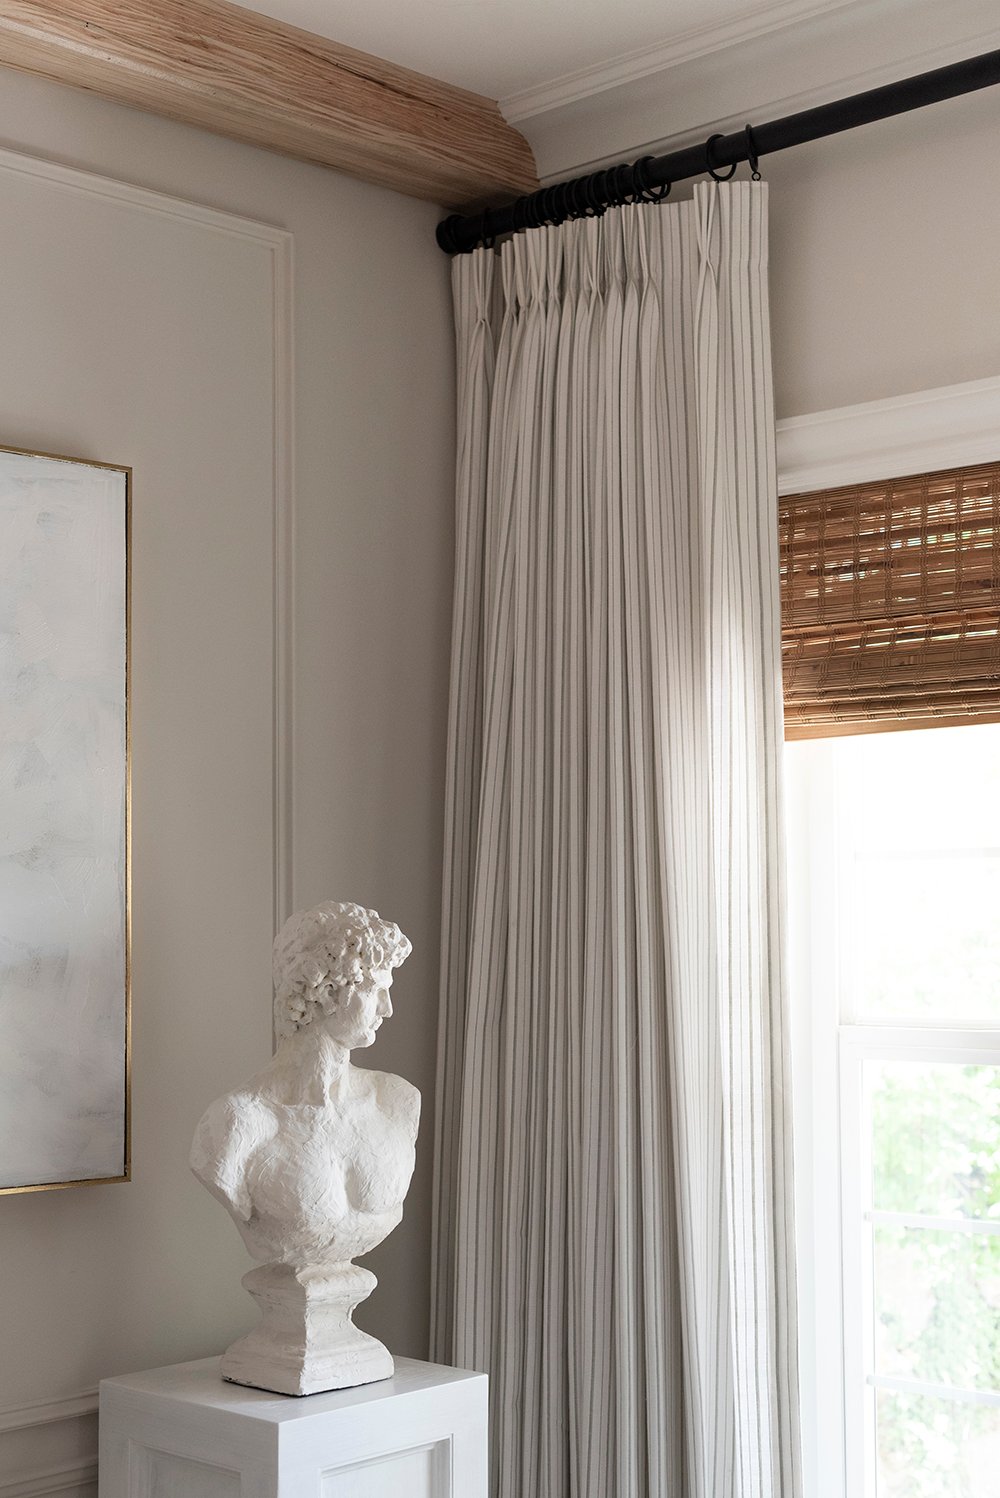 Since I’ve yet to tackle the thrifted pedestal, I used my DIY pedestal we finished a couple weeks ago to display my newly refreshed bust… for the sake of photos! I kind of like this vignette in our living room corner. What do you think?
 I feel like this mindless creative project and getting my hands into some plaster was good for my soul. These little projects are always fun, and it’s a great way to switch things up or shake up your daily routine! Do you have any fun creative projects you’re looking forward to tackling?
