Faux Reeded Glass Window DIY
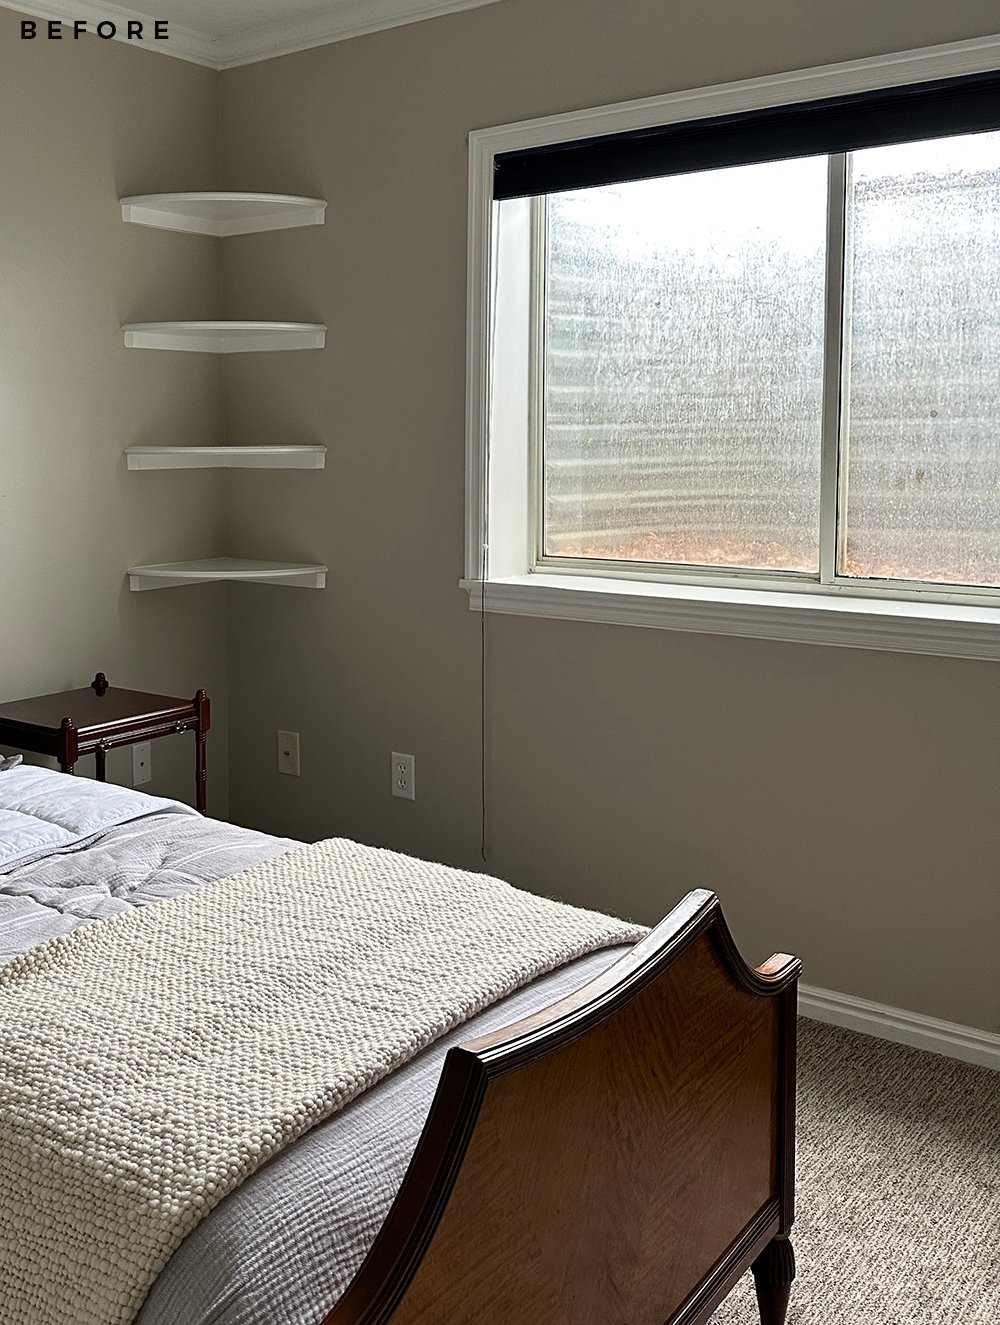
 When trying to brainstorm a solution for our ugly original egress window in the basement bedroom (see the before images here), I’ll admit- I felt stumped. It wasn’t until I was standing in the kitchen, admiring our cabinetry, when inspiration struck. As I was looking at our reeded glass cabinets, I wondered if I could replicate that look with the existing basement window. There had to be a product! I tried a couple and found one that I really liked and it worked well. This is definitely worthy of a blog post because it’s very affordable, was a breeze to install, and gives a designer look for less. It’s a great solution if it’s not in your budget to replace a window altogether (read more about that process here). In my case, it also works well for egress windows and our building codes. It’s a non adhesive window cling that can easily be removed, therefore it doesn’t violate any basement escape regulations. Click through for a quick and easy window tutorial… and for a peek at my basement bedroom progress!
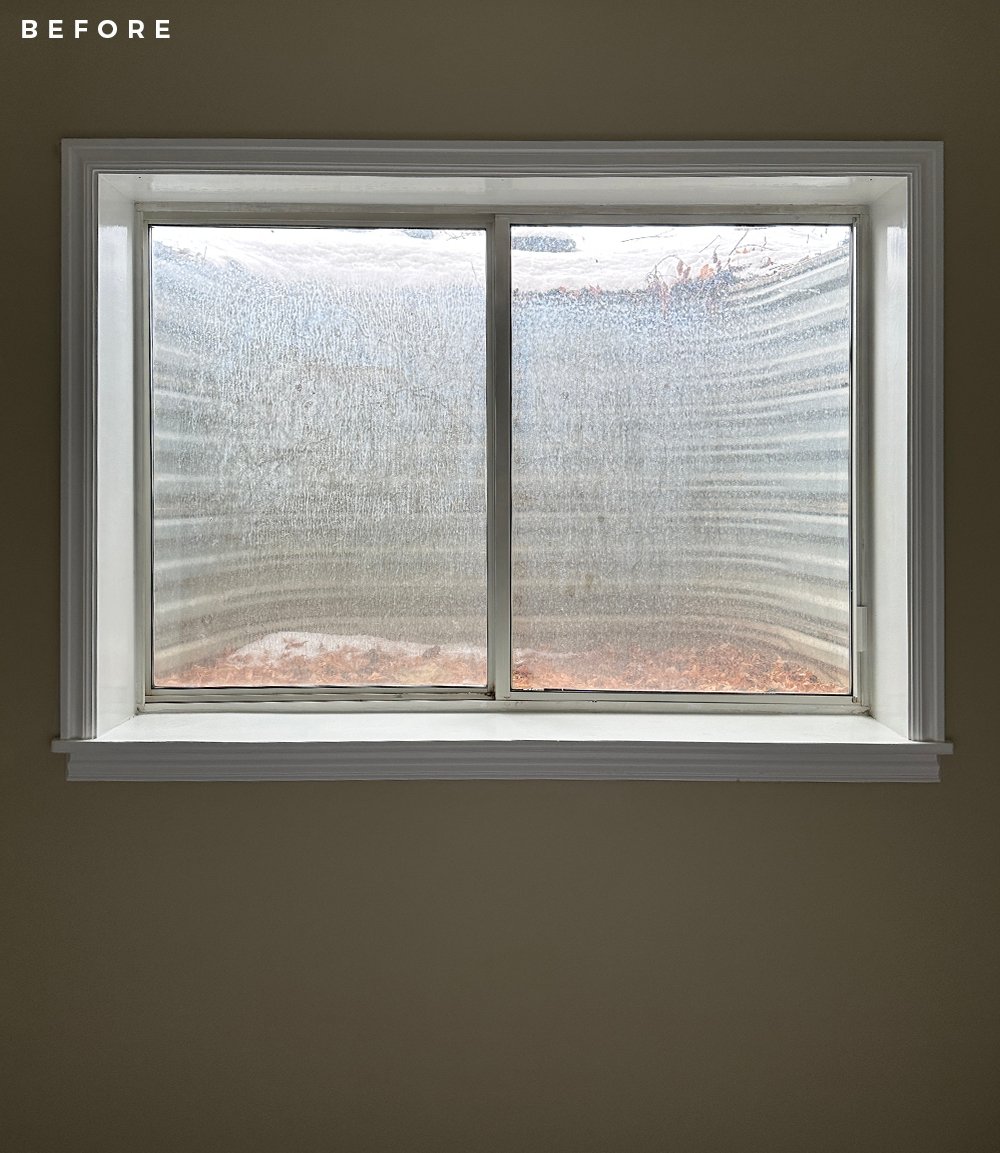
Our basement windows have seen better days, but they’re in a great shape and are still functional. They’re not the most efficient since they’re original to the 90’s, but they do the job. Here is the before…
 While they are quite dirty on the exterior and layered with calcium deposits (thanks to our hard irrigation water), my main goal was to diffuse the view while still allowing natural light to flow in. I don’t love the look of our window wells. They’re metal, are constantly dirty thanks to our location & climate, and they’re just not aesthetically pleasing.
 Reeded glass, privacy glass, or faux reeded glass window clings help to filter the natural light while diffusing the less than visually pleasing backdrop. Here’s what you need to replicate this look at home…
- Reeded Glass Window Cling Roll
- Scissors
- Xacto Blade
- Window Cleaner
- Soapy Water or Basic Cleaning Spray
- Metal Ruler
- Measuring Tape
- Squeegee
- Towels
- My Affordable Custom Roman Shade
I hope my photos translate. They’re not the prettiest because I was quickly losing the light, but knew some of you could use this fast tutorial!
 I think I’ve mentioned this before, but my first job in high school was installing vinyl graphics and vehicle wraps- so this process is something I’m really comfortable and familiar with. The reviews for the window cling are meh, but I’m convinced it’s because people weren’t prepared or informed for the installation. The instructions make it seem wayyy more complex than it actually is. I promise it’s easy! Let’s get started…
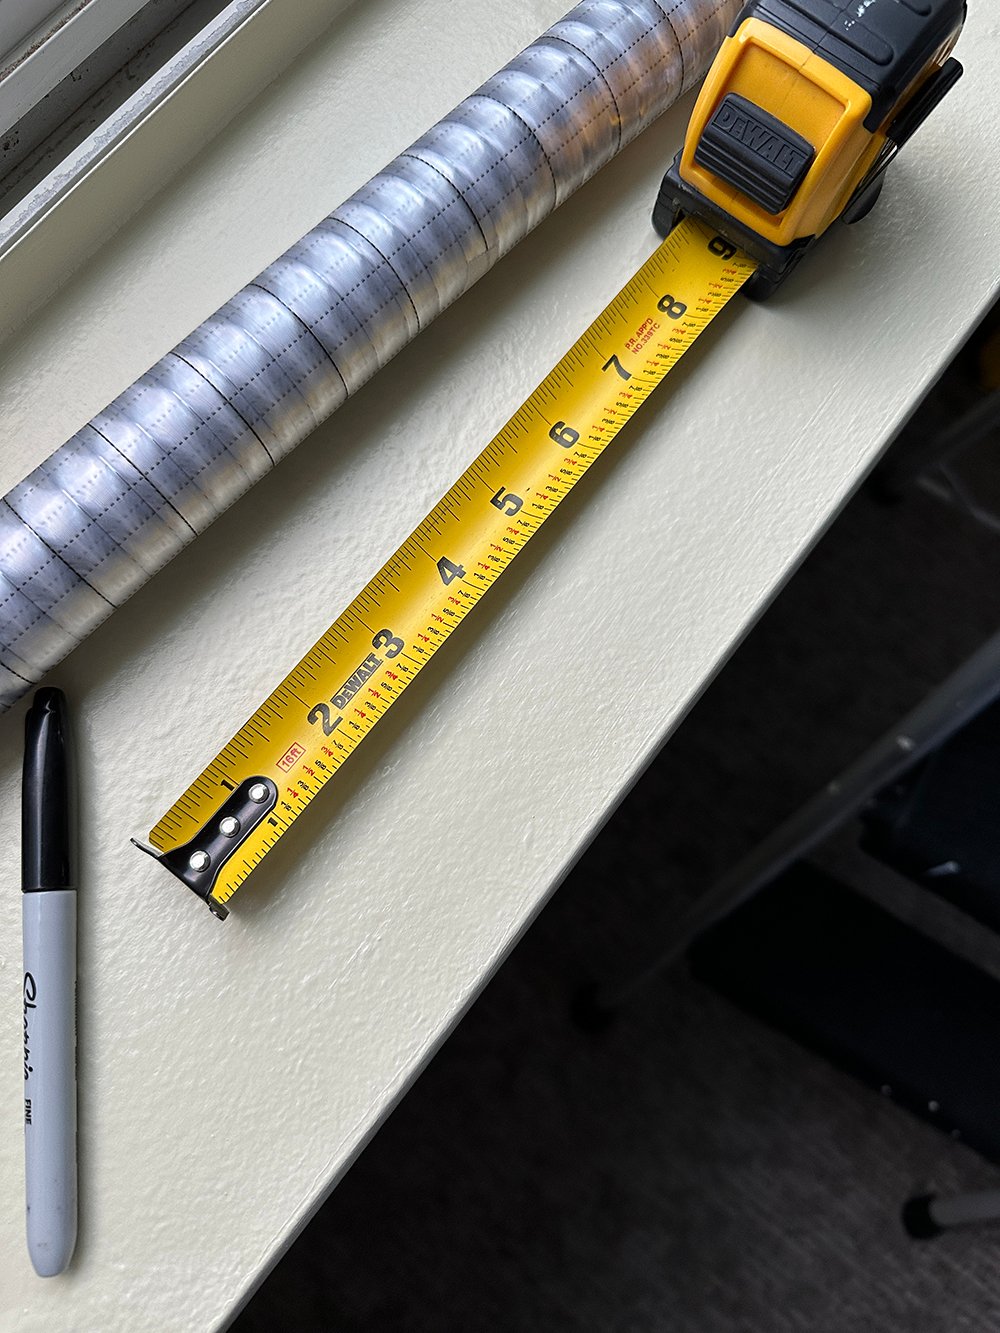
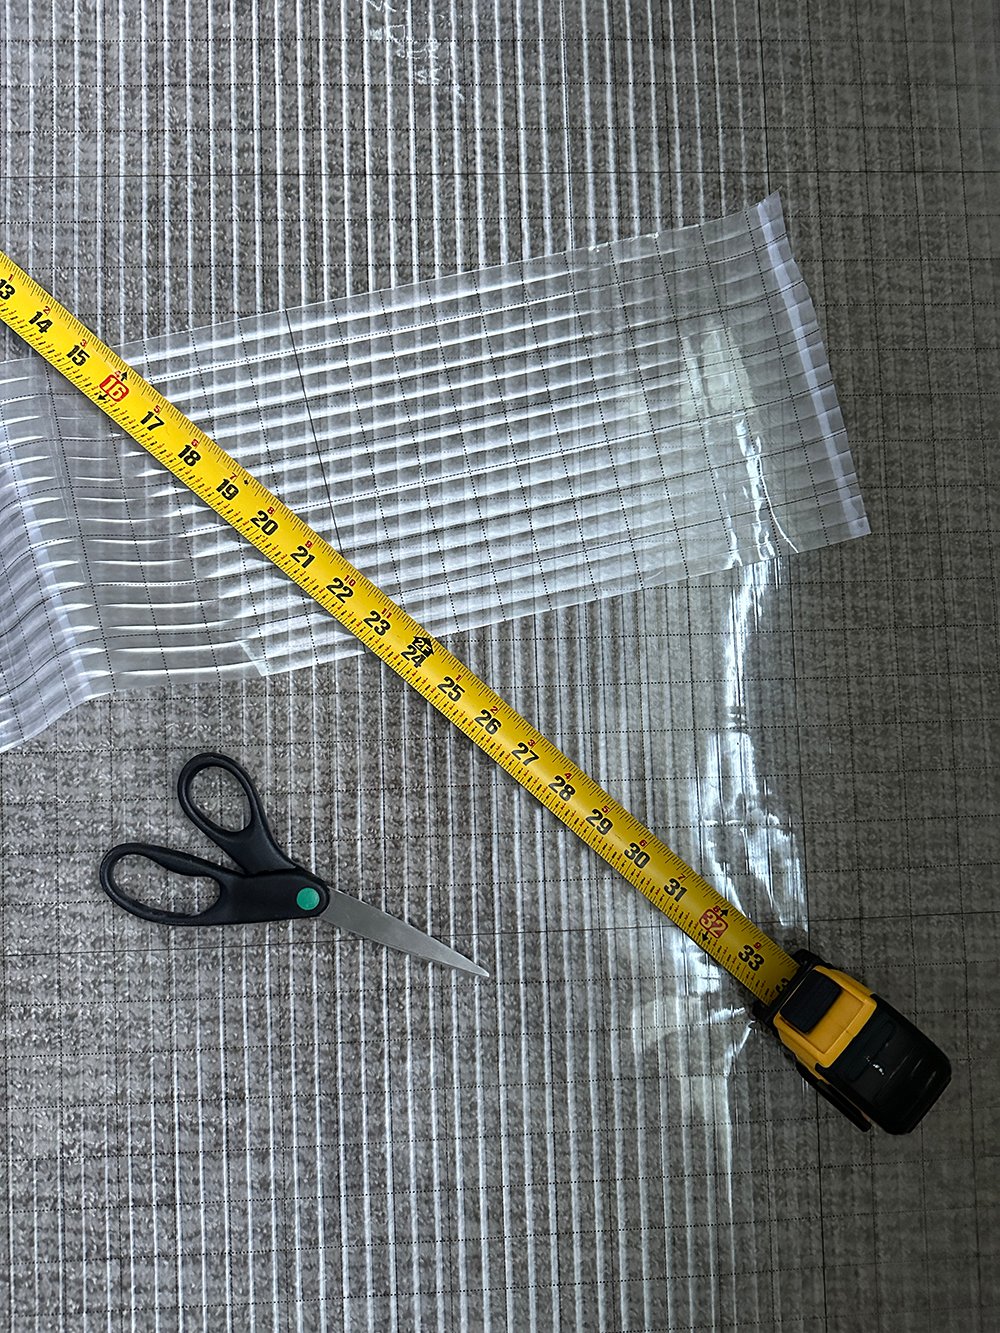
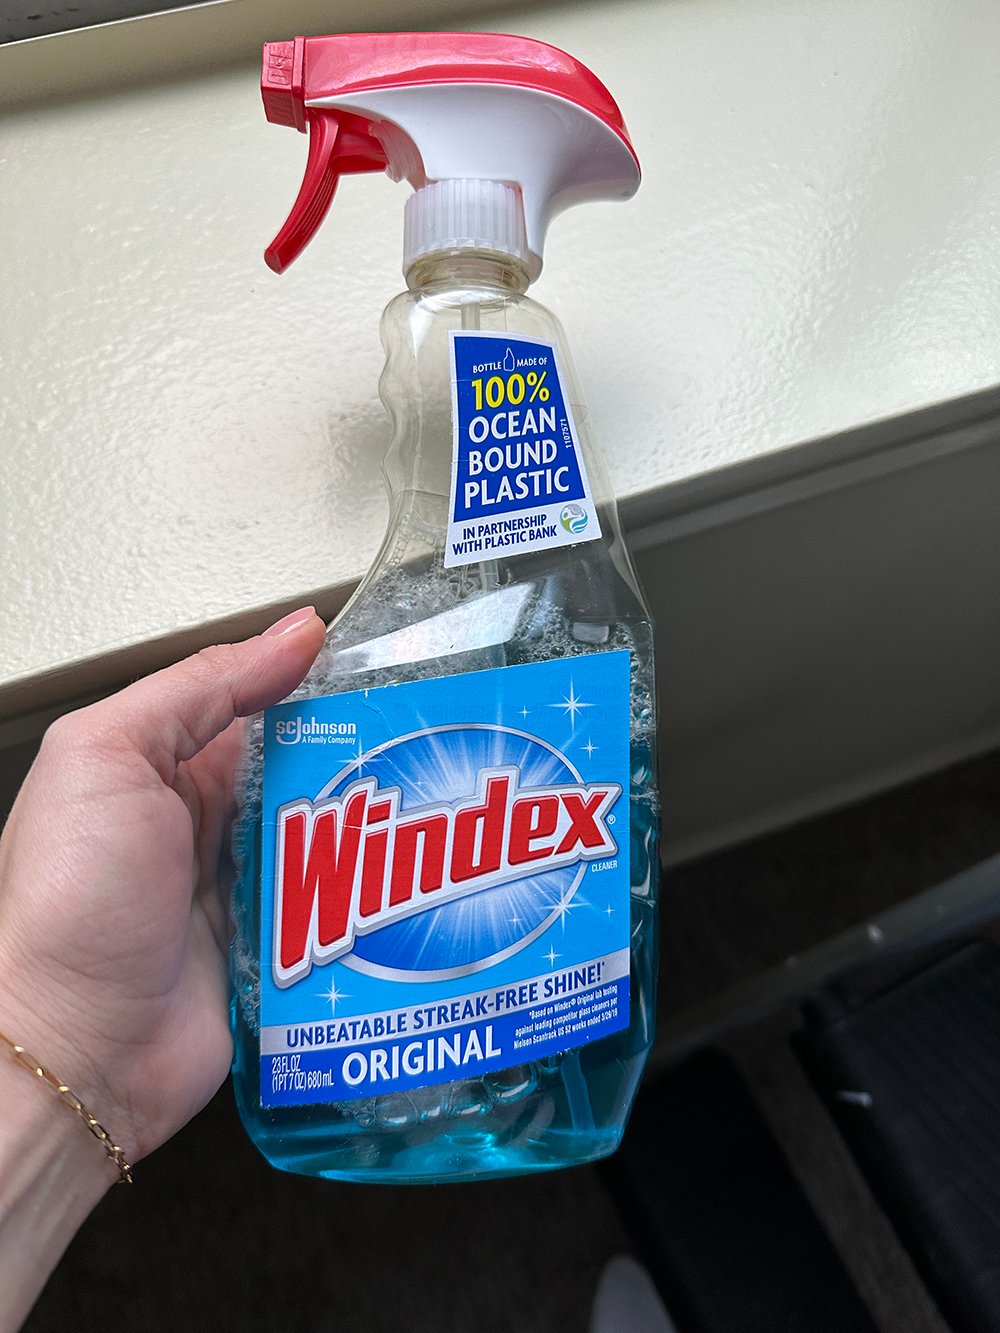 First, you’ll need to clean the window really thoroughly. I just used Windex and made a couple passes, making sure to get the edges really good. Next, you’ll measure your windows and cut the material to size, PLUS one extra inch lengthwise and widthwise. For example- my window was 27″ x 37″, so I cut the material to 28″ x 38″.
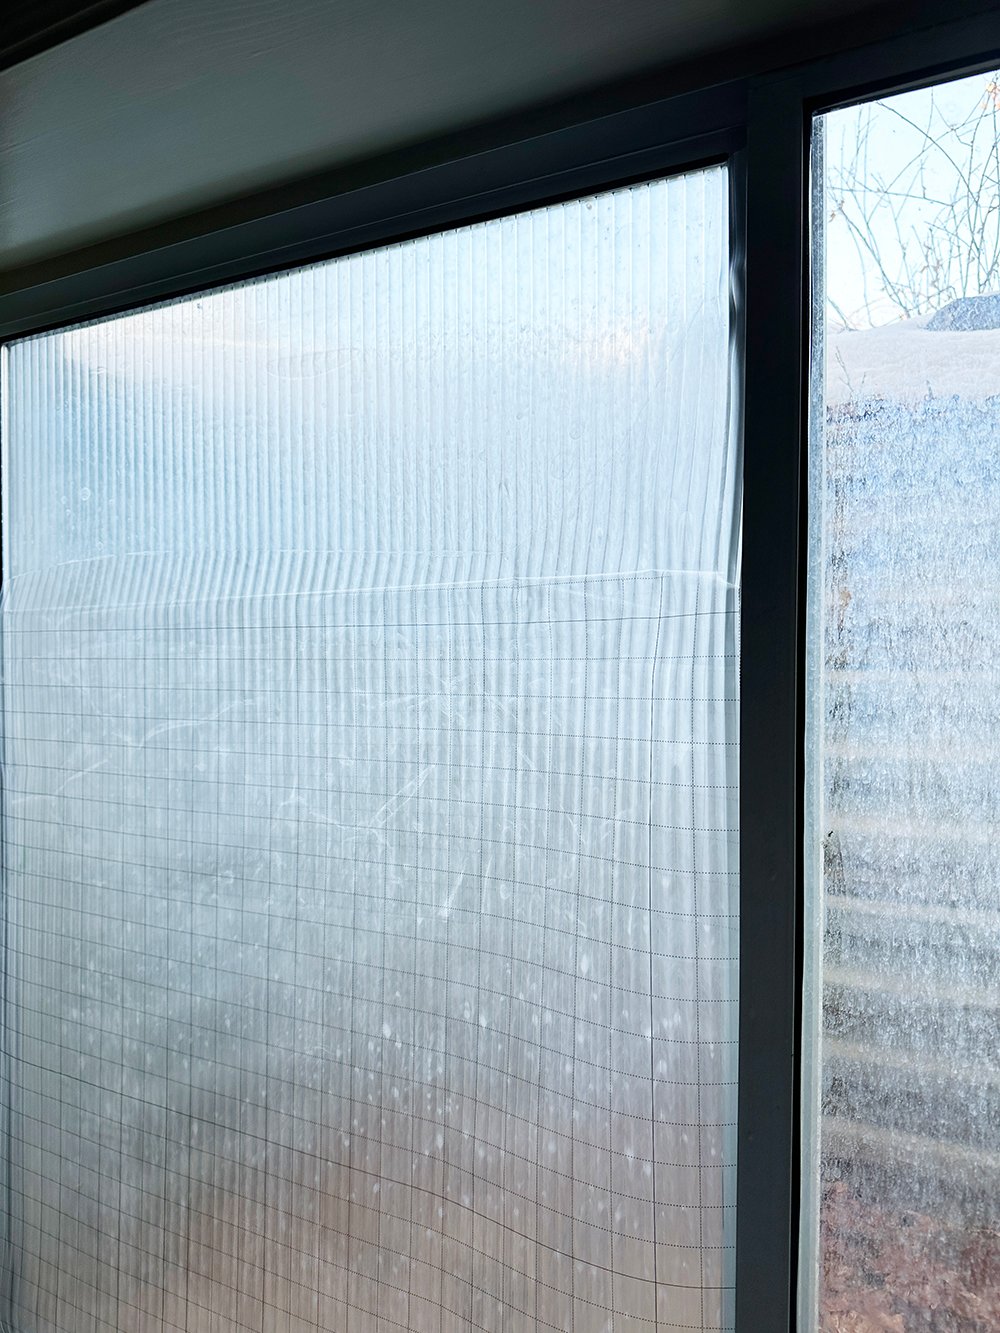
 Once your material has been cut to size, spray the window with soapy water or a basic all-purpose cleaning spray. This makes it easier to install and shift around until it’s perfectly aligned. Make sure the window is totally drenched with solution. Next, peel the backing off the material 25% downward, lining up the factory edge in one corner. Like this… don’t worry about bubbles yet.
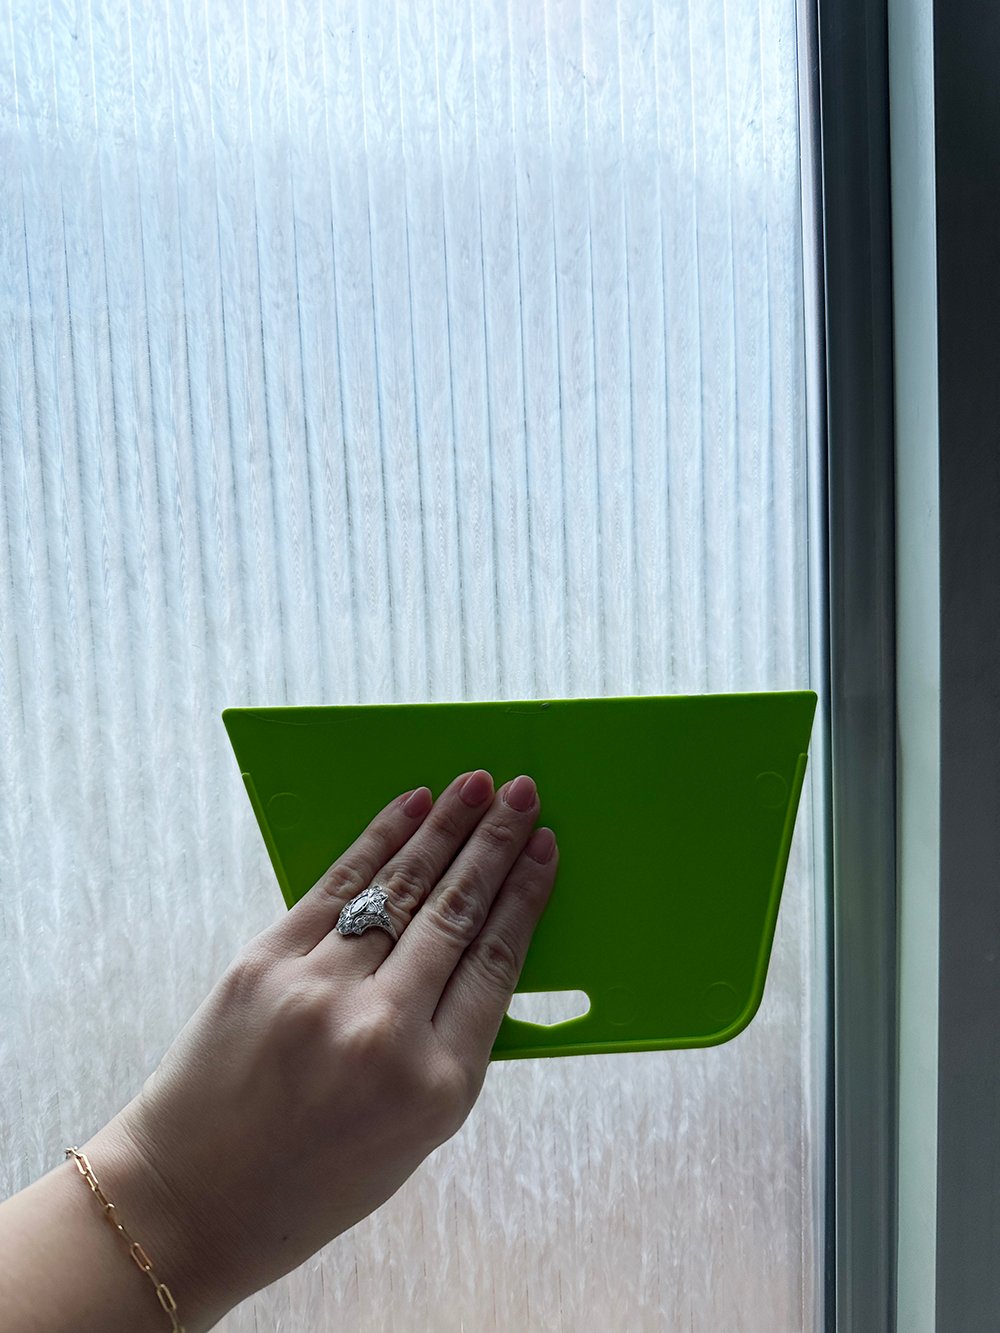
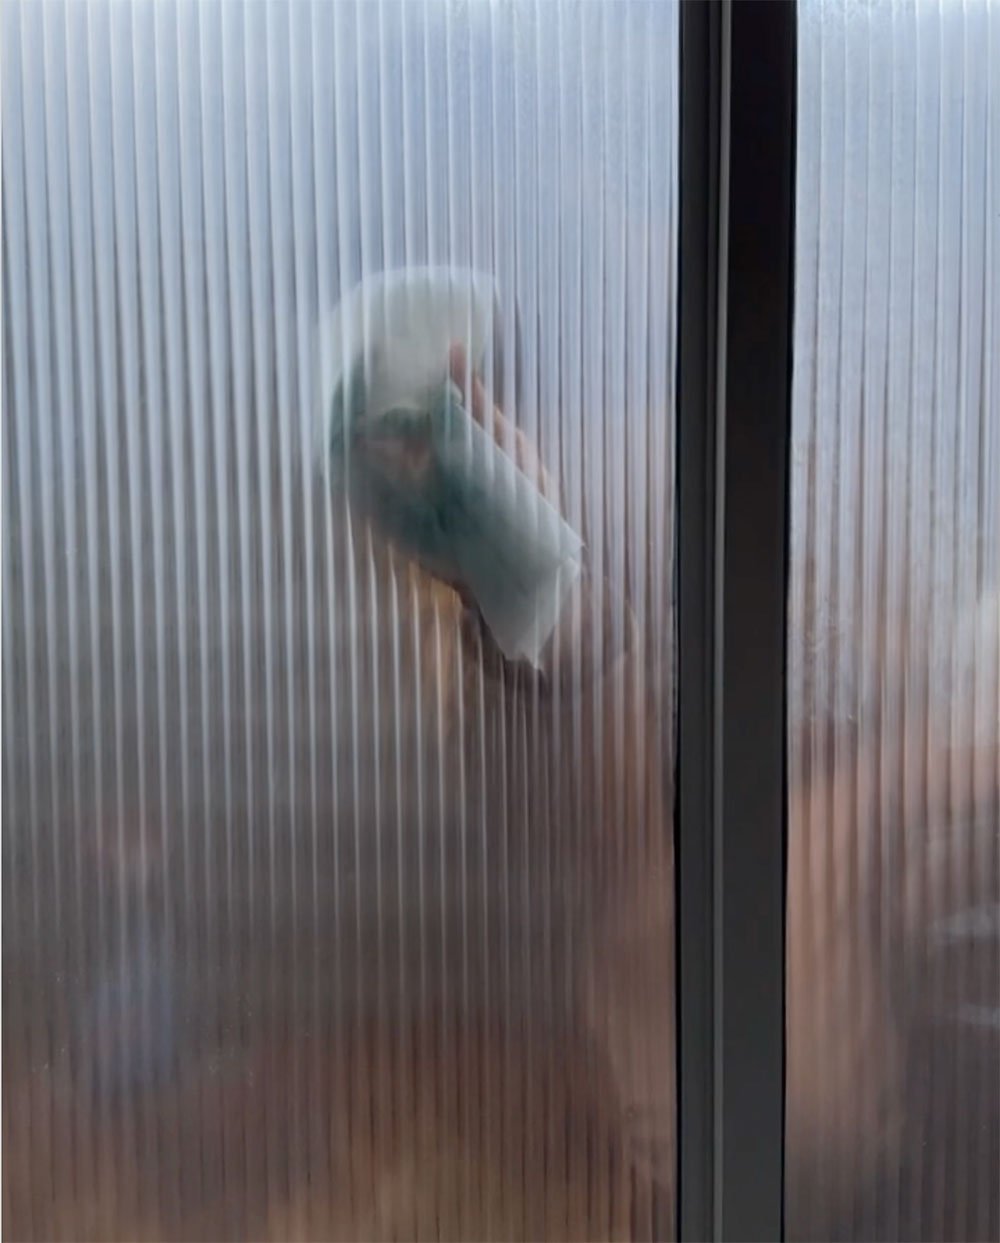
 Once it’s aligned, use the squeegee from top to bottom, pressing the solution out of the edges, until no bubbles remain. Make sure it’s super smooth and flat…
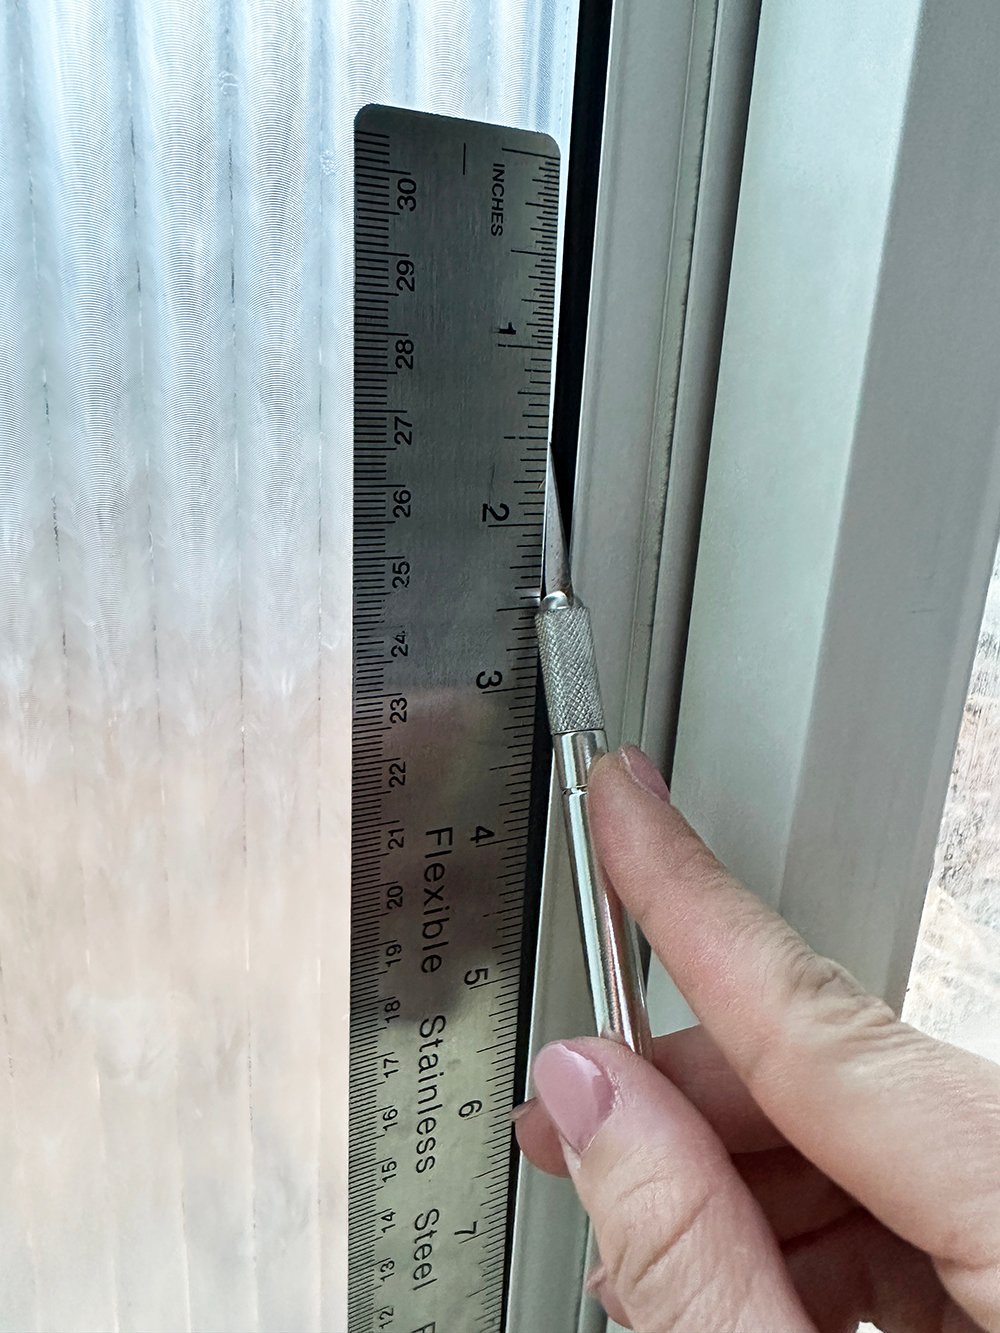
 The last step is to cut the excess material away from the edges with your Xacto knife. You should only need to trim two edges since you aligned the material in one corner. Use the metal ruler, dragging it as you cut. This makes it easy to achieve a super clean straight line in one fell swoop!
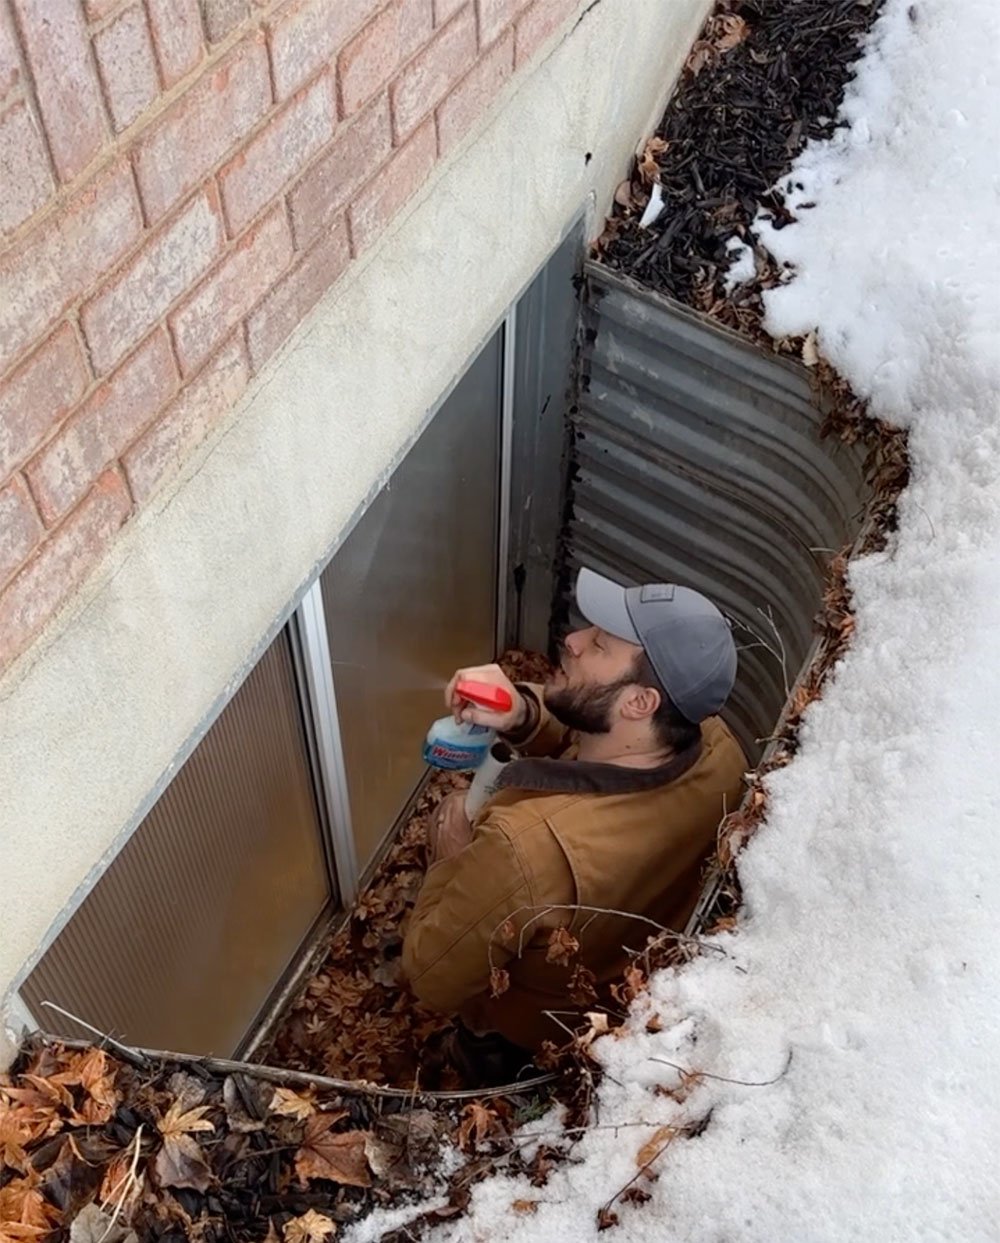
 I then sent Emmett outside into the window well for a much needed exterior window cleaning! He waded through the snow and scrubbed the exterior of the window… bless him. I’m so glad I didn’t have to crawl down there- knowing my luck, I would have gotten stuck. Here’s a look from the exterior and interior…
Last, he installed my affordable (and custom!) roman shade before we called it quits on the window transformation for the evening… having totally lost the light.
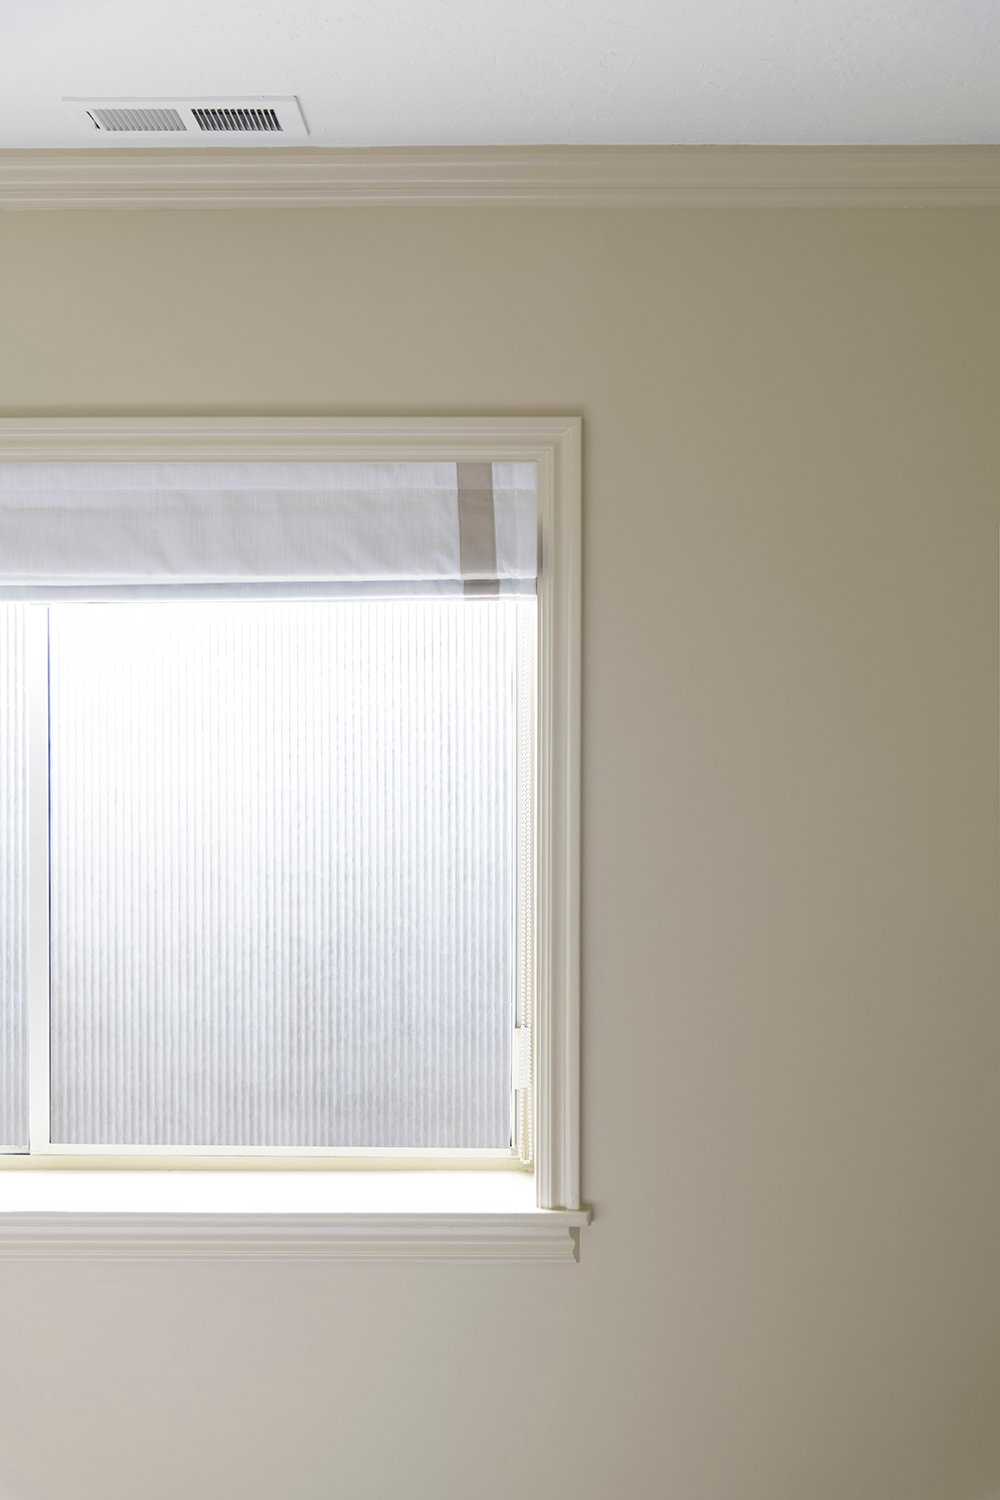
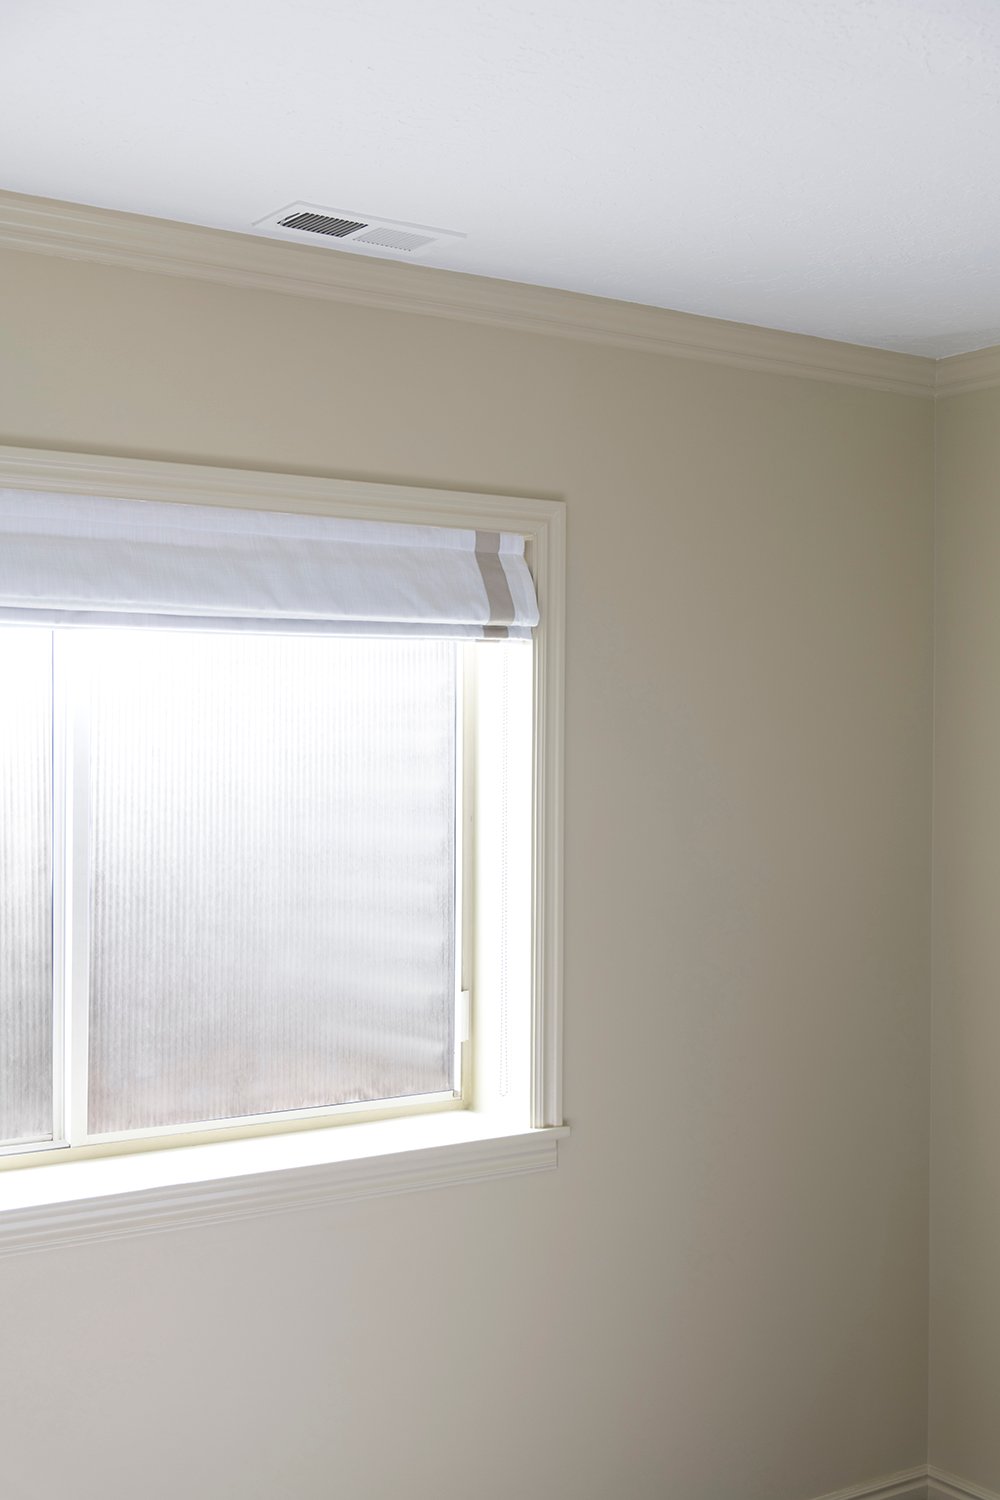
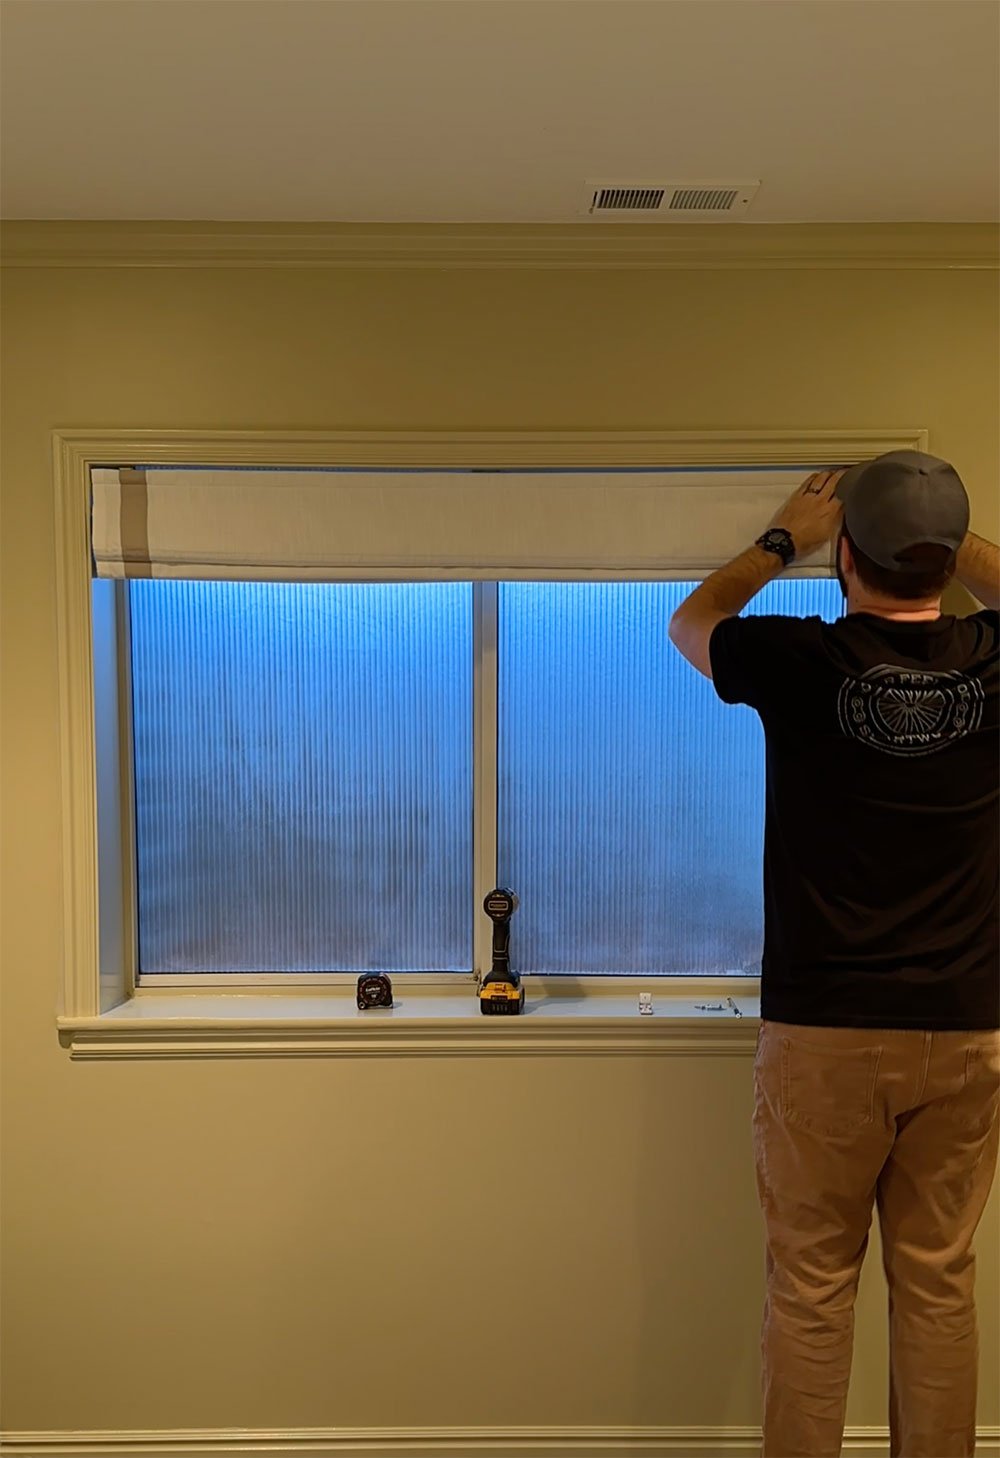 Fast forward to the following day, this is what the end result looks like. I’m really pleased with how this budget friendly window transformation turned out… and it still allows the natural light to flood into the room while remaining within our building regulations. I’m calling it a budget-friendly win!
 I hope this post was helpful! I’ll link my tools for you below. I know many of you messaged saying you’ve been wanting to attempt this quick project, so hopefully these instructions and my experience will come in handy. Let me know if you have any questions in the comment section. Have a great day, friends!
