Patio Chair Makeover
 If you follow along on Instagram, you already know about the wrought iron patio chairs I thrifted on Facebook Marketplace a couple weeks ago (they’re saved in a highlight here). I had been searching for a couple classic chairs to fill negative space in our side yard under two big trees. I finally found a pair and put my name on them at an estate sale, but they ended up going home with someone else… it wasn’t worth the argument so I moved on. A day later, four white iron chairs stopped me mid scroll on FBMP and were half the price. I had a vision for these chairs and it is one of the easiest, most dramatic furniture makeovers I’ve completed. I really love the way they turned out and promised you a tutorial. I’m excited to share some similar furniture makeovers and DIY projects with Krylon in the coming months! This is a new partnership I’m really excited about. These small projects are providing a nice “creative break” for me amongst our larger renovations going on. Those quick and easy ones that bring instant gratification (and allow me to thrift) are good for my soul! Click through to see the evolution of these patio chairs, how I styled them in our yard, and check out my easy painting process.
*This post is sponsored by Krylon. All content, ideas, and words are my own. Thank you for supporting the brands that allow us to create unique content while featuring products we actually use & enjoy!
 Let’s dive in, shall we?! Emmett and I have this awkward side yard to the left front of our home. It’s actually a tremendous amount of space that we’d like to fence in someday (so it connects to our backyard), but for the time being… there is an “island” of mulched landscaping and two giant trees in the center portion of the yard. There was previously a concrete bench sitting in the center of the landscaping, which would’ve been fine- but it was broken when we moved in. One leg was snapped off and it sat crooked, looking sad. I figured it was time to replace it with something better since it’s a big part of our curb appeal, near the front of our home. Insert my patio chair idea….
 I wanted to tackle this project on a budget since it’s not a place we typically sit and hangout. I envisioned two chairs and a table to ground the vignette. This is what you’ll need to replicate the look and start this project…
SUPPLIES + TOOLS
- Krylon Fusion All-In-One Spray Paint, Matte Black
- Krylon Metallic Gold Leaf Spray Paint
- Iron Patio Set (mine is thrifted)
- Patio Seat Cushions
- Masking Tape
- Marble Bistro Table (mine is linked)
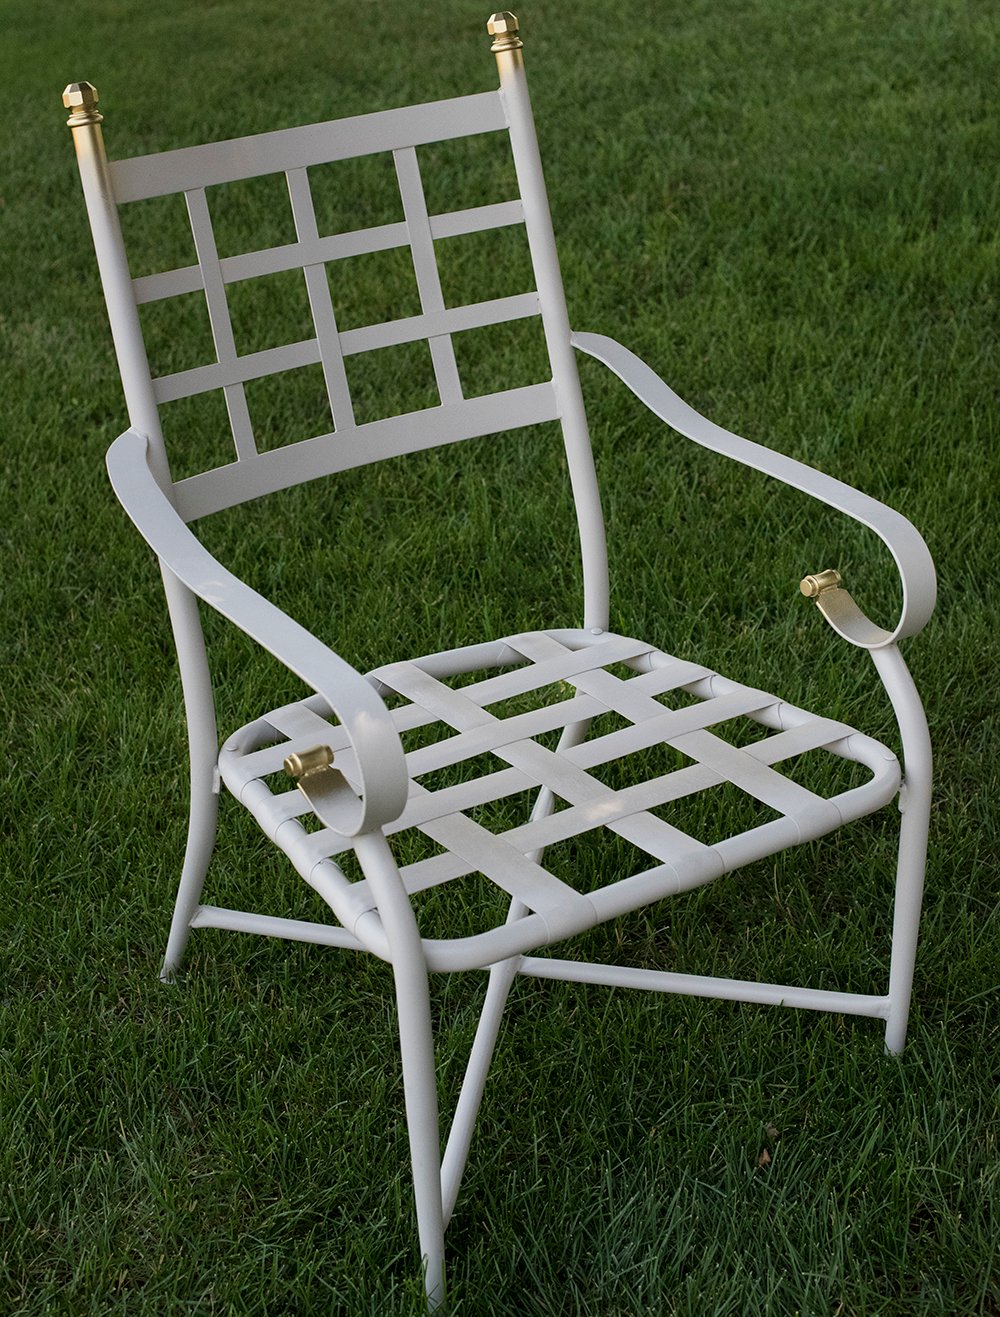
Step 1 // Clean the chairs. I purchased four secondhand, white chairs. While they looked clean and crisp, I really had a more traditional vision in mind. Before getting started, I wiped them down and cleaned them really well.
 Step 2 // Spray the gold details. I knew I wanted gilded accents- specifically the top finials and scrolls on the chair arms. You guys know I’m a sucker for pretty details! Gold and brass spray paint is difficult to source because there are a lot of bad color options on the market. I tested a few before landing on Krylon’s Metallic Gold Leaf.
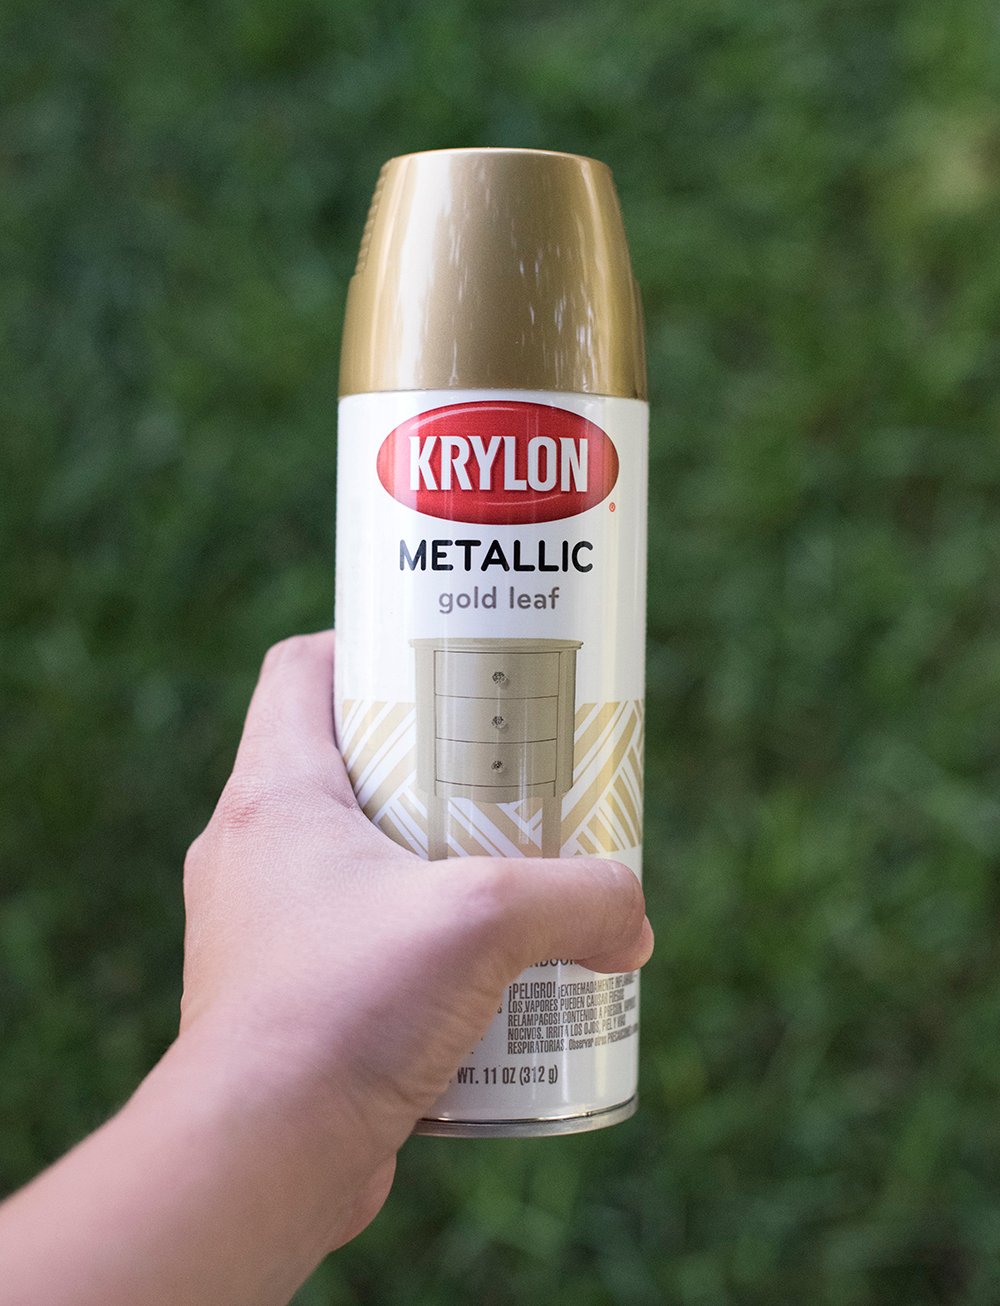 Coming into this project with a specific vision, I was looking for a classic gilded look. This paint was perfect for the job and gave me the high-end, decorative finish gold leaf I was going for!
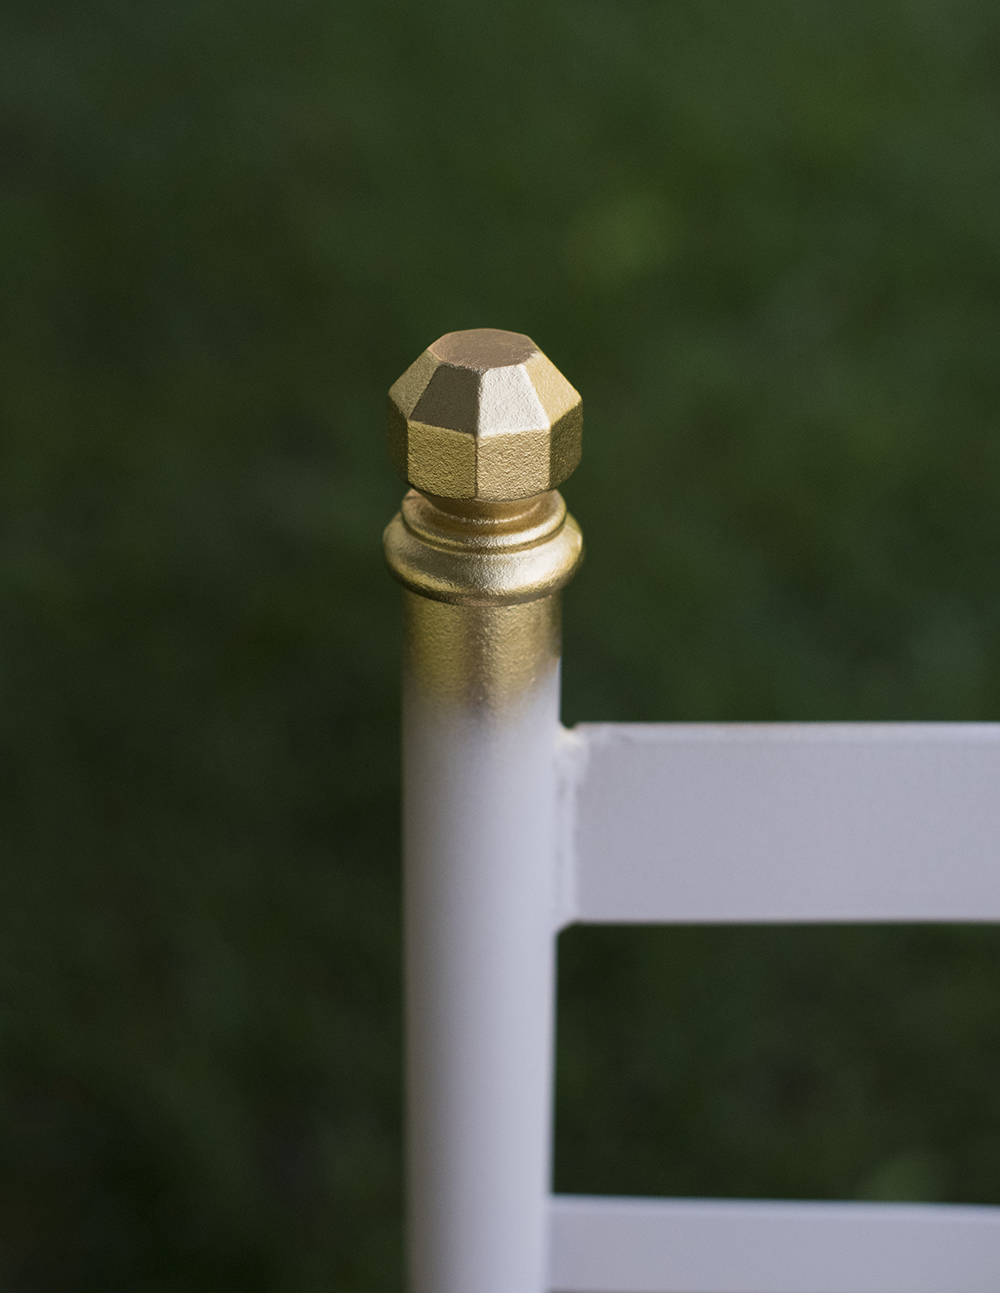
 Here is a closer look at the gold leaf. Isn’t it beautiful? After vigorously shaking the can, I applied two to three coats of gold to the finials and scrolls. I allowed those to dry overnight before moving onto the next step.
 Step 3 // Mask off the gilded areas and spray the chair frame black. I really wanted the body of the chair to look like traditional wrought iron, so I opted for Krylon’s Fusion All-In-One Matte Black.
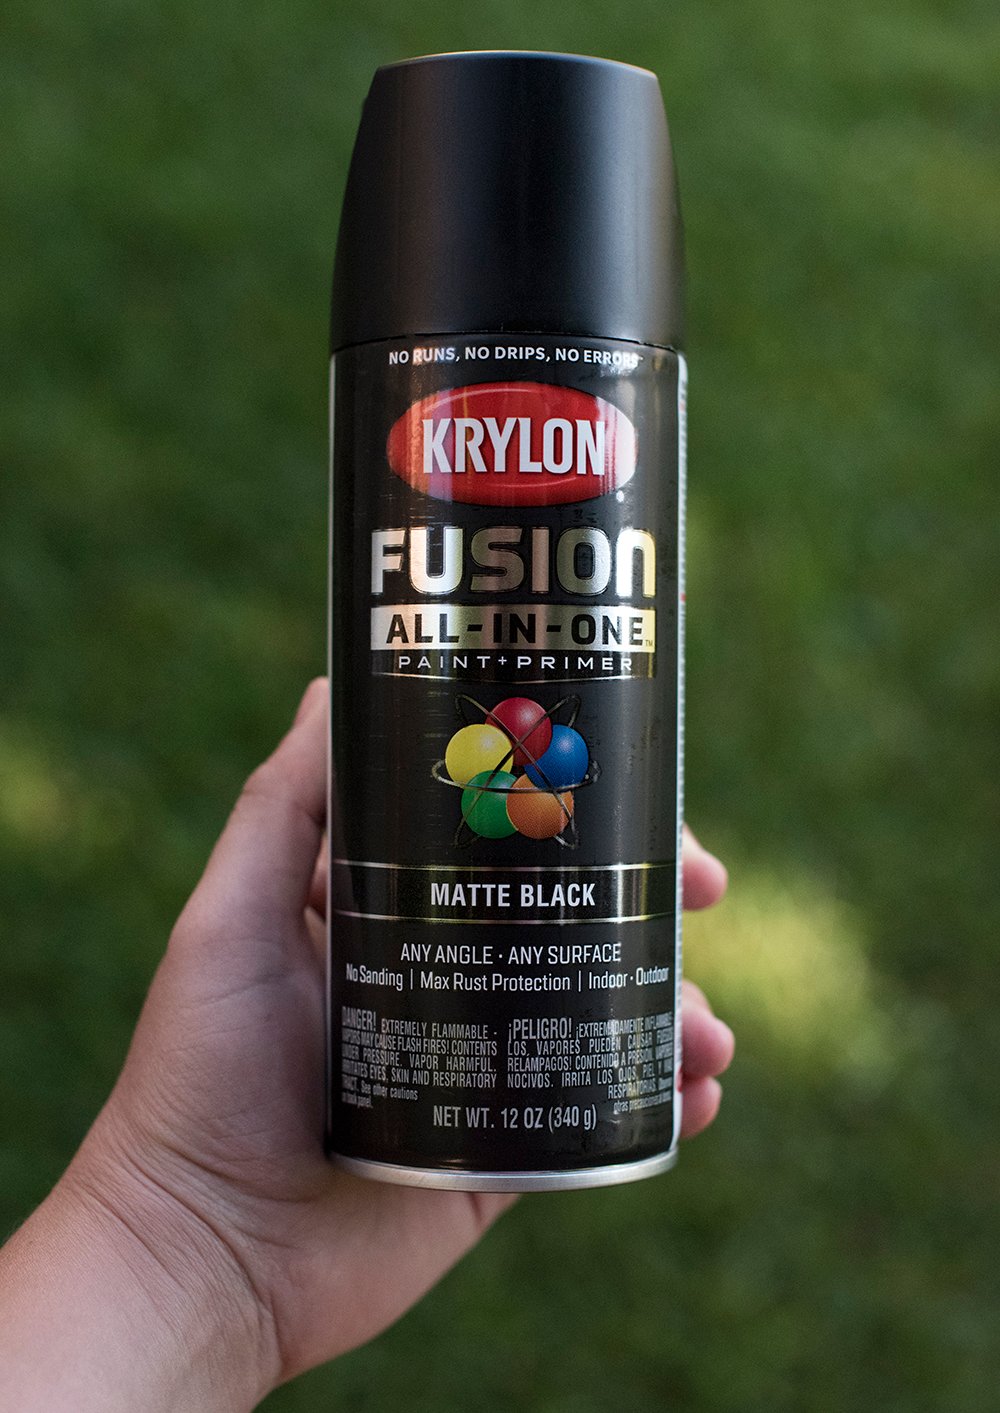 This is a paint AND primer product, so it eliminates the priming step (no sanding required either). I’m all about saving time these days. It also bonds to difficult surfaces, has superior adhesion, can be used on outdoor products, provides maximum rust protection, and is super durable. It checked all of the boxes for my outdoor patio chairs.
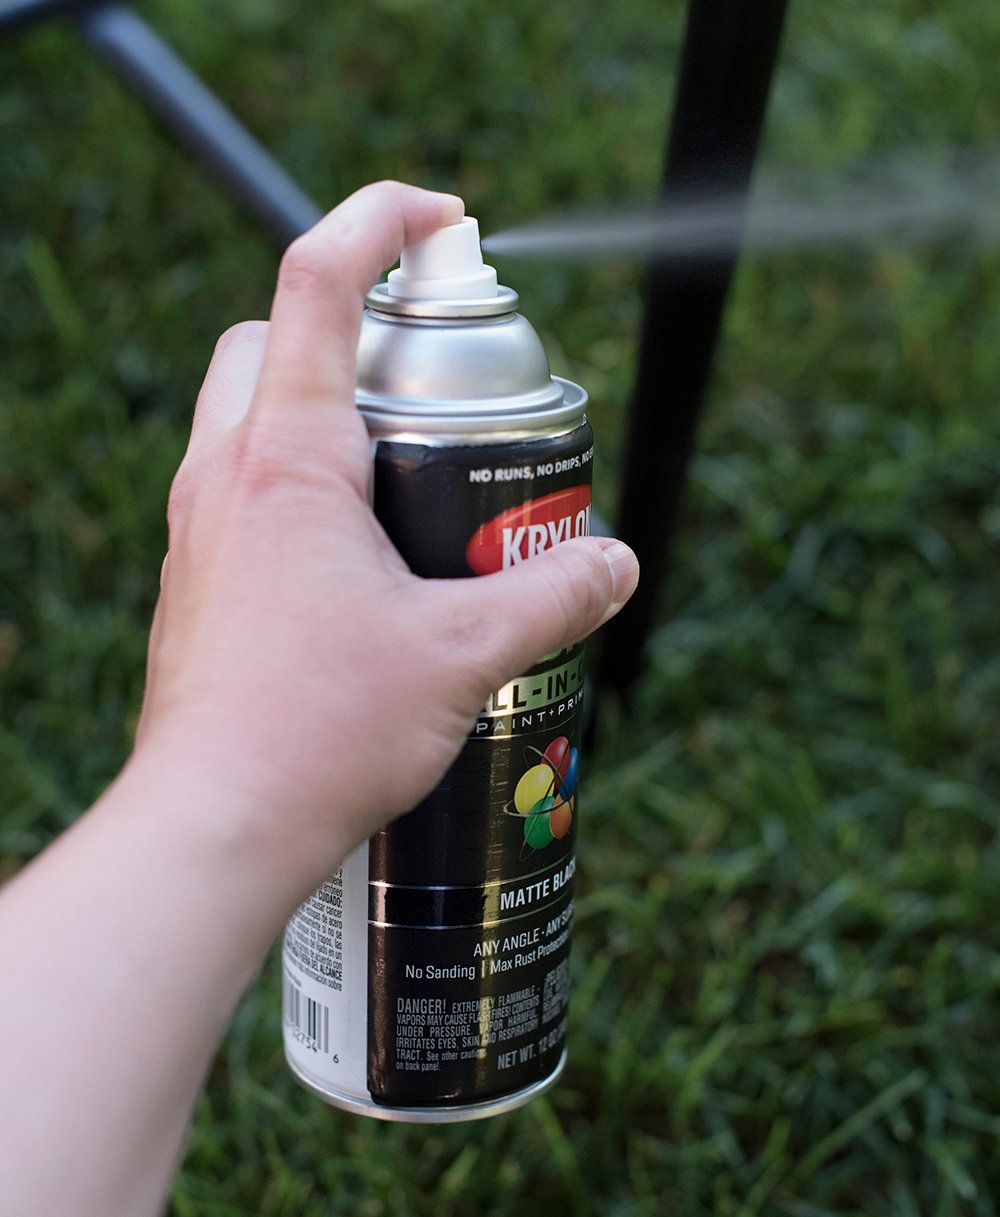 My biggest spray painting tip is this: apply the paint in thin, even layers. I ended up using two cans per chair, and each chair received two coats of paint. These chairs actually took quite a bit of time to paint because of their intricate lattice design. I had to hit them from multiple angles to ensure complete coverage. Because I had four chairs and wanted to allow them adequate time to dry in between coats, this project took me the weekend to complete. Ready to see the before and after?
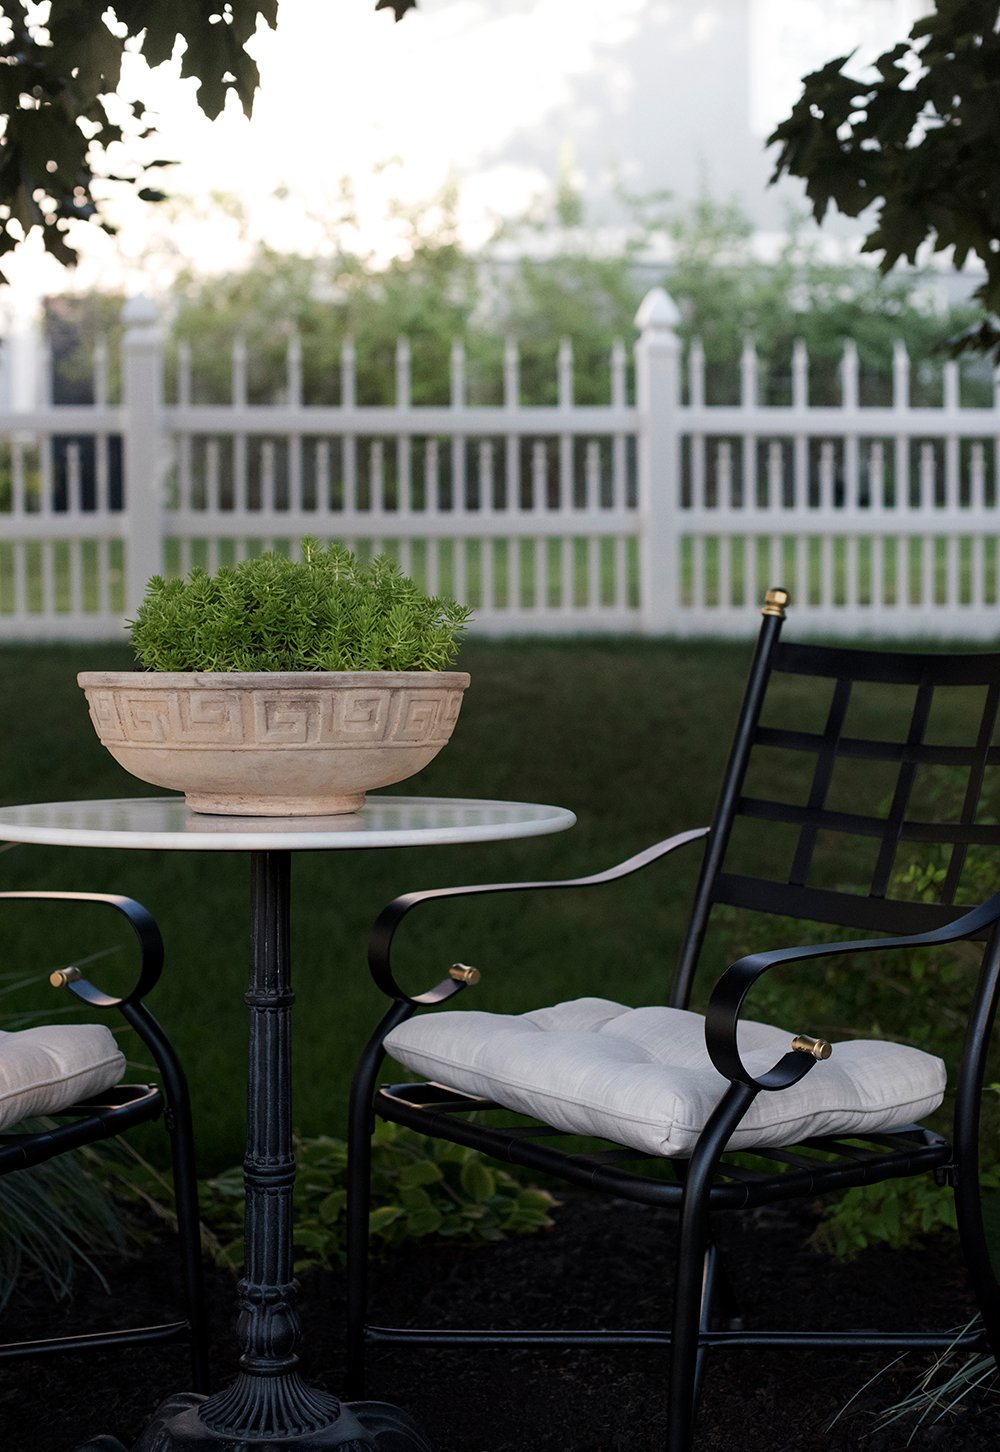
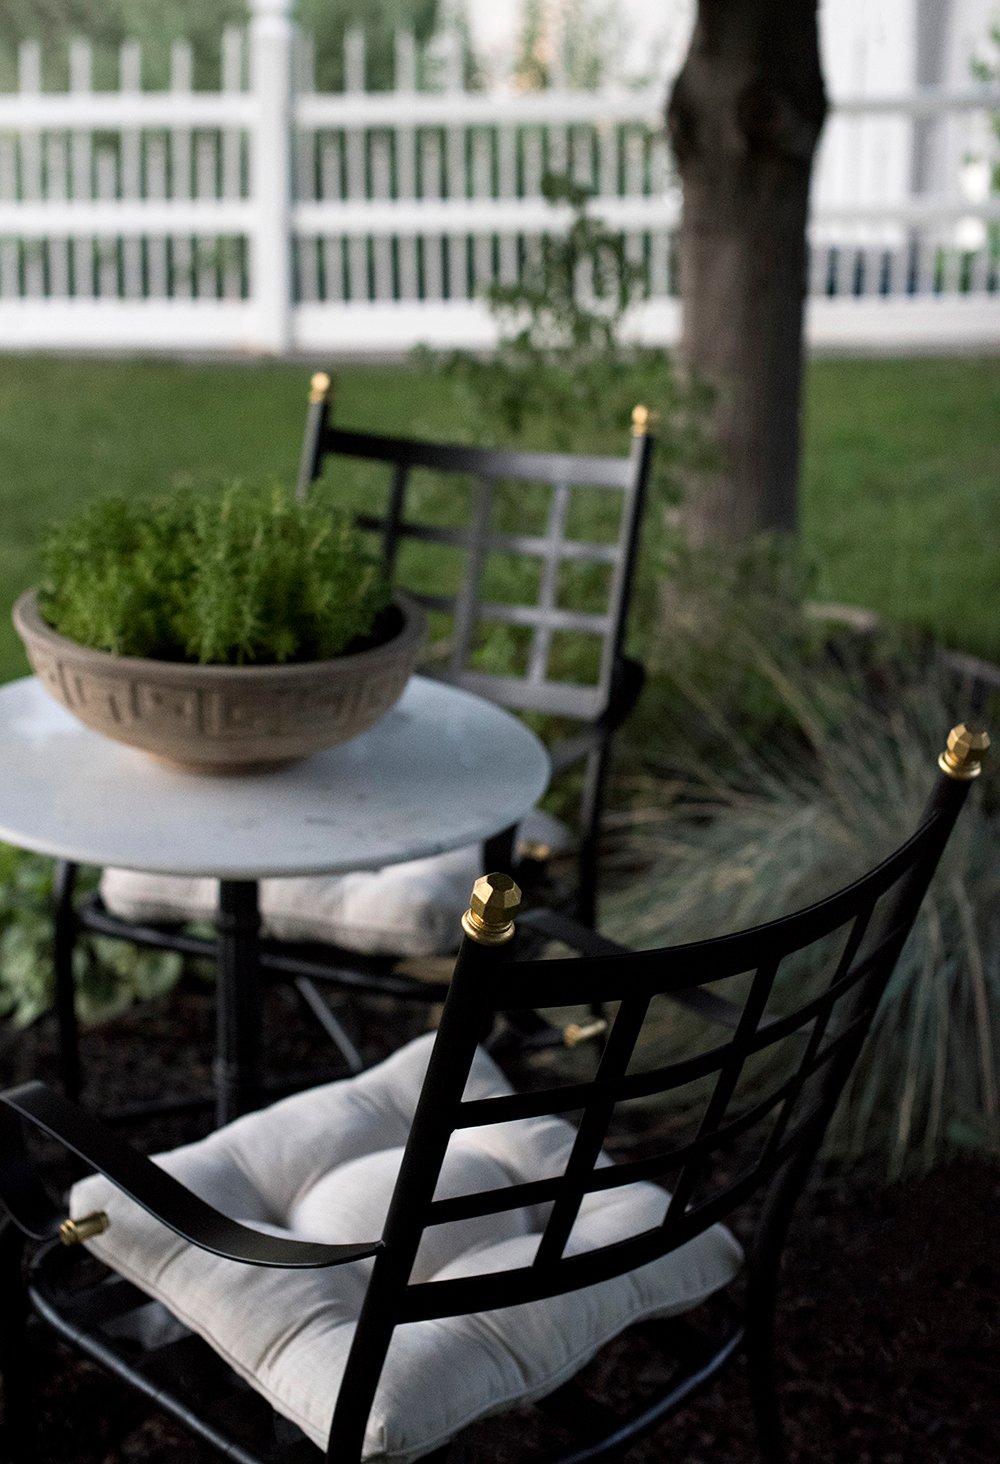
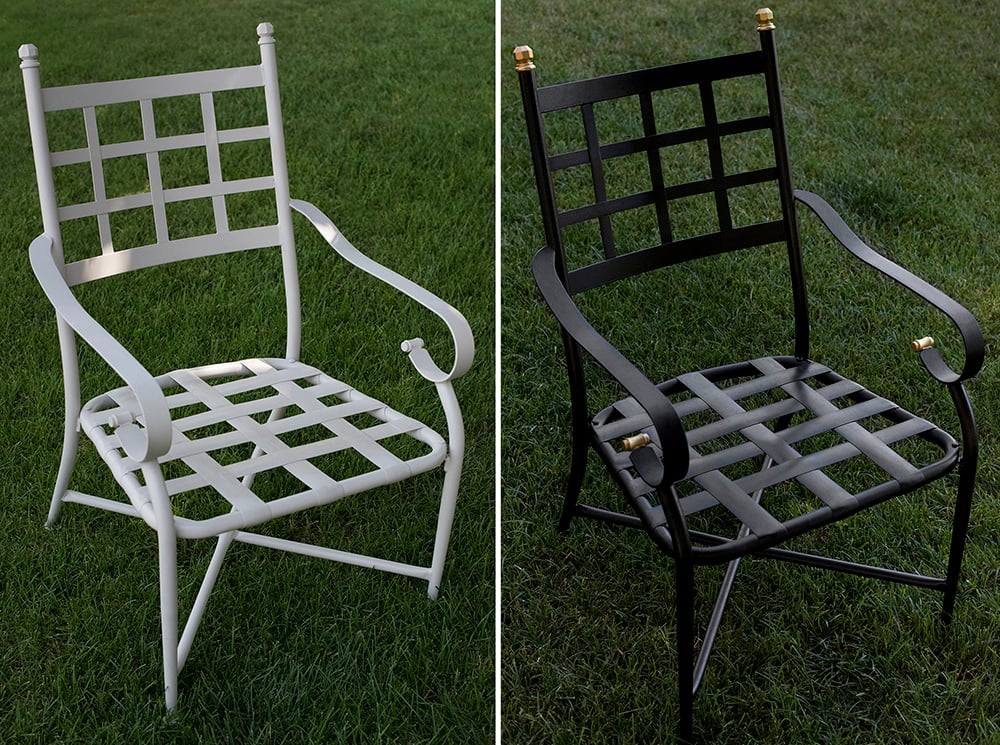 Pretty simple and sophisticated, right? I’m really pleased with the way these turned out. It was an easy, budget-friendly project that makes our yard feel more cohesive with our home and aesthetic.
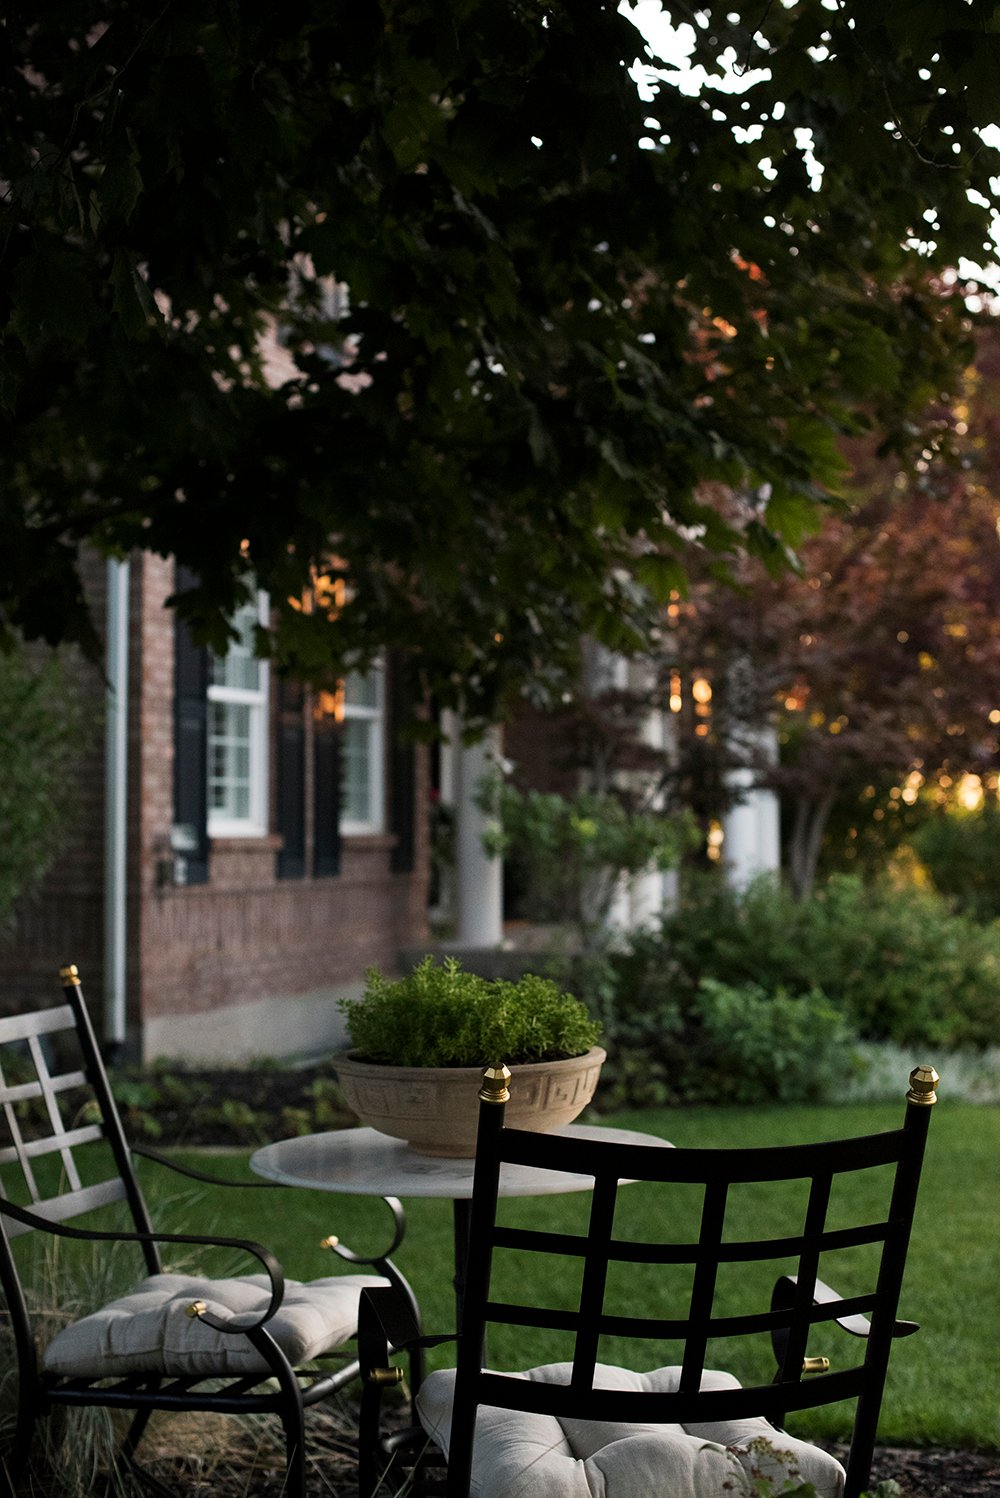 I’m so glad I took the time to spray the gold leaf details because the contrast is my favorite part of this makeover! They truly do have that high-end gilded look I was searching for.
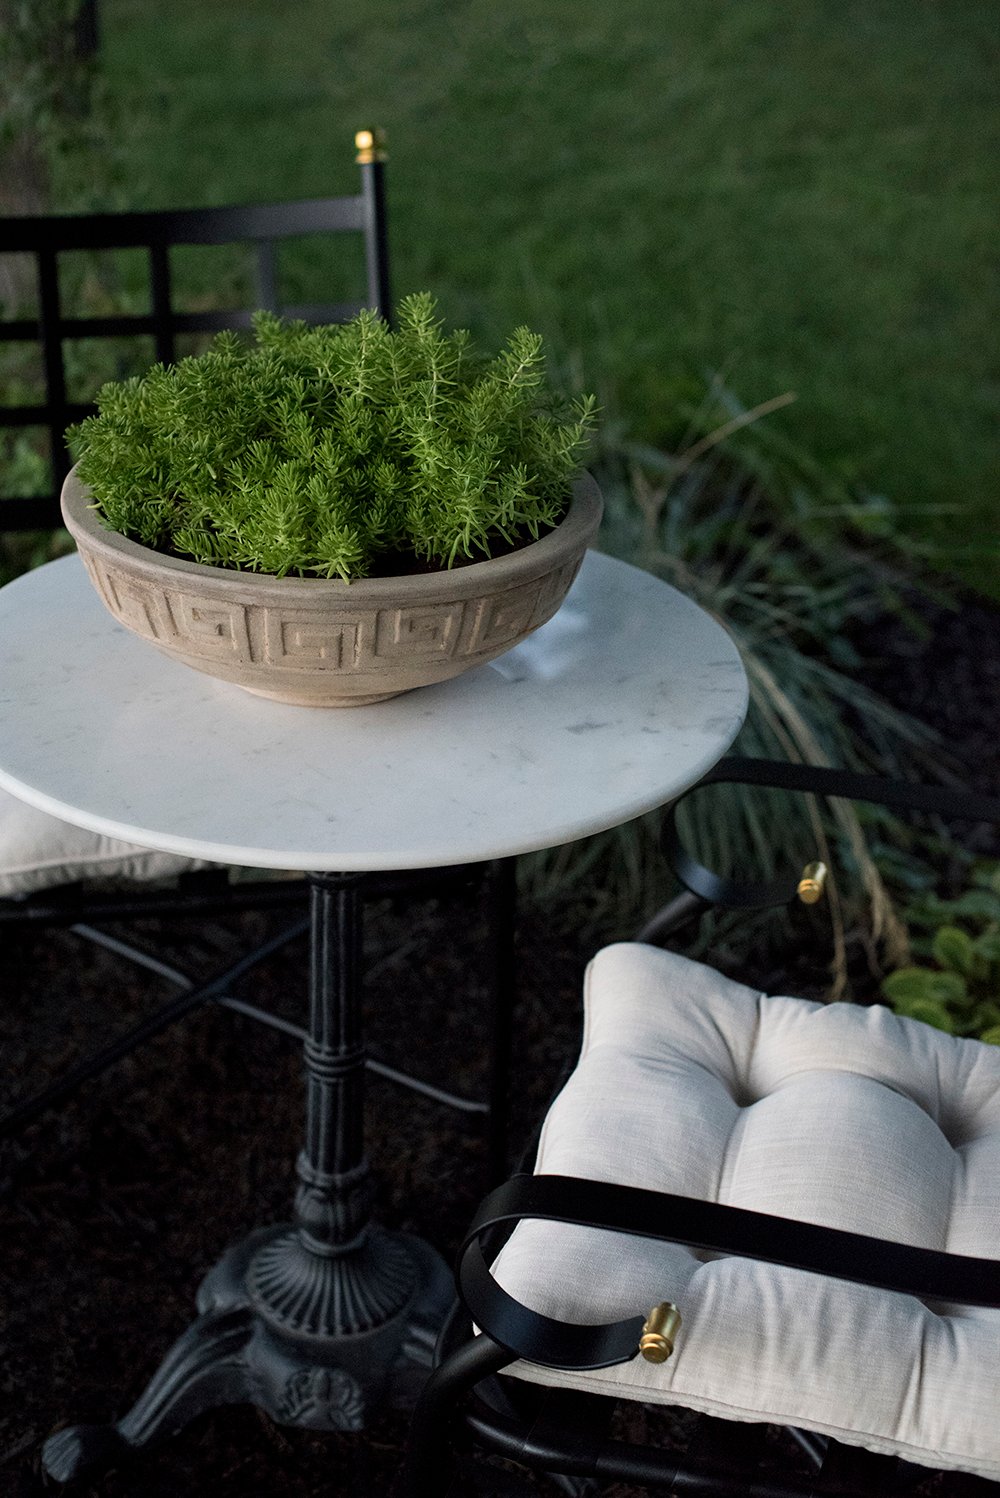
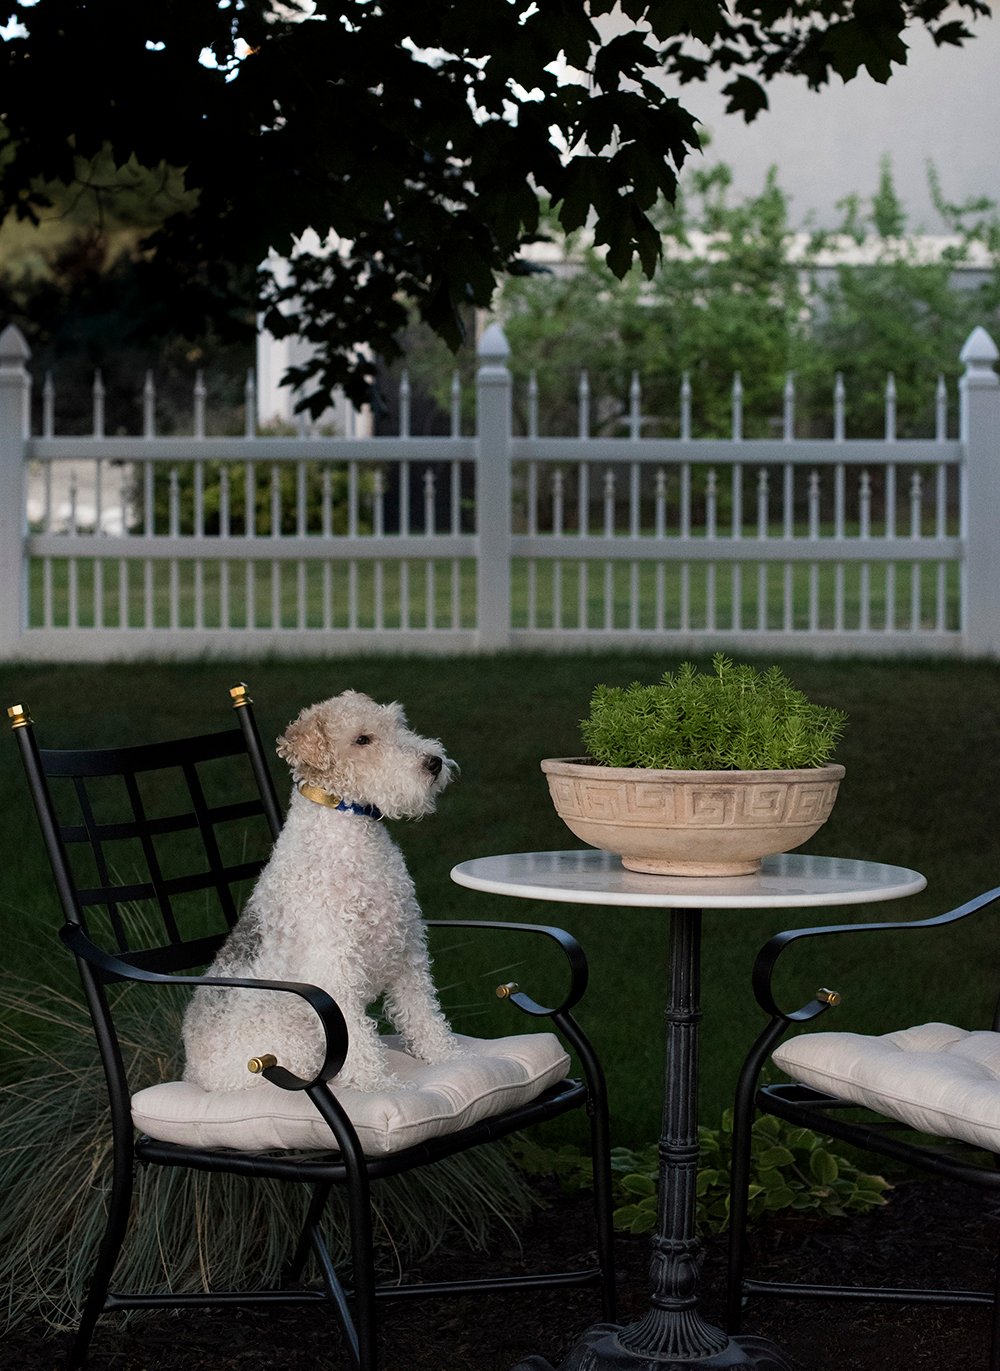 I know you guys are going to ask about the marble bistro table… and yes- I took that from our bedroom balcony and have already purchased a second one (which is currently on its way to me). Haha! It’s the BEST table- especially for the style and price. My plan was to “test” the one from the balcony to see what size I needed, but then decided it would just stay. Of course I had to make Cash model for me… you know, for scale (he gets paid for his modeling gigs in dog cookies, BTW).
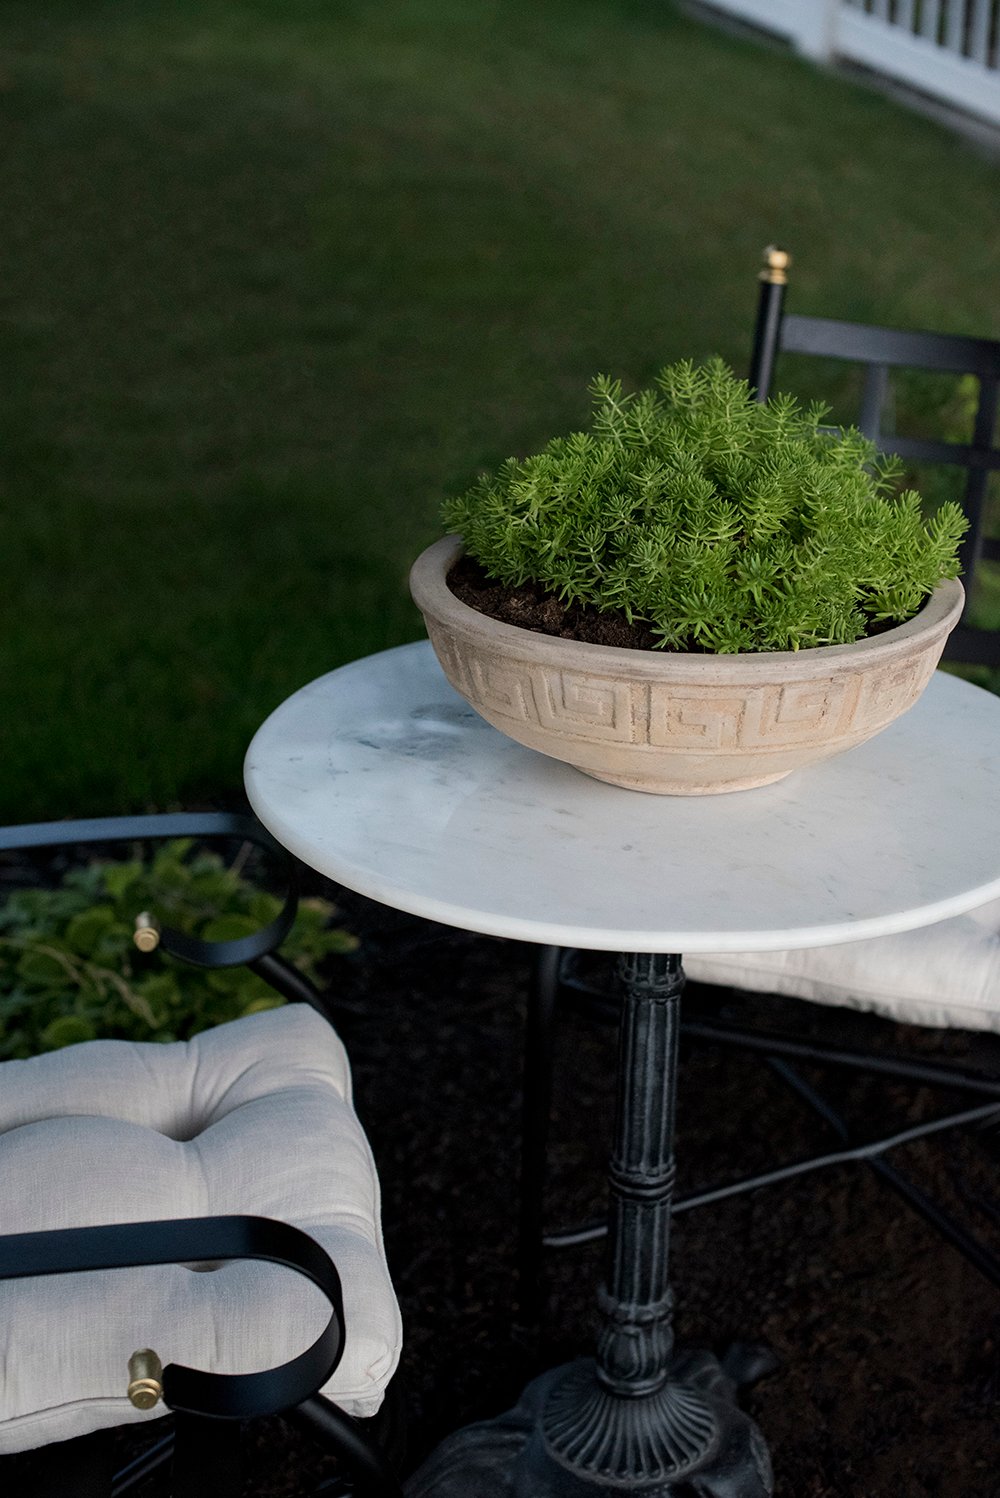 The greek key stone planter was an old HomeGoods find. I love how it ties this traditional vignette together, and feels consistent with the exterior of our colonial-style home.
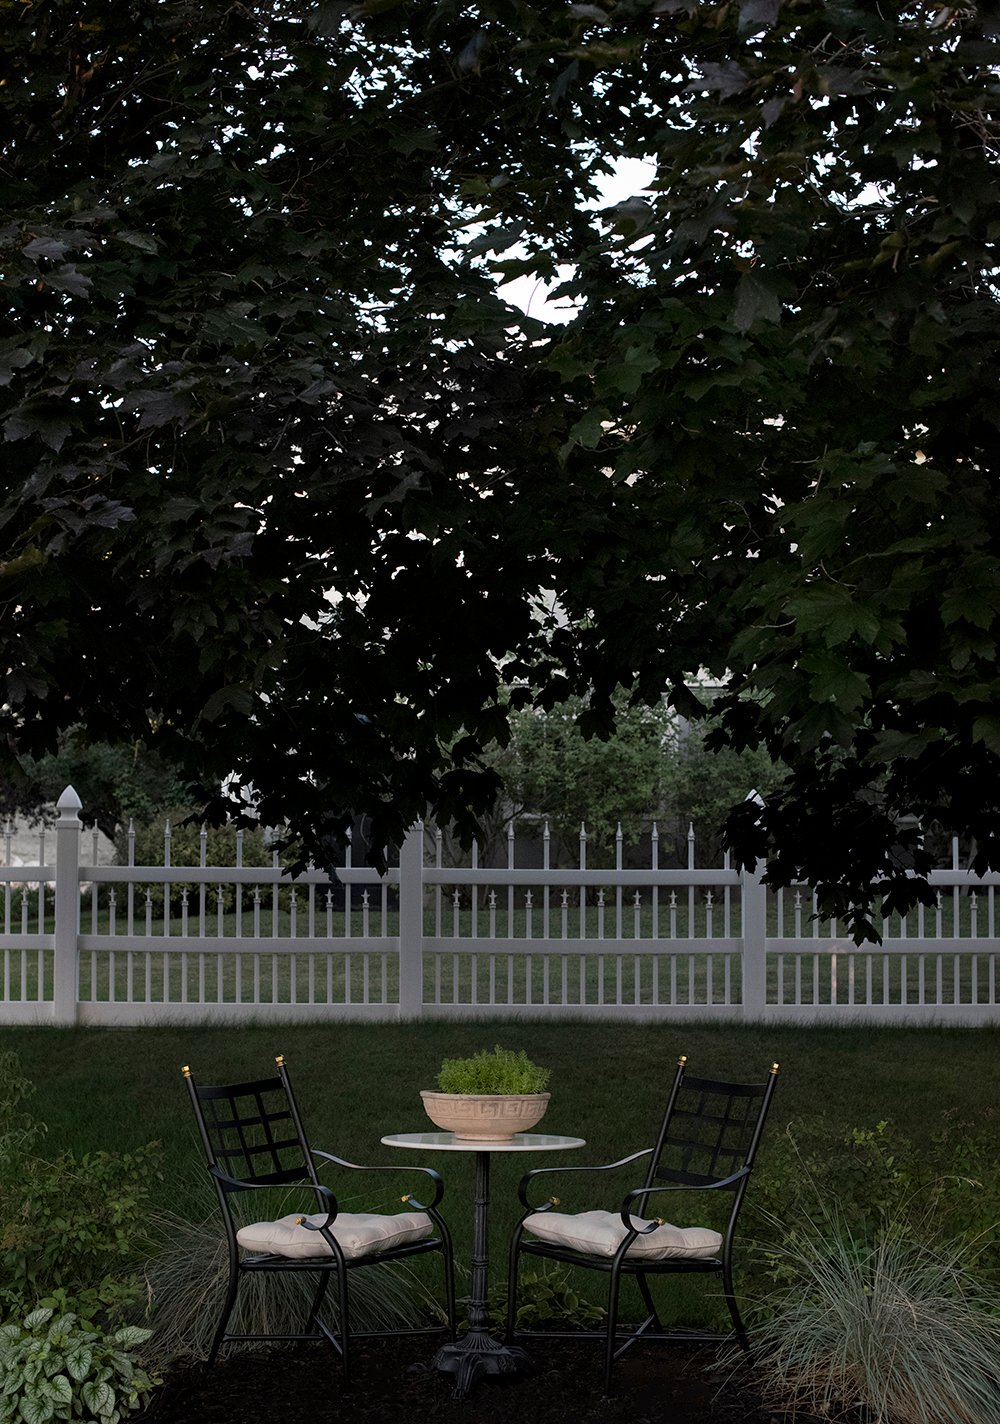 Doesn’t it feel like a nice little garden spot to sit and enjoy the view? Emmett and I had never sat in this area because of the broken bench, and we tested it out and realized it was really a good spot we had never really utilized. Maybe having seating here will prompt us to do that more often. We’re really lucky to have so many amazing outdoor living areas to enjoy- our bedroom balcony and our backyard / back patio. Since I have four of these chairs, I’m trying to convince Emmett that we need a pool someday. I could totally envision these poolside at a round table! He’s not biting, so I have the other two chairs stored in the shed for now… I’m not letting those go (or my pool dream) anytime soon. For now, we’ll enjoy these two.
 I’d love to hear your thoughts on this quick, easy, and budget makeover in the comment section below. Don’t these chairs look wayyy more expensive than they actually were? I’m really excited to share more of these projects in the coming months! For additional details on Krylon’s specific products (and their specs), click here. I also have a giveaway planned on Instagram later today- the winner will receive a six-pack of Krylon Fusion All-In-One spray paint, in the color of their choice… in case you’d like to tackle a patio chair project of your own. Those details will be on IG in a bit.
Now, if we could just wrap up our shed build, our exterior areas will be looking pretty good. As soon as our french doors arrive, it’s game-on to finish that. We’ve had a lot of fun with projects so far this summer! Speaking of summer- since Friday posts aren’t happening during the summer months, I hope you have a wonderful weekend ahead! See you back here on Monday, my friends.
