Tips for a Durable, Professional Looking Spray Paint Finish
 Let’s chat about spray paint! As you know, I partnered with Krylon again this year because we tackle plenty of spray paint projects around here. It’s an easy, fast, and affordable way to achieve a nice durable finish when done the correct way. It has been a month of paint and DIY tips, and I usually receive lots of messages about my spray paint projects, so I figured a post was in order. To wrap up our month of DIY posts, techniques, and building creative confidence, I wanted to share my very best tips for a durable, professional looking spray paint finish. Click through to check them out… especially if you have any paint projects in your future!
*This post is sponsored by Krylon. All content, ideas, and words are my own. Thank you for supporting the brands that allow us to create unique content while featuring products we actually use & enjoy!
So how exactly do you achieve a high-quality, professional looking paint job that actually lasts? That’s the big question. It really takes a combination of things- but they’re all very easy and just require patience and a little elbow grease. Here is what I would recommend…
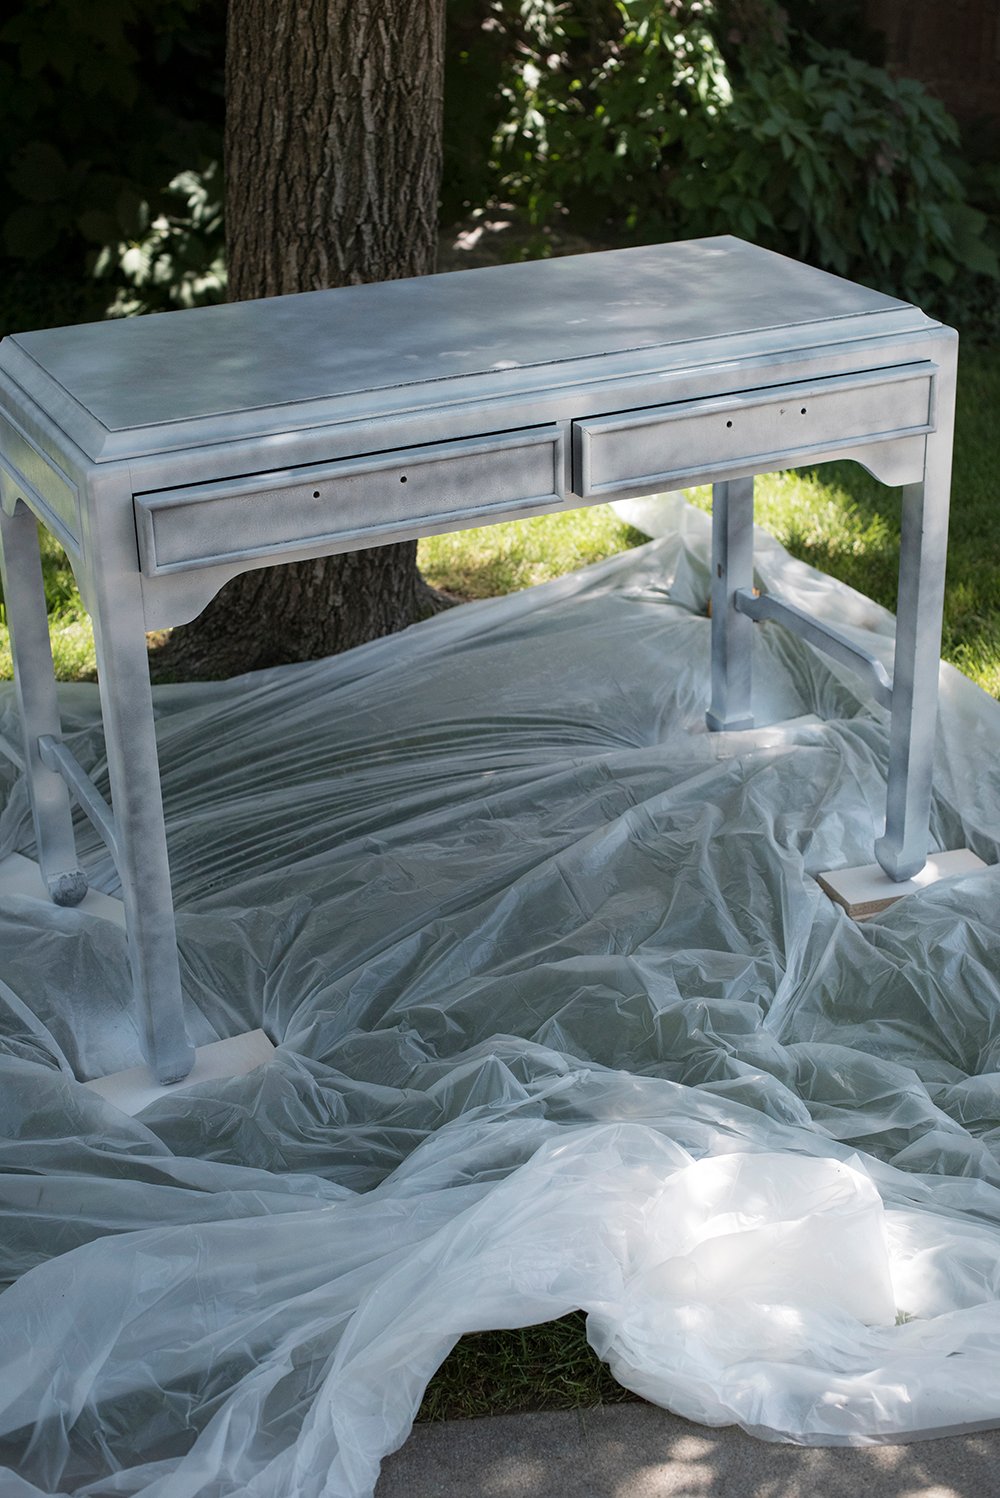
#1 : Setup a Good Painting Environment
 We’re lucky because we have access to a spray booth at Emmett’s work, but the majority of the time- we just setup a space here at home for the sake of convenience. Whether you’re working in a garage, an empty room, or outdoors, make sure you use plastic, a drop cloth, or pieces of wood or cardboard to create a nice environment for whatever it is you’re painting. For example, if you’re painting a table with four legs on the grass outside, put down plastic, then grab a piece of wood or four blocks to prop up the legs… that way you have access to spray the entire leg without grass getting in the way. Having a flat or elevated surface helps. The same goes for weather- make sure you’re painting within the temperature requirements (not on a super hot or super cold day), and I try to avoid really windy days that can stir up debris. Those little particles can easily ruin a smooth finish. You should also ensure you’re painting in a well-ventilated room.
#2 : Select the Right Paint For Your Project
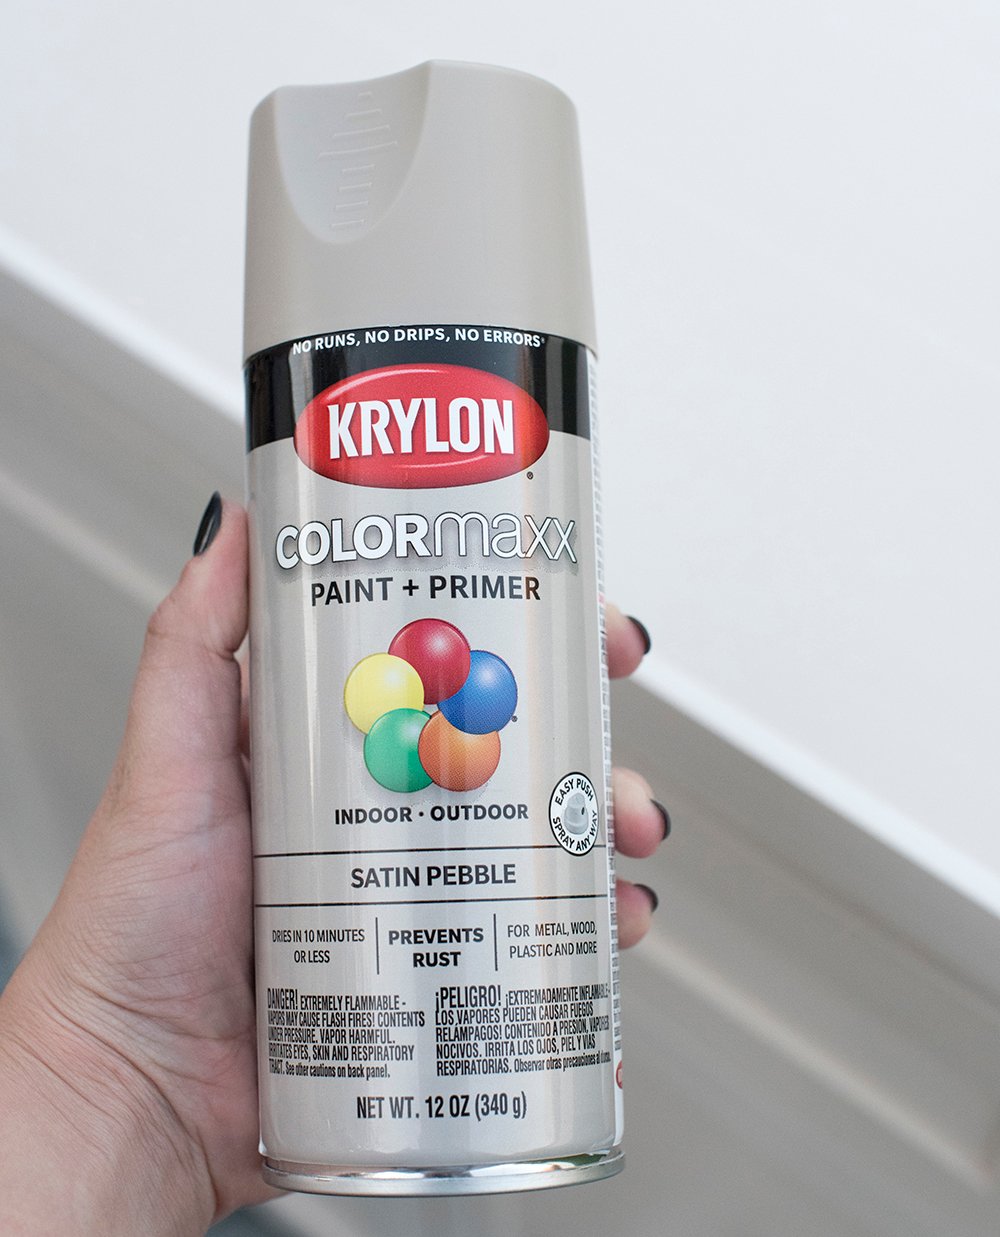 There are so many different spray paint and speciality options, make sure to choose the best one for your project. Be sure to read the label and choose a paint based on the material and use of whatever it is that you’re painting.
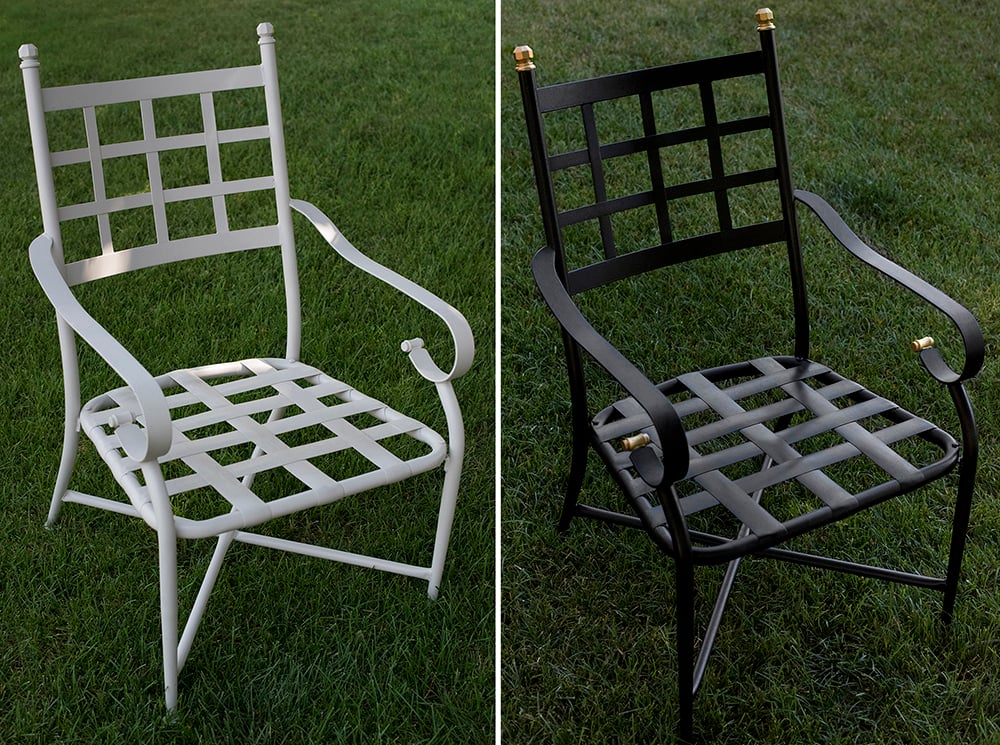
#3 : Don’t Skip Prep
 If you really want your finish to last and look professional, don’t skip the prep steps. Whether that’s cleaning, sanding, disassembly, masking, or applying a thin coat of primer (depending on the product you use… Krylon Fusion requires no sanding or primer)– take the time to set yourself up for success before you even begin spraying. To prep, sand any rough rust or chipped paint, remove any oil with a degreaser and wash the surface to remove debris or dust. With the right prep, the Krylon stats show five times stronger adhesion and a no peel guarantee.
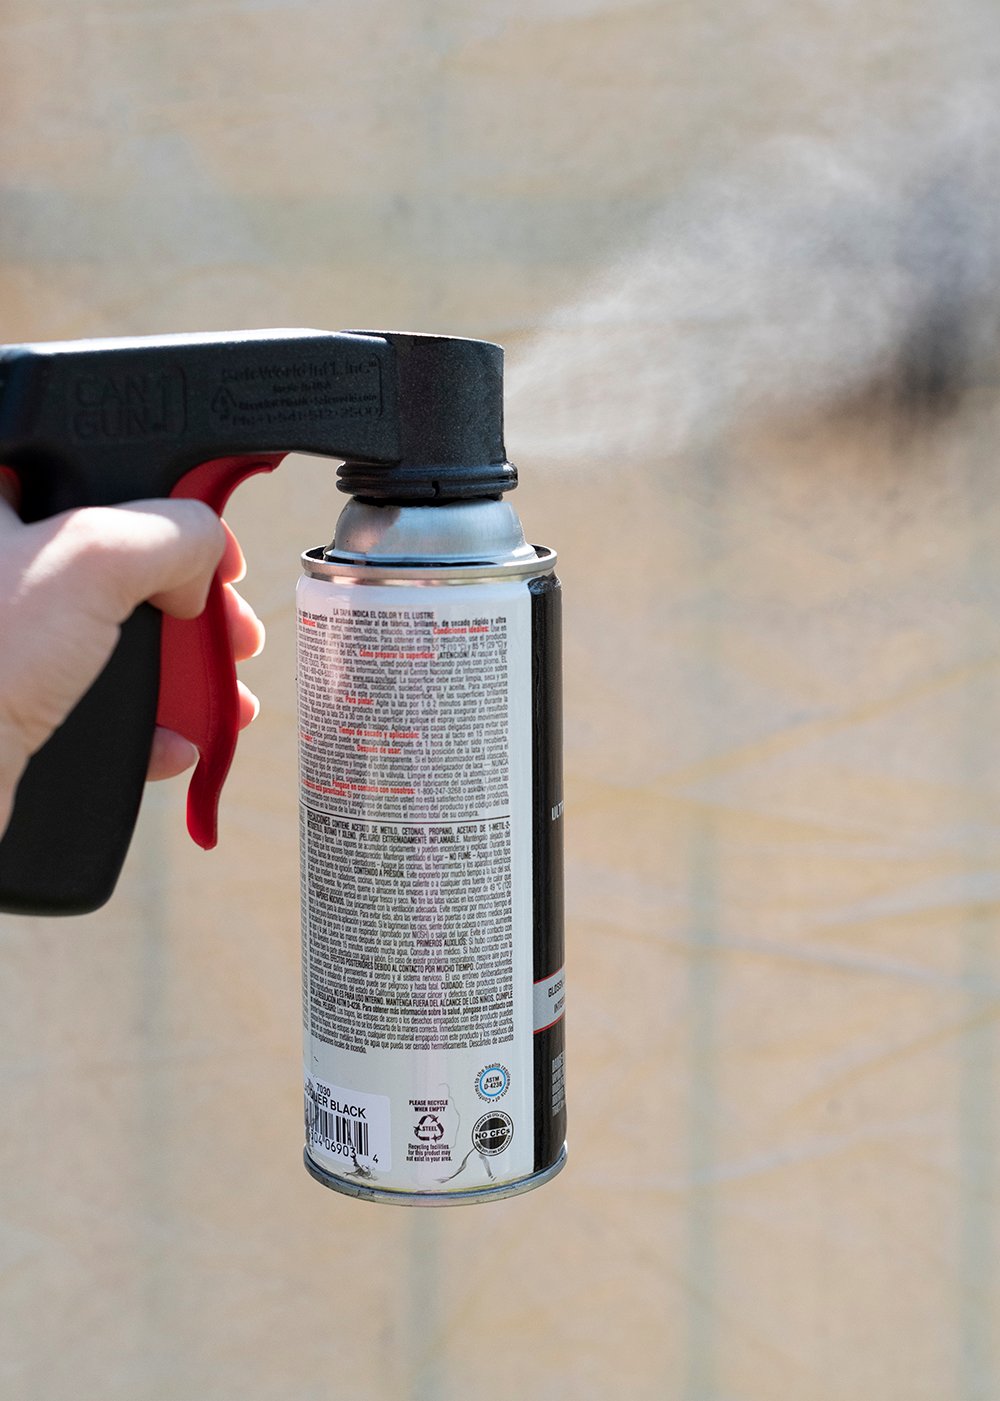
#4 : Use a Handle Attachment
 I swear by this handle attachment. It makes spraying a consistent pass easy, without having any finger or thumb cramps that cause you to pause. Consistency is key and this handy contraption really helps with that! It’s definitely more ergonomic and comfortable, in my personal opinion. It’s not necessary, but a welcomed addition!
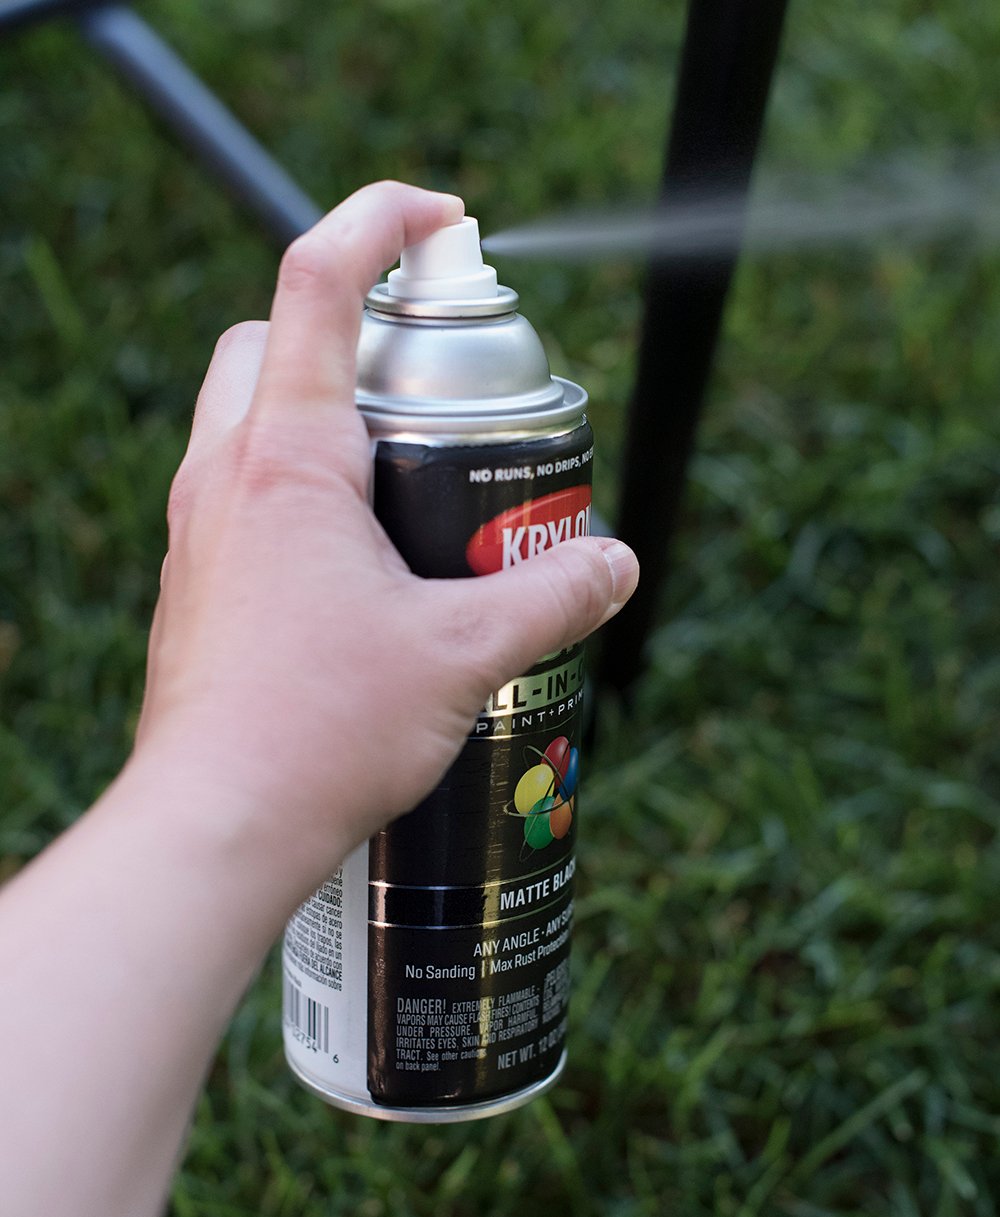
#5 : Apply the Paint in Thin Layers
 I can’t stress this point enough… applying the paint in thin, even layers is key in getting a smooth finish that doesn’t chip. Less is more, and allow the paint to dry completely in between coats.
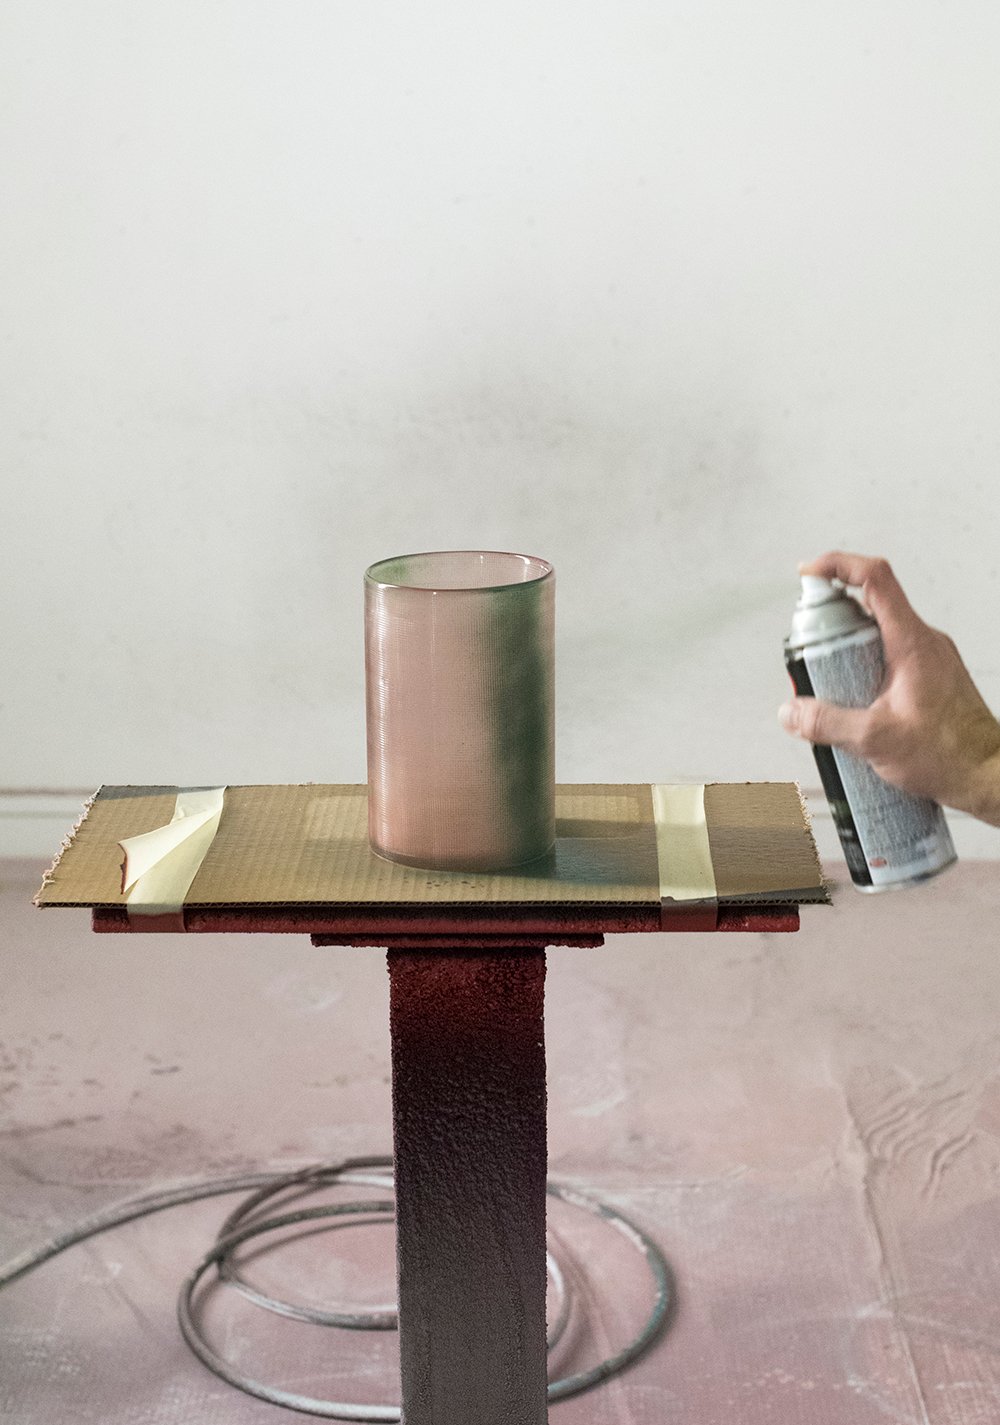
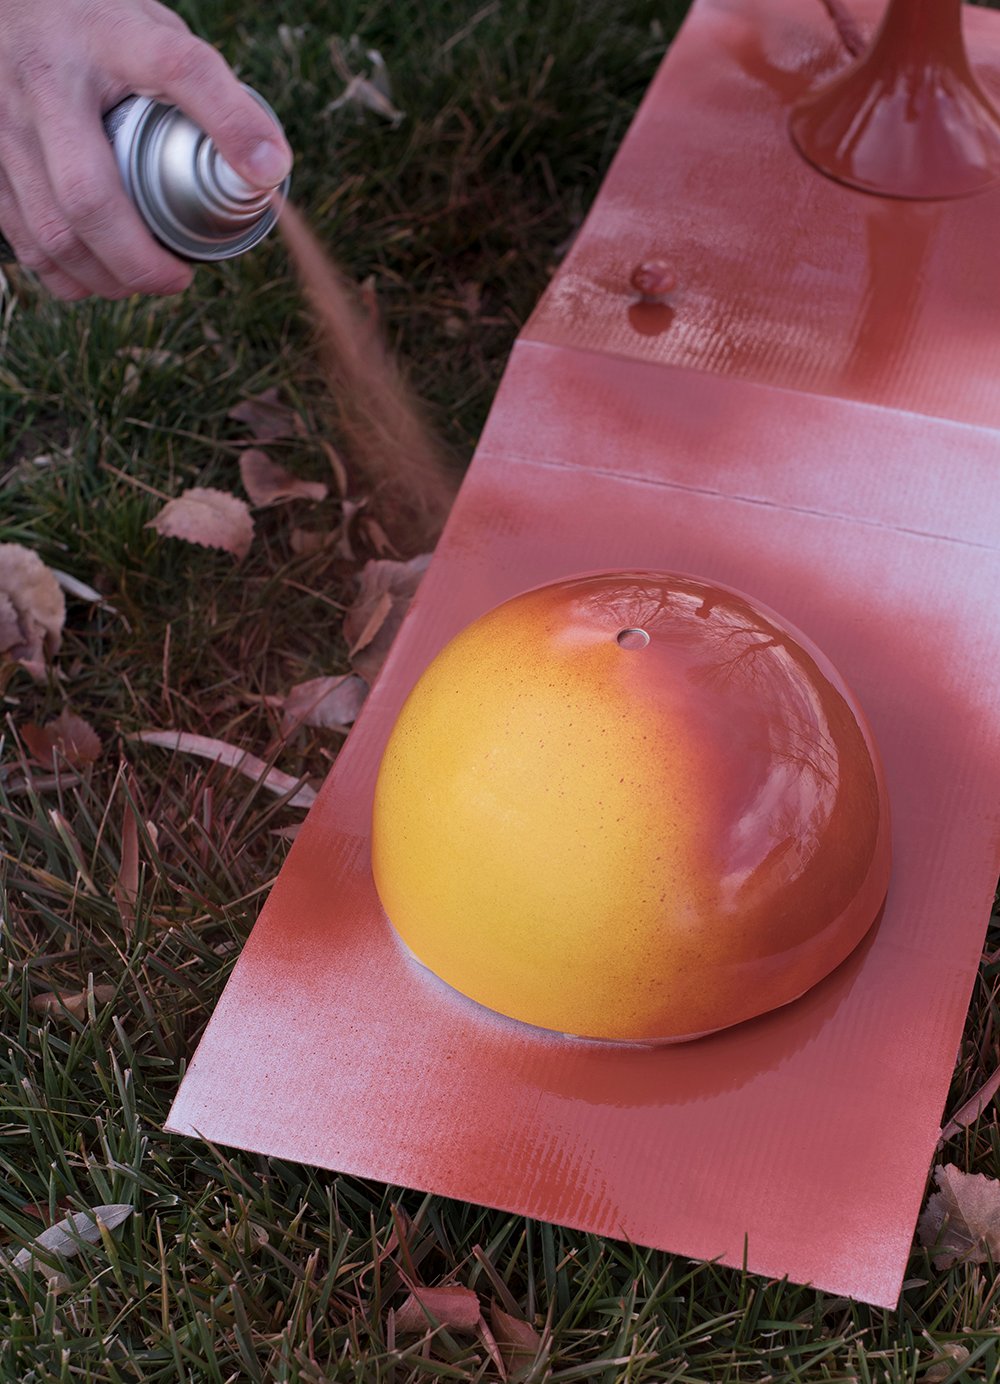
#6: Always Keep Moving
 You want to spray past the item at the beginning and the end. Begin a steady spray in the air before moving the can to pass the object you are painting, and continue the spray once you pass the end of the object. Use a consistent sweeping motion and keep the same distance away from the object, making sure you’re not too close. That’s kind of a trick one to explain, but does that make sense?
#7 : Wipe In Between Coats
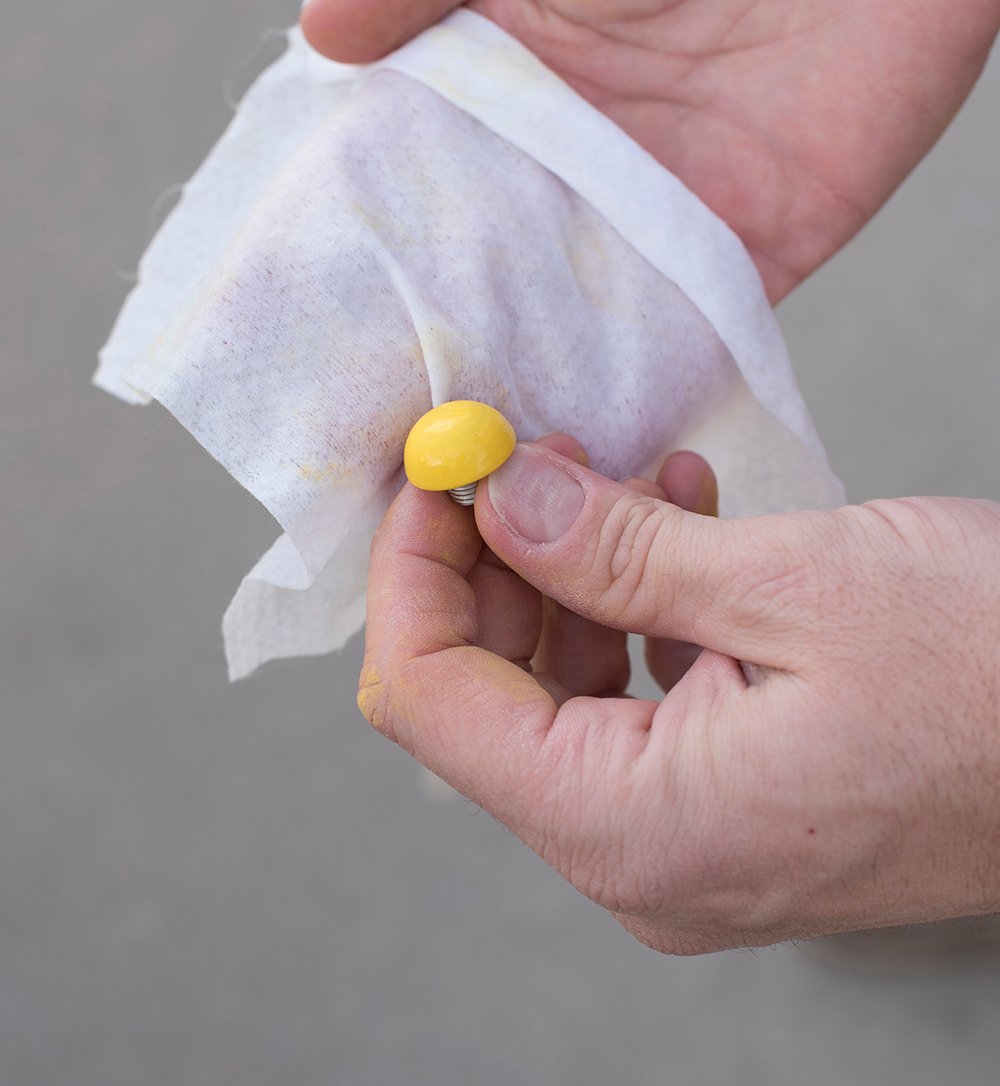
If you’re looking for a really smooth, expert finish- I recommend monitoring overspray in-between coats. Some people opt for a paper bag, a rag, steel wool, or even a super fine sandpaper to knock down any overspray in between applying thin layers. Be sure to wipe any dust before applying the next coat.
#8 : Allow It To Dry Completely
 In between coats, and well after your final coat of paint, allow the object adequate time to dry. I always double the recommended drying time based on the instructions found on the can (just to be safe).
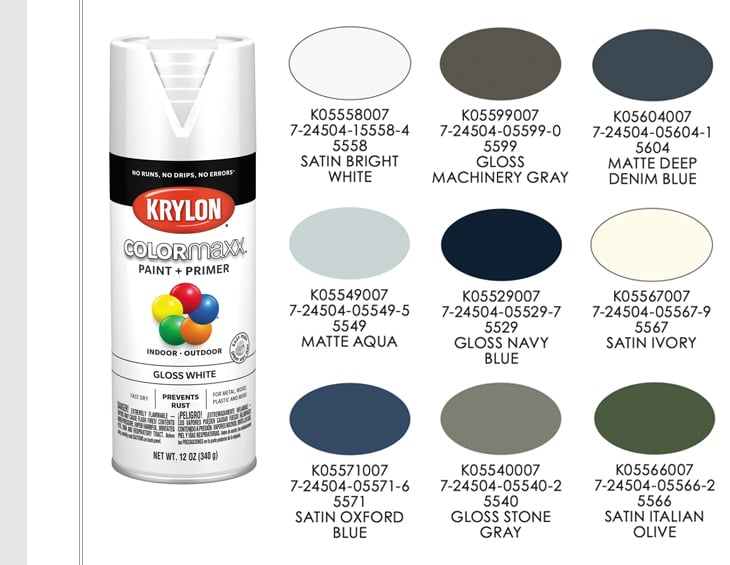
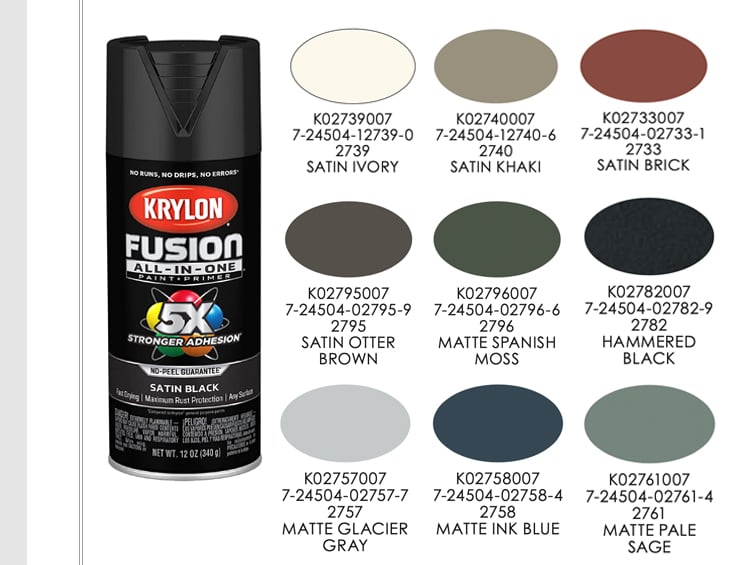
Before signing off, I also wanted to share some favorite colors below… there are also a million colors to choose from at the big box stores, but these are my tried & true favorites from two of Krylon’s most popular collections…
 Hit me with your spray paint questions in the comment section below! I’m happy to help. Do you have any painting projects on your to-do list? I have some wrought iron outdoor candleholders that could use a refresh, among other things.