A Fire Pit Makeover
 This will be our third summer using our fire pit, which I really love! It works great, I’m still into the aesthetic, it fits our patio space well, and it’s very convenient because it runs on gas. However, the fire pit has seen better days. I’ll admit, the first summer we got it, Emmett & I were toasting marshmallows, and in an effort to get the sticky remainder of the mallow off of the metal skewer, HE SCRAPED IT ON THE FIRE PIT. Metal to metal… it was a bad sound. You should have seen my face. Haha! I have no idea what he was thinking, but it scratched up the surface pretty badly, revealing white etched lines. I used some touch up paint to try to fix it, but the paint didn’t match that well, which honestly made it look worse. Fast forward to the next summer, I let it go and just lived with it… you know, called it “patina”. This past winter, the cover (we cover our outdoor furniture during the snowy months), ripped during a storm. The fire pit went most of the winter without a cover and the wear was looking pretty bad. As I pulled our patio together this spring, I decided to fix the fire pit once and for all! If you’re interested to see how you can easily makeover any fire pit, this post is for you. Click through to see the before & after, the process, and some tips for painting things that get really hot– like fire pits and grills.
*This post is sponsored by Krylon. All content, ideas, and words are my own. Thank you for supporting the brands that allow us to create unique content while featuring products we actually use & enjoy!
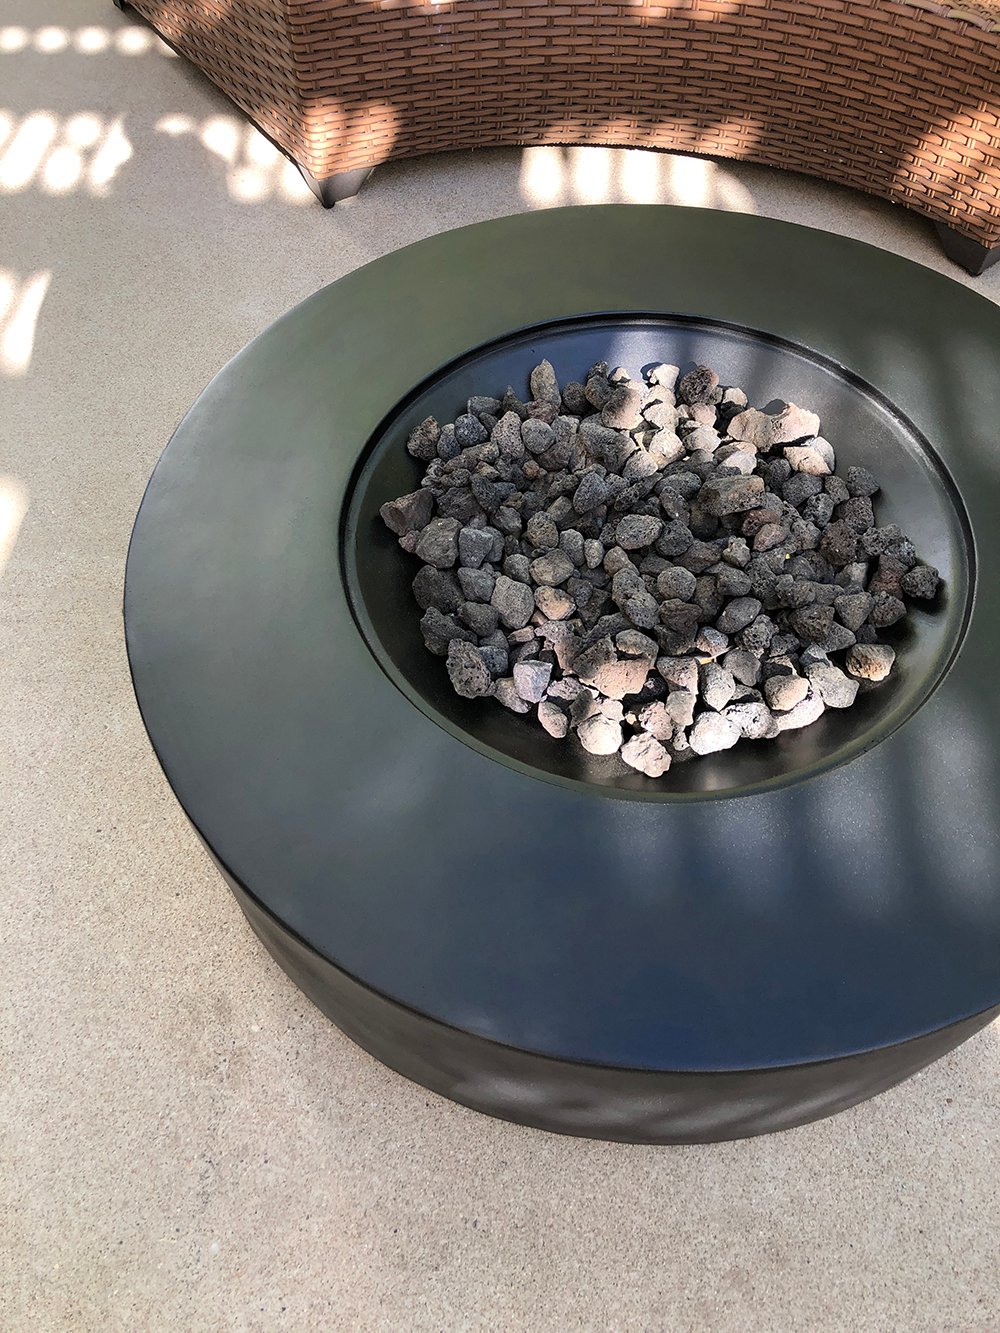
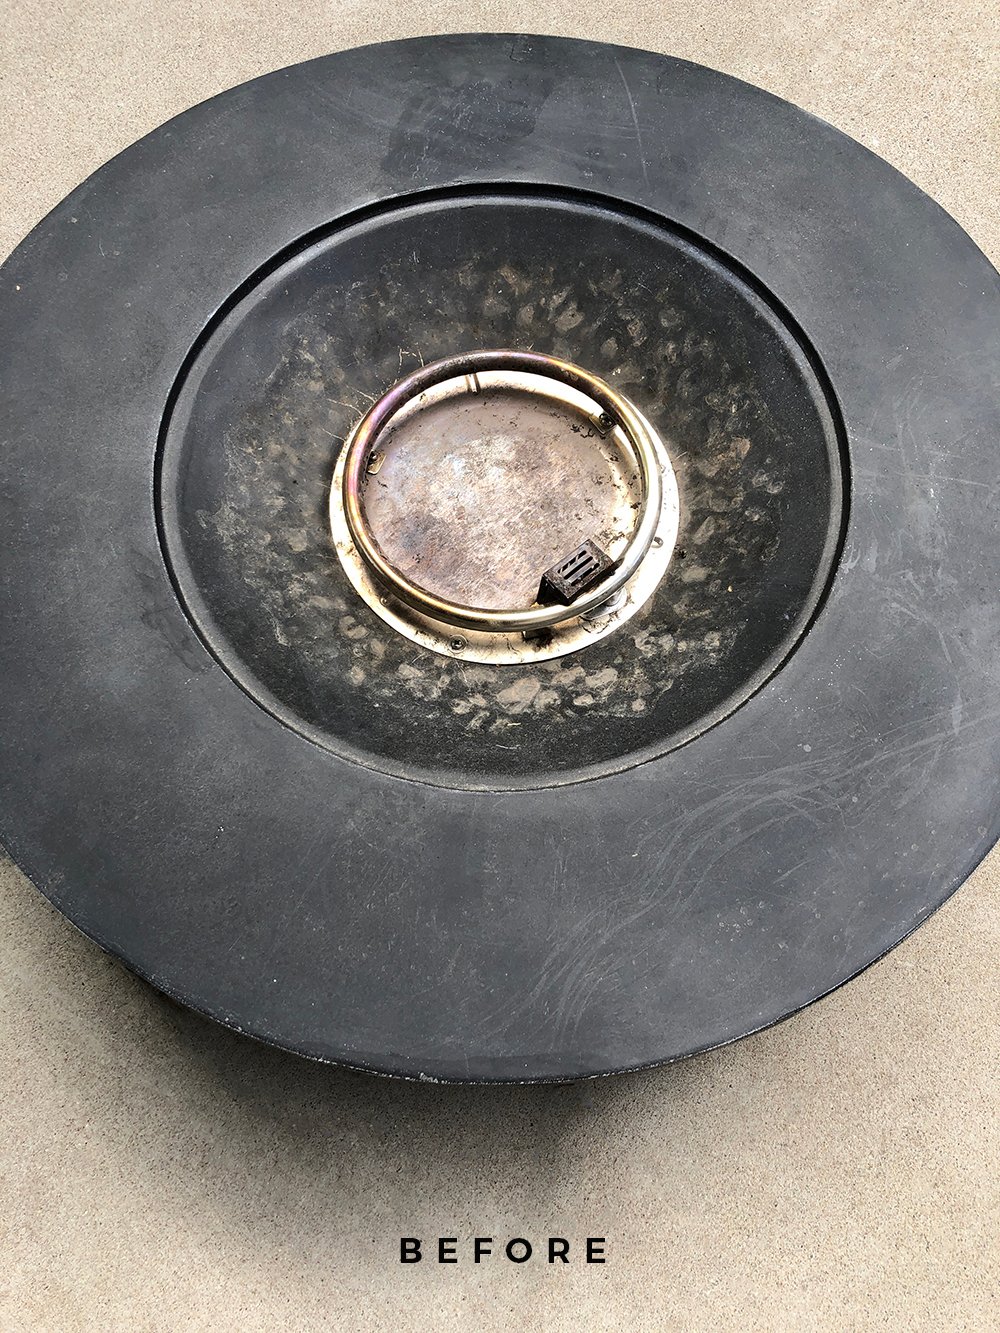 Let’s take a peek at the before, shall we? Do you see the touch-up paint over Emmett’s etchings at twelve o’clock? It’s honestly less noticeable now that the rest of the surface has been scratched equally as bad over the winter. Between debris, branches, stormy weather, and our dogs, it looked pretty rough. This is what I used for the makeover…
SUPPLIES + TOOLS:
- Krylon High Heat Spray Paint– I used flat black
- Krylon Snap & Spray Handle– this makes painting so much easier and more precise
- A sander of some sort- I used this Dewalt Orbit Sander
- 100 grit sandpaper, followed by 320 grit sandpaper
- Towels- for wiping
- Masking tape
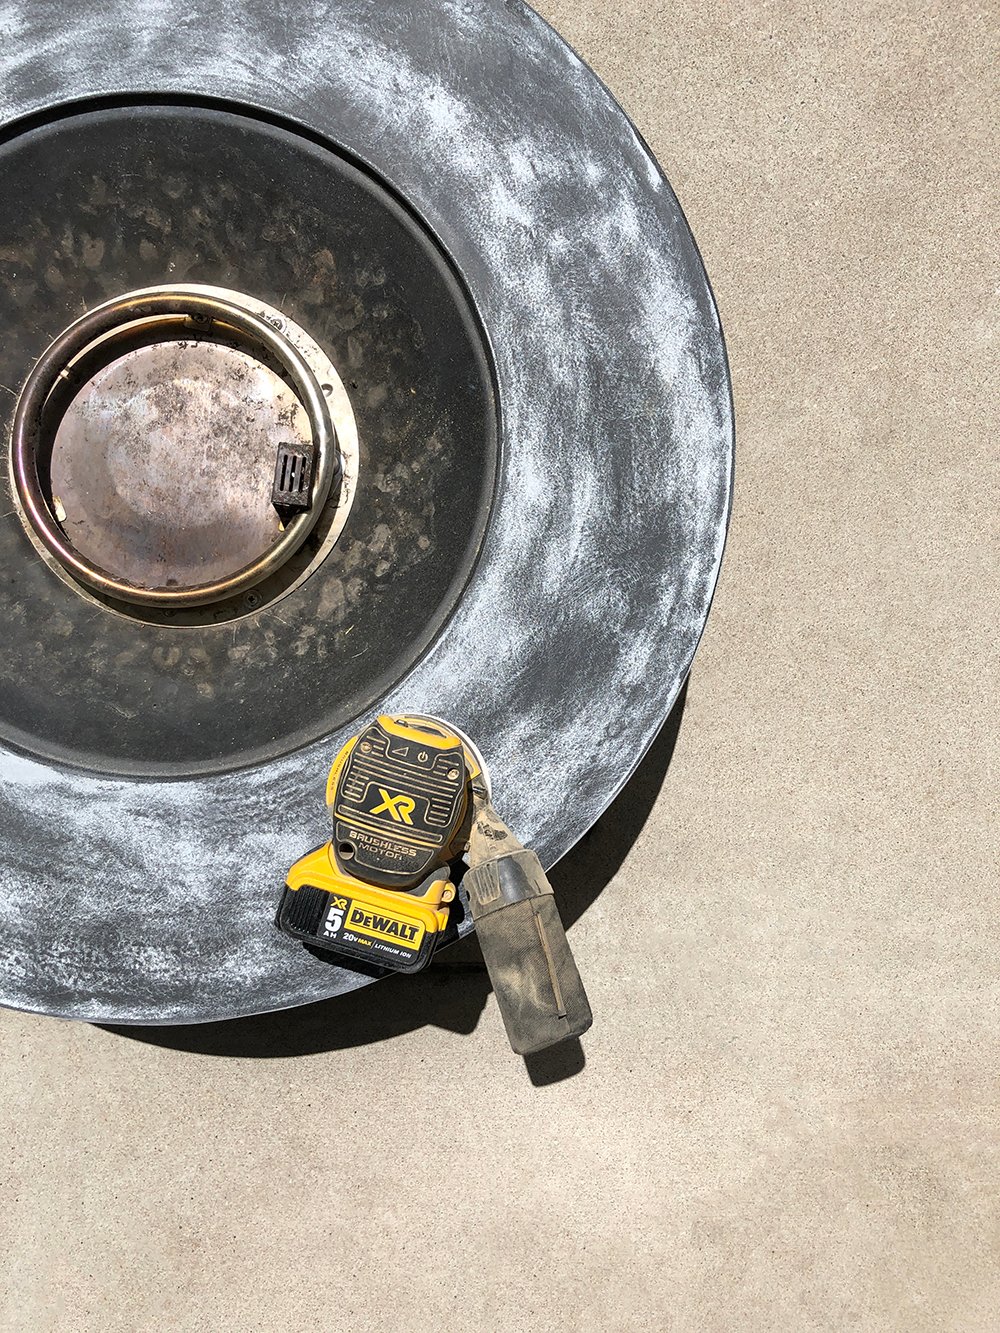 Step 1 // Sand. In an effort to make this last for awhile and to eliminate the deeper etchings, I decided to give the fire pit a really good sanding prior to painting it. I used our cordless orbit sander to make quick work of the project. I started with 100 grit sandpaper, then moved to a 320 grit for a smooth finish.
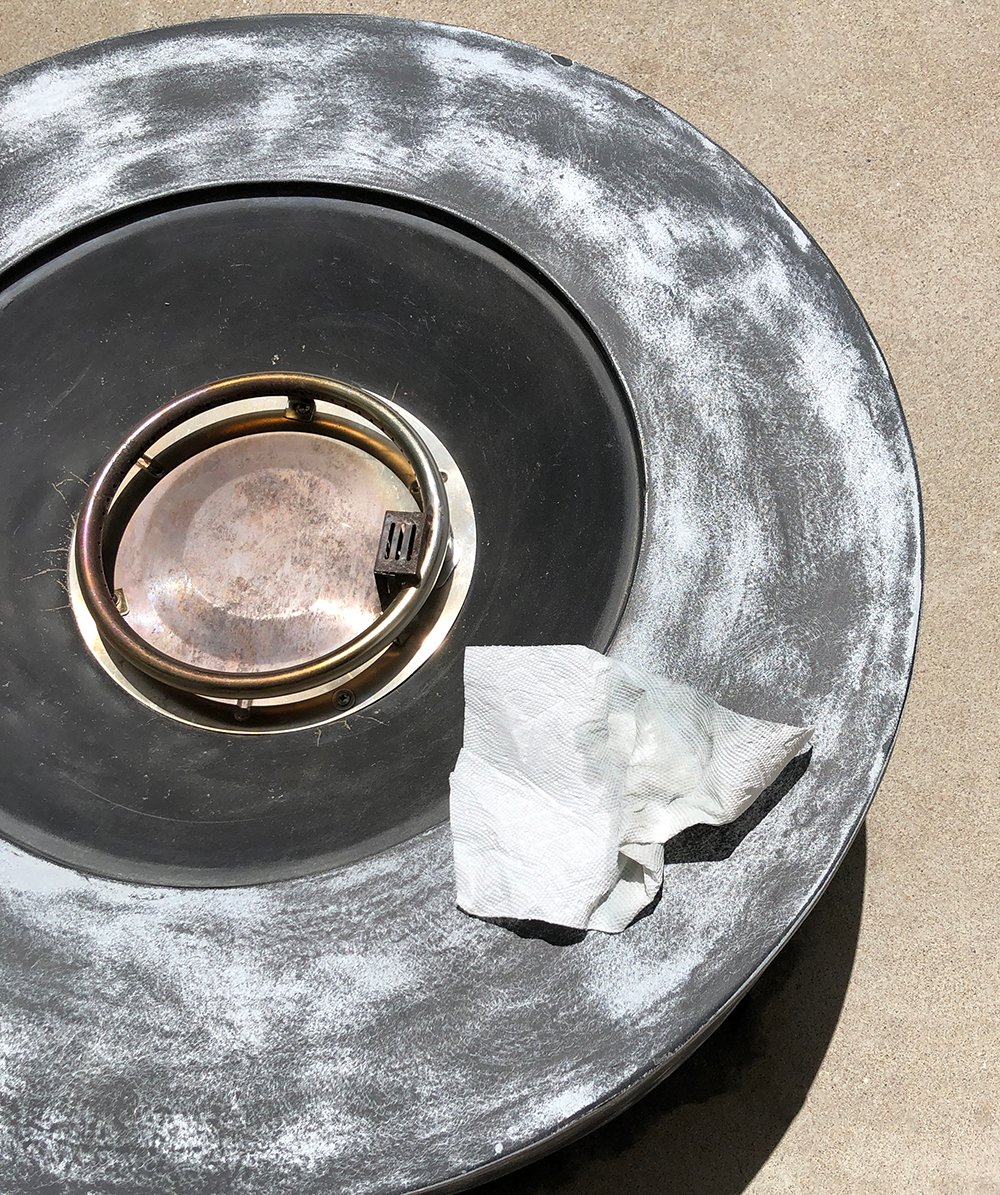 Step 2 // Wipe it clean. Before painting, you’ll want to wipe the surface really well, removing any debris or residue from sanding. I just used soap & water and a towel, then I allowed it to dry completely.
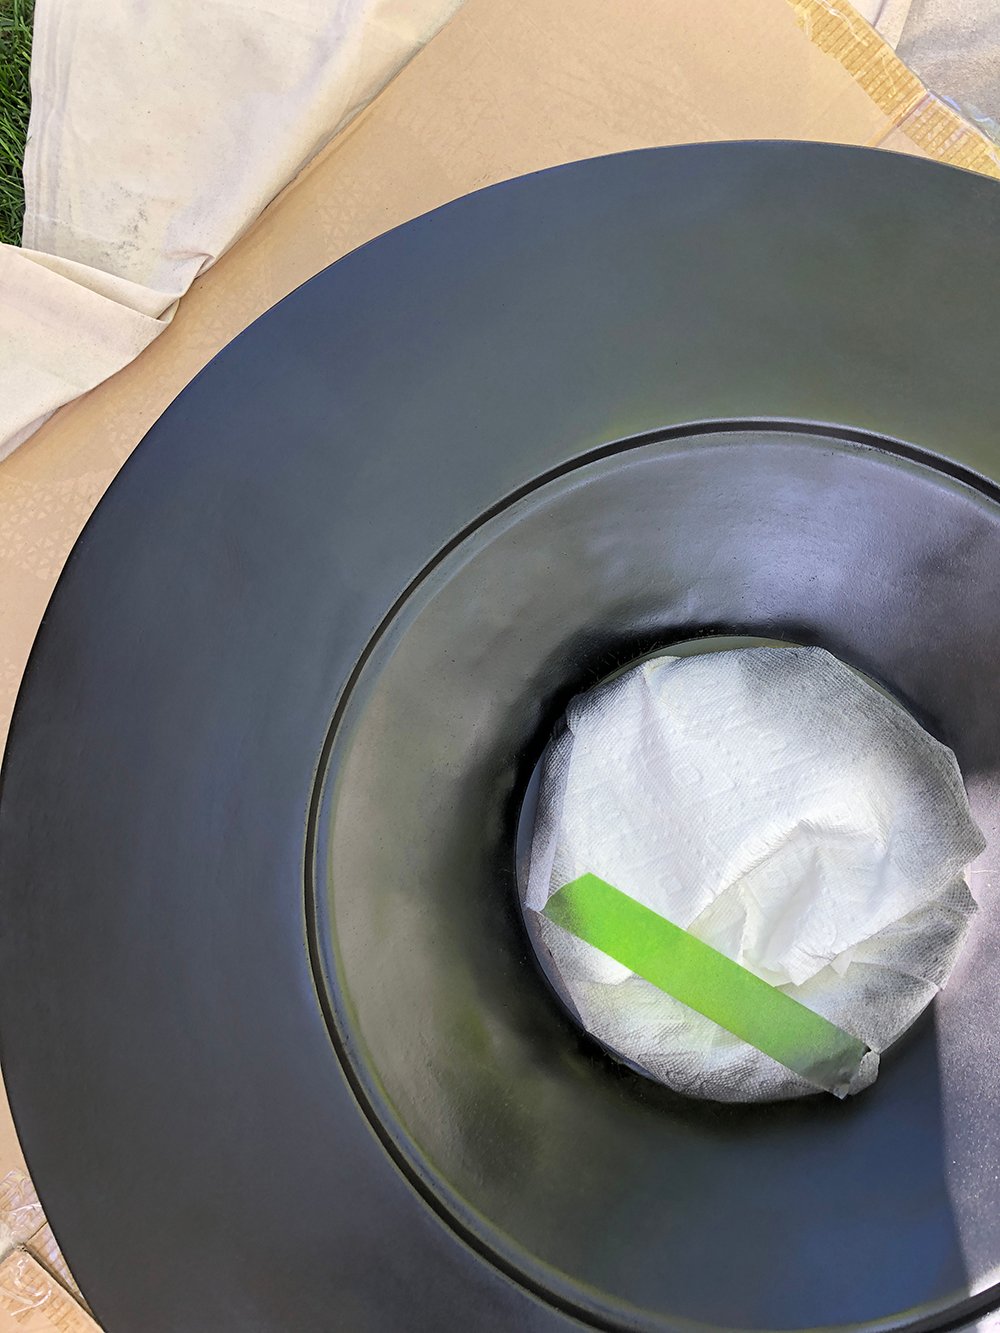
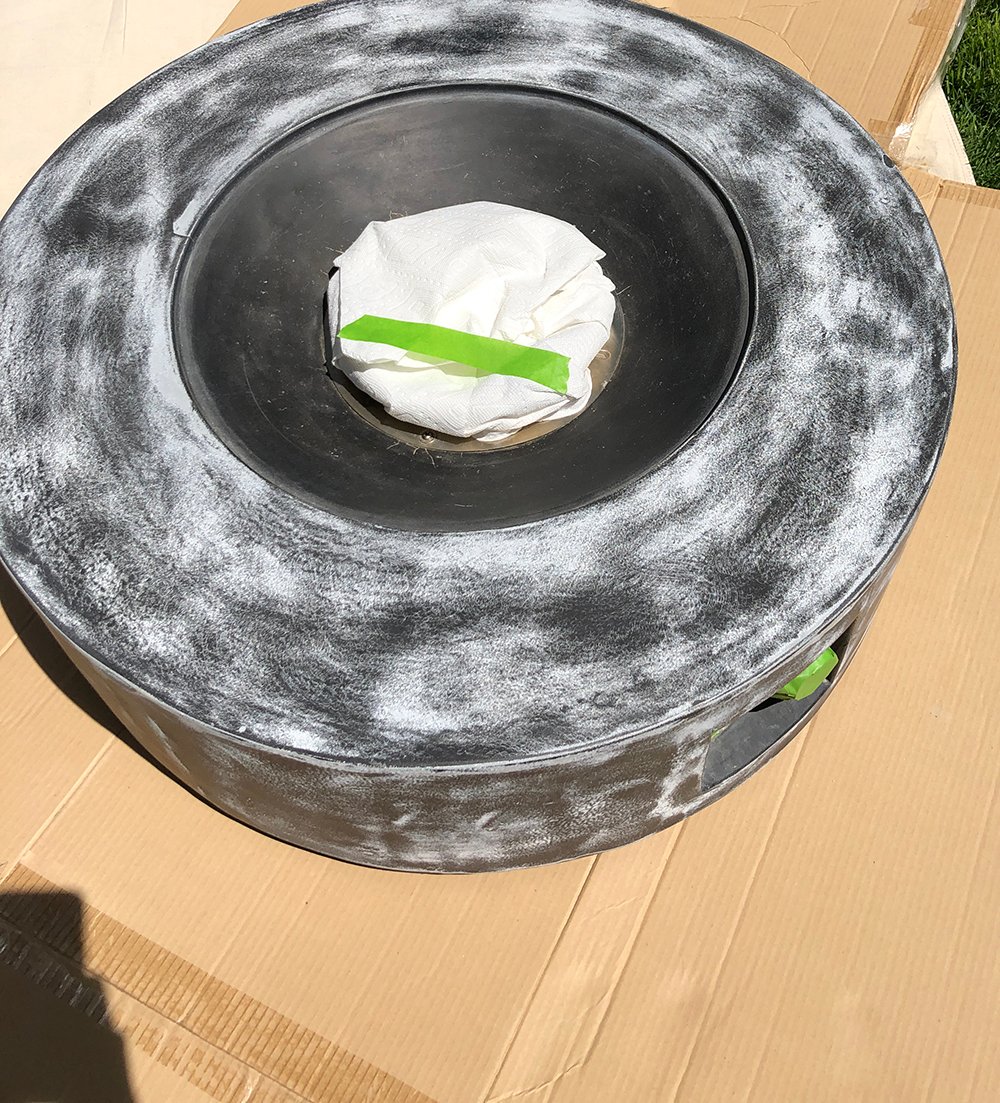 Step 3 // Mask it off. I carefully masked off the electrical and gas components.. the center portion, as well as the control panel and knobs. Once everything is masked off- you’re ready to paint! Thin, even coats is key. This has great coverage and you can layer as many coats as you need, but my fire pit only required one coat.
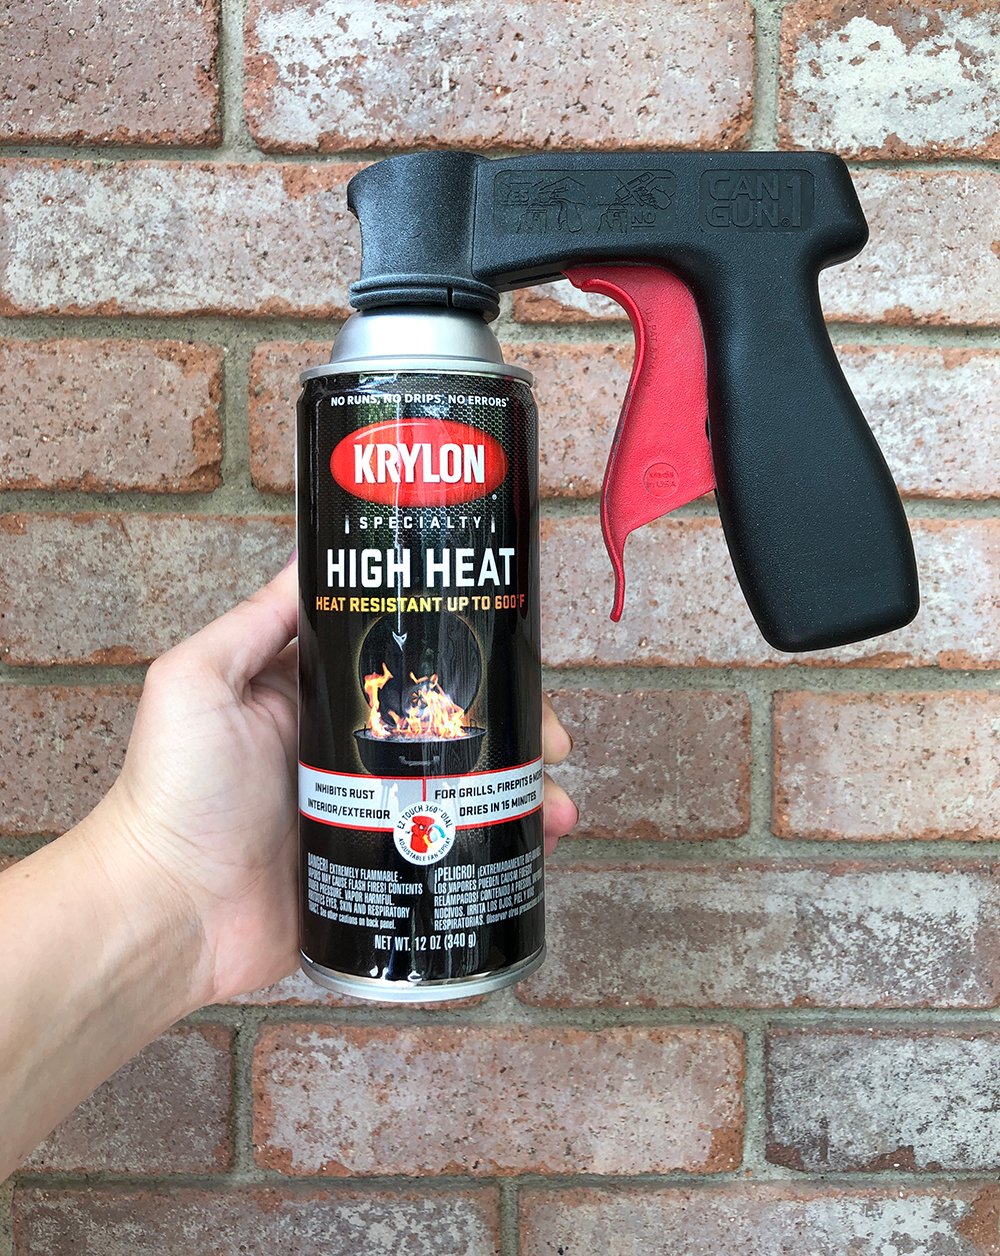 Step 4 // Spray paint. I used Krylon’s High Heat spray paint in flat black. This paint withstands very high temperatures (up to 600° F) and protects against rust. It’s an awesome product for very hot surfaces- fire features like a fire pit, fireplace, or wood stove, grills, etc.
This actually isn’t the first time I’ve used this paint… who remembers our previous backyard? I painted the faux veneer brick fire pit a beautiful white color for an updated, budget-friendly look. This fire pit only required one coat of paint, so I didn’t even use the entire can. Here it is drying, pictured below. I left it to dry for a couple hours while I ran errands, which was more than enough time.
 Step 5 // Reassemble. Luckily, my fire pit didn’t require much reassembly. I did remove the volcanic rock, so I could hit the inside with a fresh coat of paint. I also scrubbed it really well!
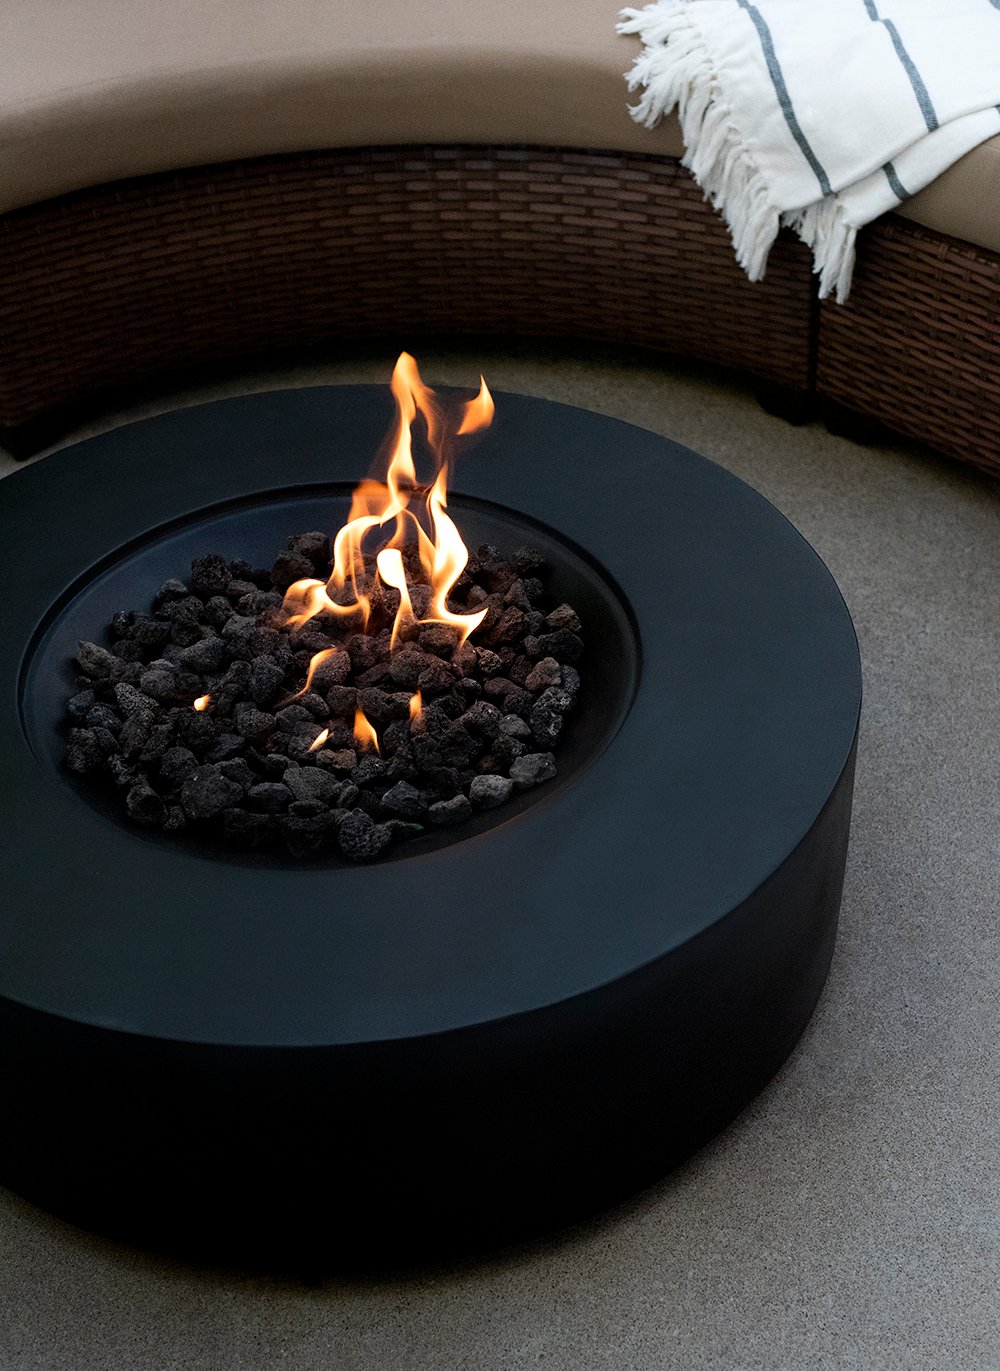
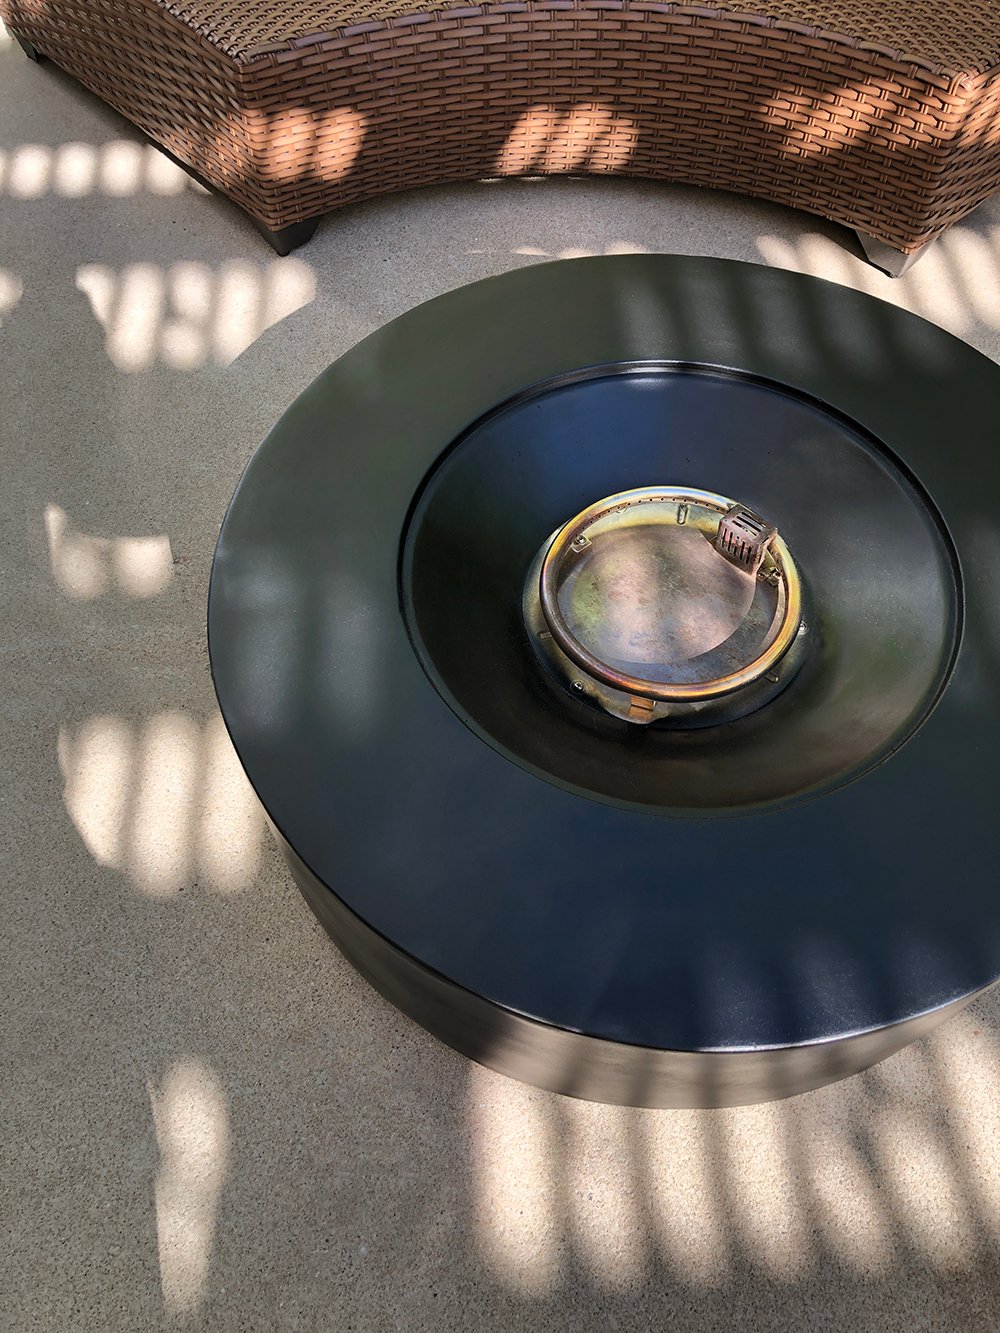 The final step was to add the rocks back into the center portion of the pit. Doesn’t it look so much better? It feels new again!
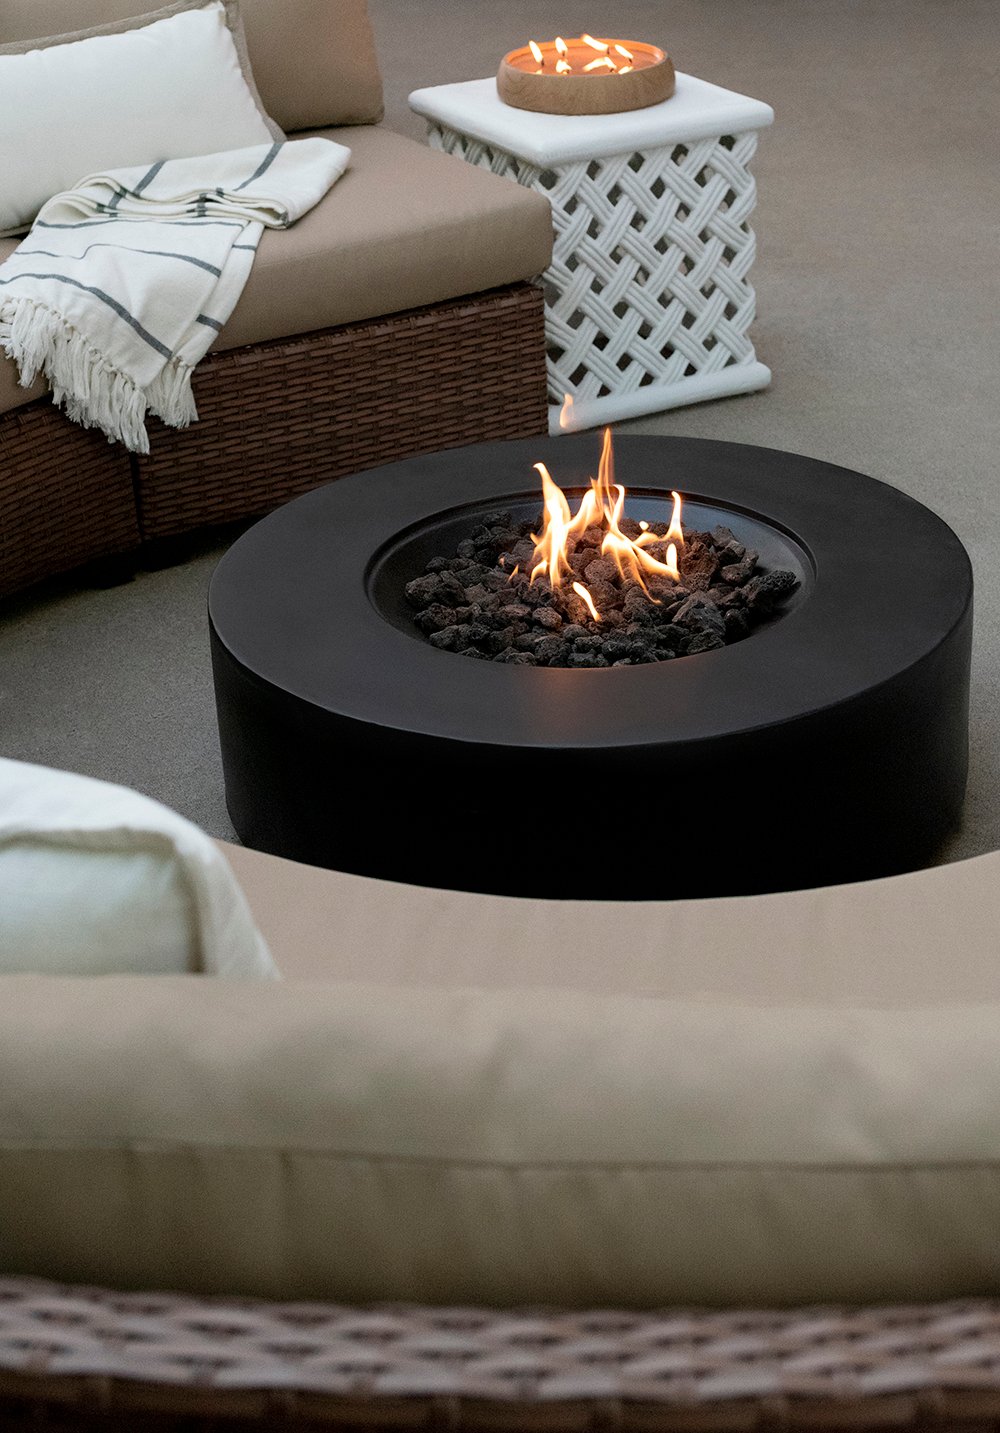
 Want to see the after? That’s obviously my favorite part of any good makeover- putting the completed project to good use.
 I’m thinking we have many more years sitting around this fire pit, enjoying laughs, good conversation, warmth, our beautiful patio, and of course toasting marshmallows… although Emmett will not be allowed to use the skewers. Ha! I’m only halfway joking.
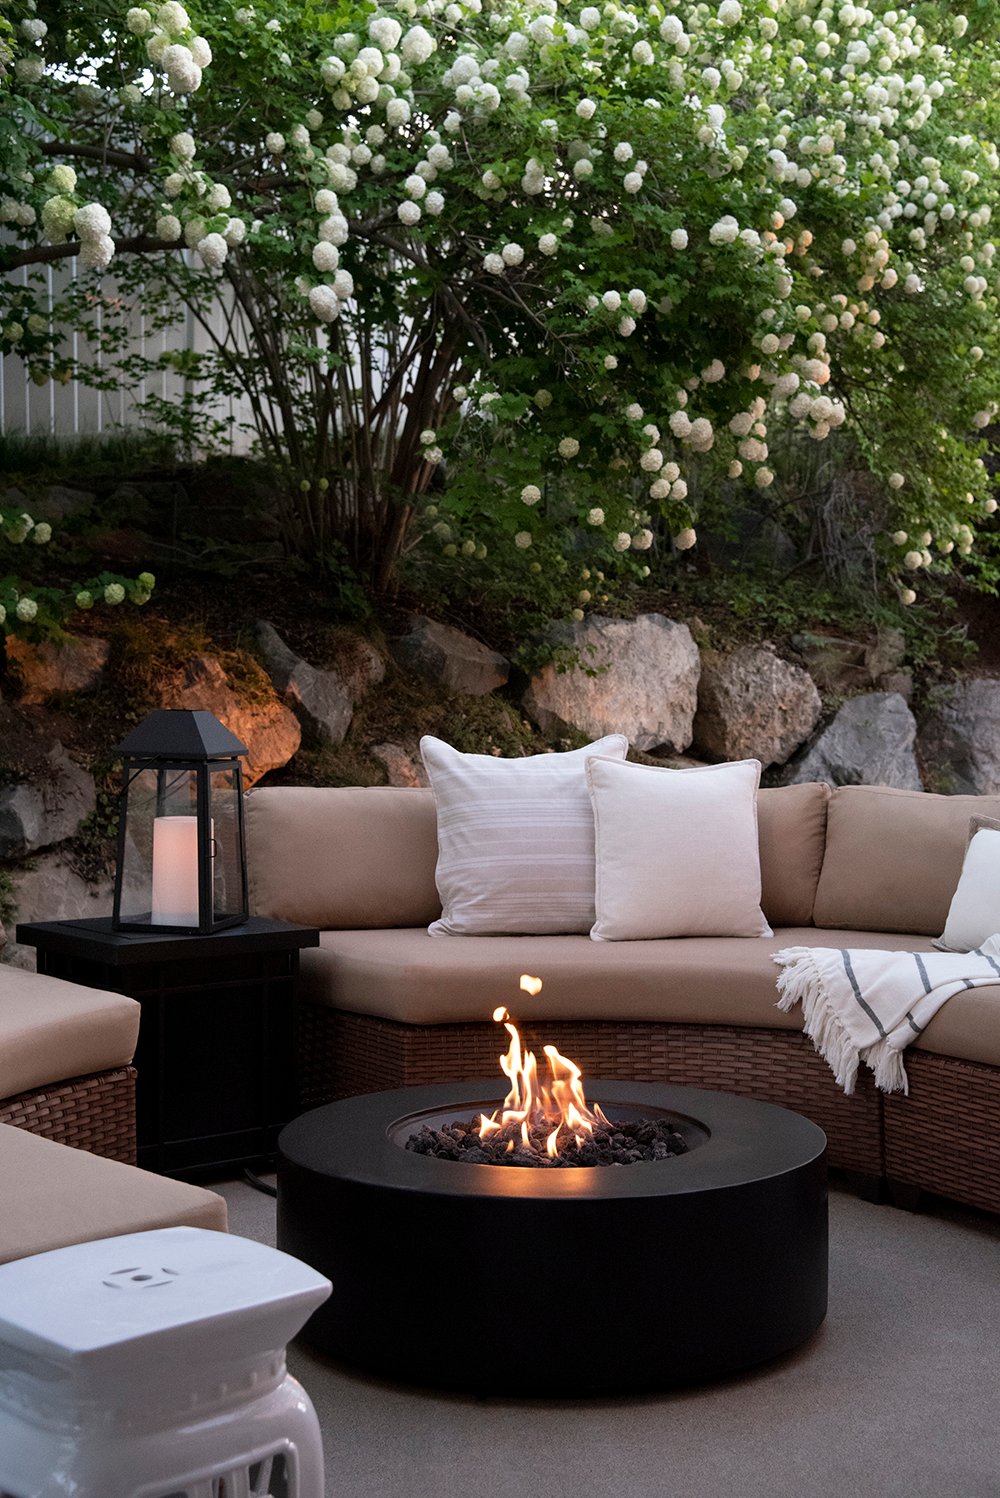 Have you ever had to use high heat spray paint? Do you have a fire pit of your own? It’s a place we always end up gathering around. It might be my favorite piece of patio furniture! There’s something about the warmth and ambiance on those cool Utah summer nights that I really love. We’ve spent hours around this fire pit and I’m looking forward to making more memories this year. For more Krylon project ideas and inspiration, click here.
