Designer Trick : Tips for Getting Scale Right
 I’m back with the second post in the “Designer Trick” series and this one is VERY important. So often, I see people ignoring scale or accidentally mixing items into a space that aren’t the appropriate size. Another issue I often hear is in regards to placing online orders… the item arrives and it’s a totally different size than expected. Given most people order everything online these days, scale and measurements are super important. It’s a design mistake that can easily be avoided and will make your space look much more intentional and balanced. Click through to check out my tips for getting scale right.
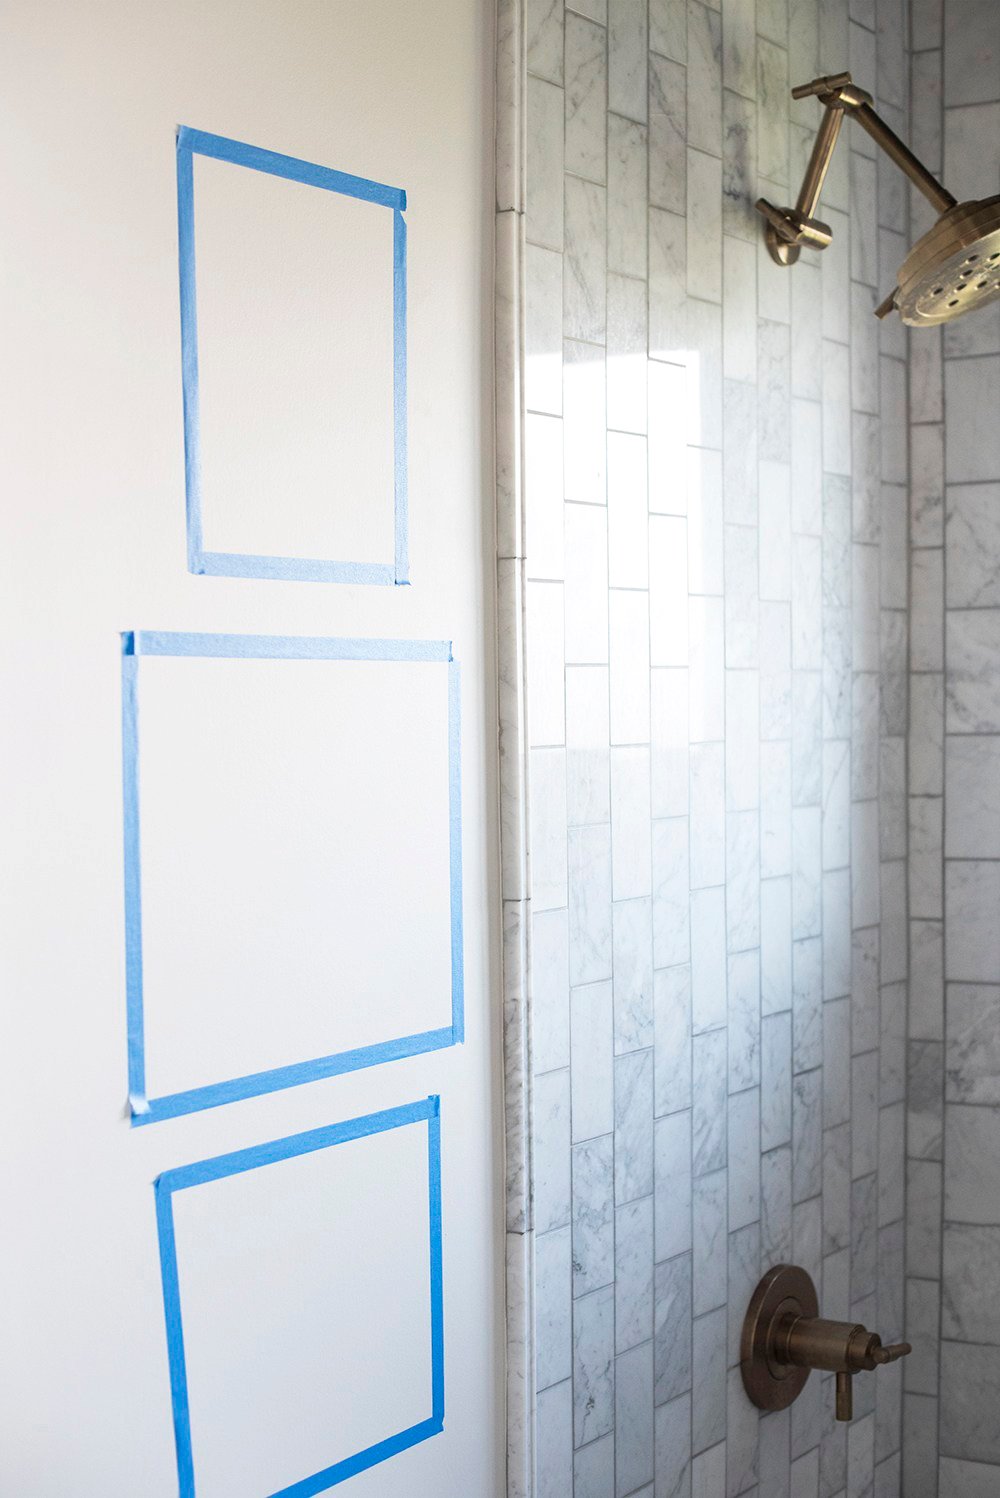
 You’ve probably noticed blue painters tape scattered throughout my home renovations over the years. If you’ve been following along for awhile now, maybe you think that’s odd considering I NEVER use painter’s tape for painting. It’s a product I often turn to for another use… scale. I love taping things out to get a visual representation of how much space a piece will occupy.
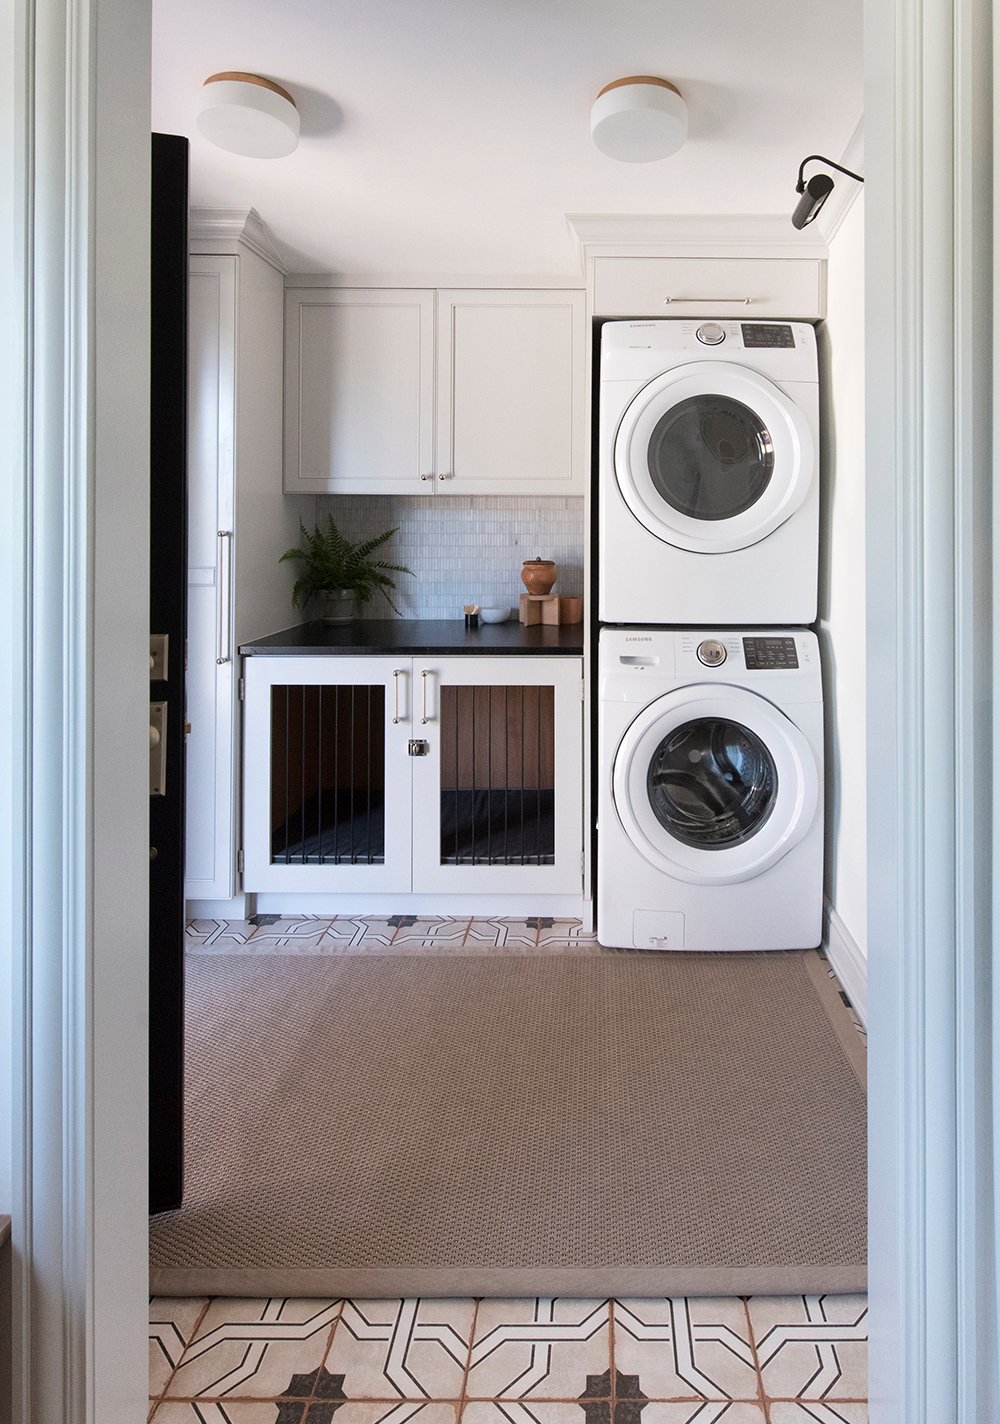
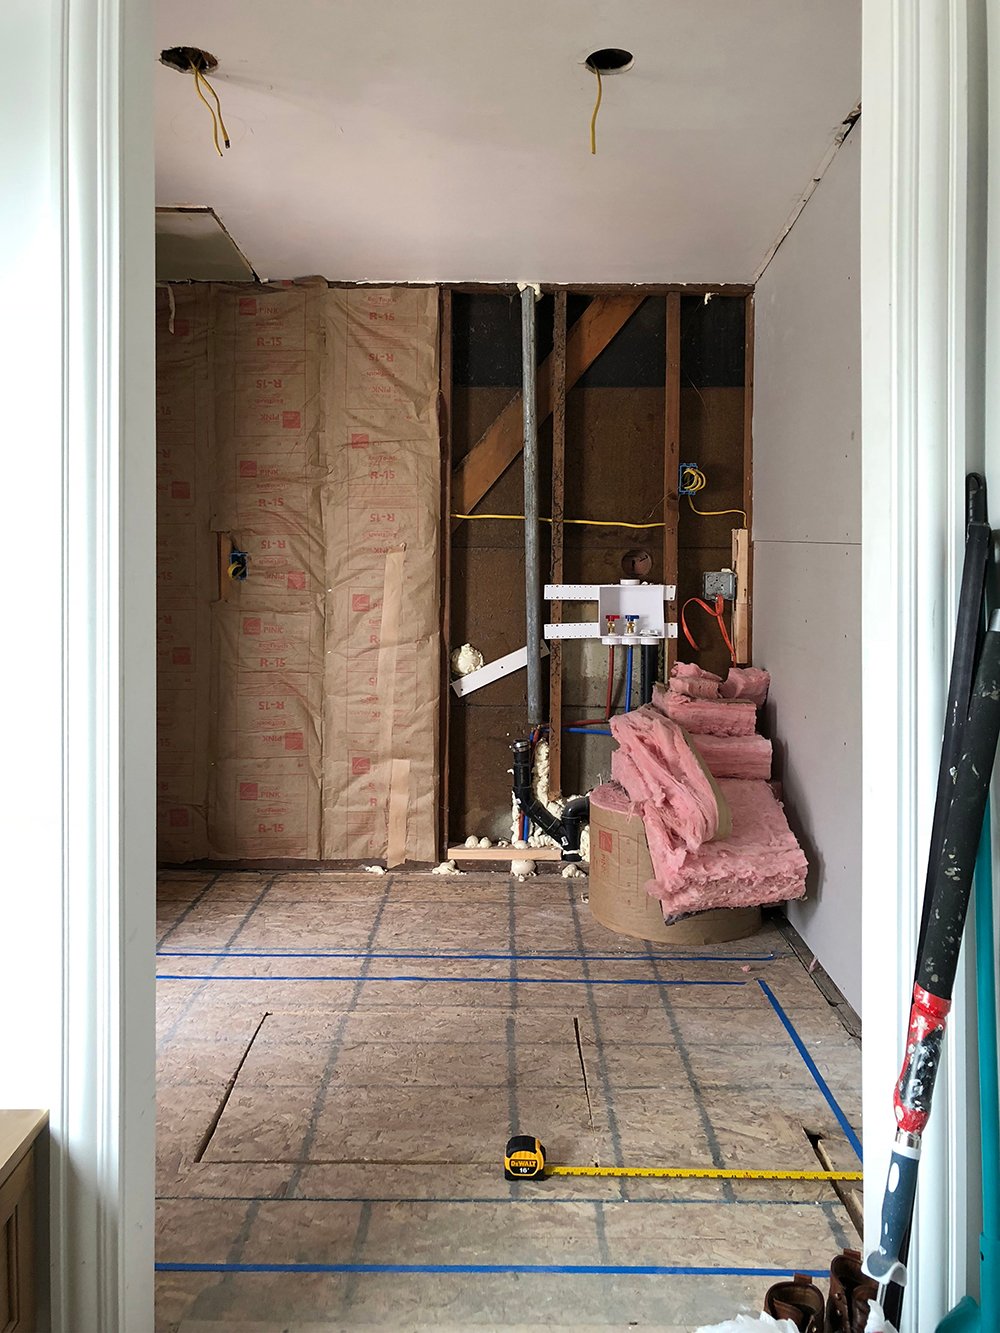 This comes in handy for area rugs, furniture foot prints, reconfiguring walls, etc. I always rough tape large items onto the floor- and sometimes I’ll even tape a wall to get a sense for height or art placement. This is really the easiest, stupid simple way to understand and visualize scale. I use this trick throughout the entire design process- even the construction phase (pictured above). I was determining the size of the custom rug in our previous laundry room.
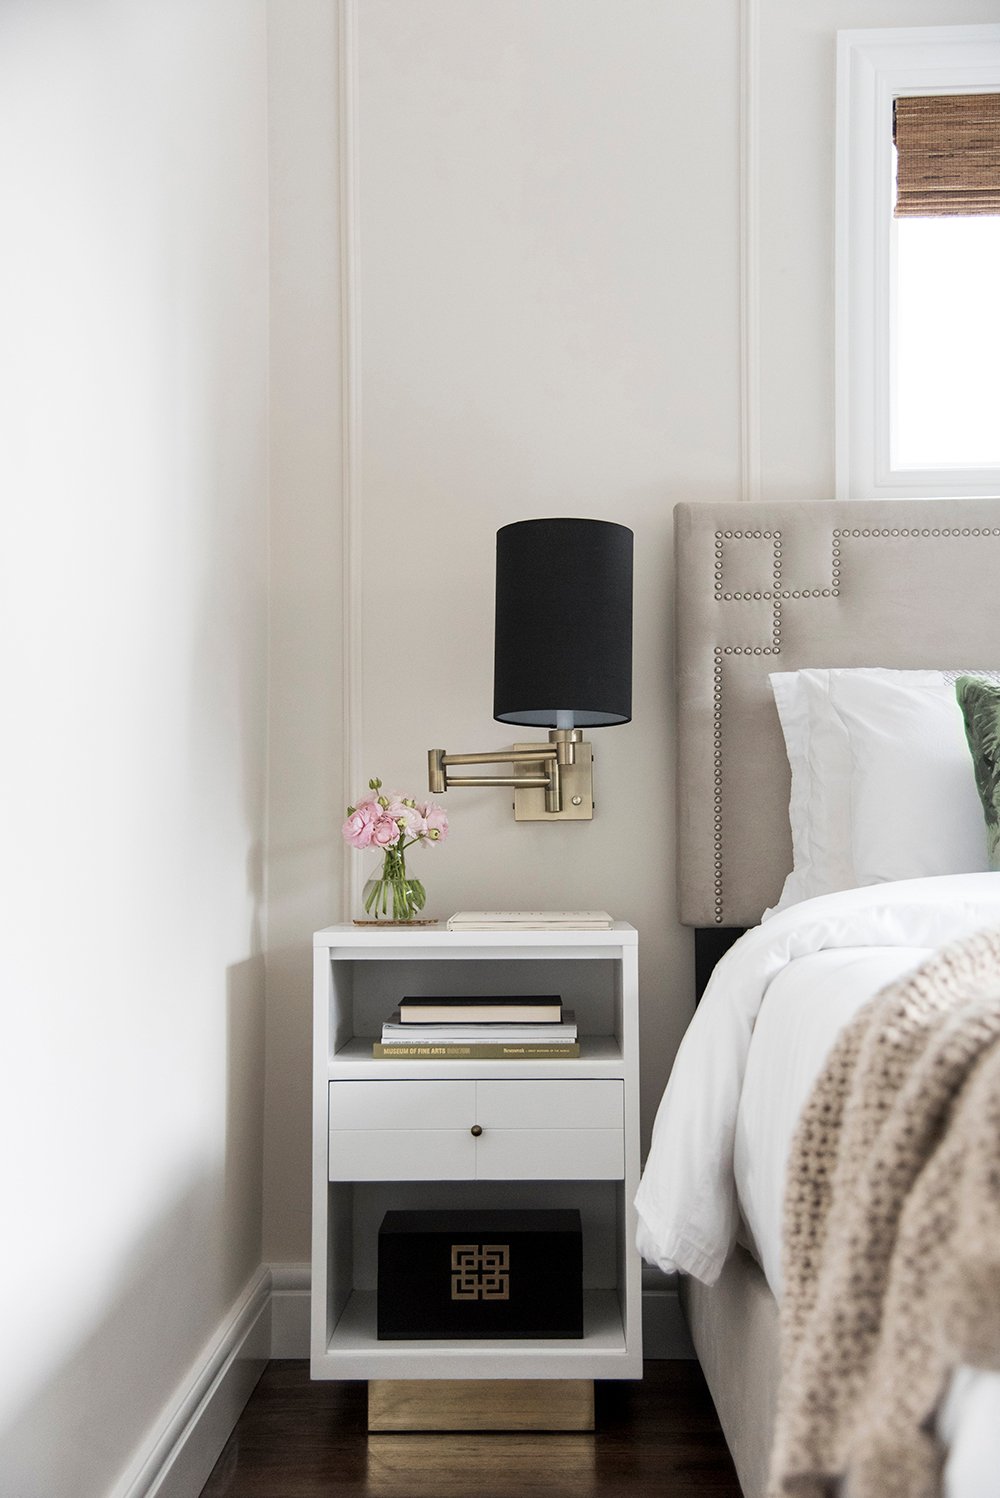
 I’d also highly recommend carrying a tape measure with you for the duration of a project. I keep a small tape in my purse because I never know when I’ll find something I want or need. It’s nice to be able to measure on the spot for reference. I’ve saved a lot of money and passed on plenty of furniture I thought was perfect until I whipped out my tape. I needed super skinny nightstands for one of our bedrooms and I nearly passed on the ones pictured below because I thought they’d be too large. If it weren’t for my tape measure, this pair of vintage nightstands would’ve never came home with me. Here we are, six years later, and they’re still favorite pieces of furniture.
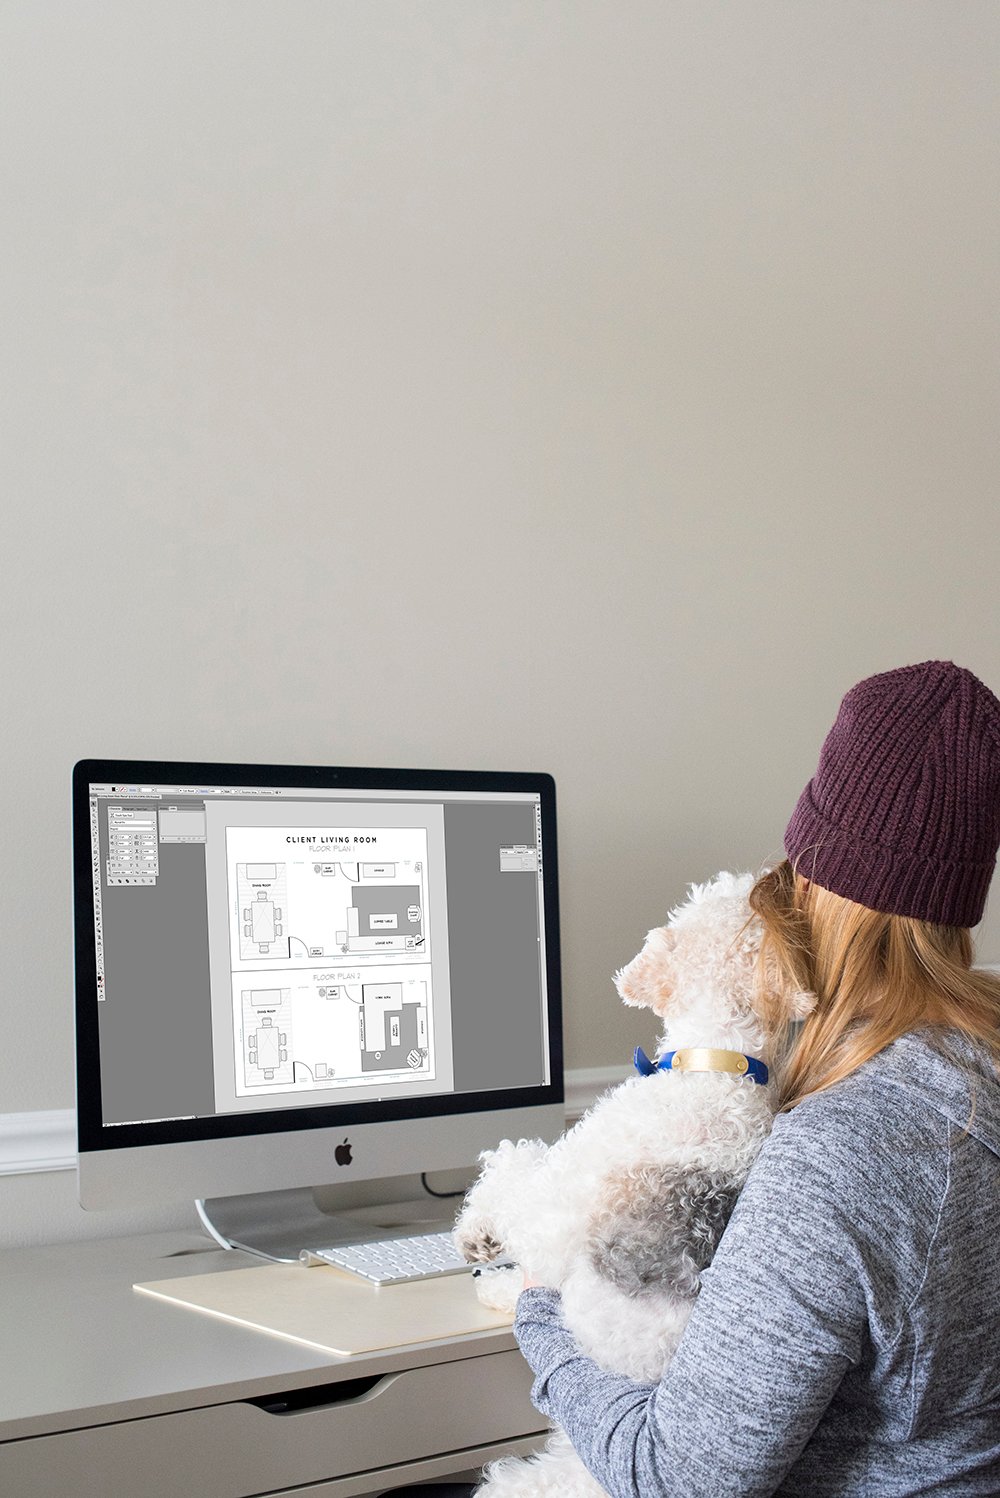
 Another tip? I never purchase items for a project without floor planning. You don’t need fancy software to do this. Basic grid paper and quick sketching works just as well! Otherwise, there is plenty of free software available you can use to make the job fast & easy. You don’t have to be an interior designer to floor plan. It really helps you grasp the overall footprint of an entire room and how the objects within it work together. I’ll print floor plans, sketch on them, move things around, and figure out which layout makes the most sense.
 You also need to be aware of the negative space in a room and the scale it represents. Consider the traffic path and make sure there is adequate room to walk around furniture. Here are some basic example measurements to remember…
- ~36″ is an adequate traffic path
- minimum clearance between furniture is 18″ (example… coffee table to sofa)
- 24″ around the perimeter of a dining table
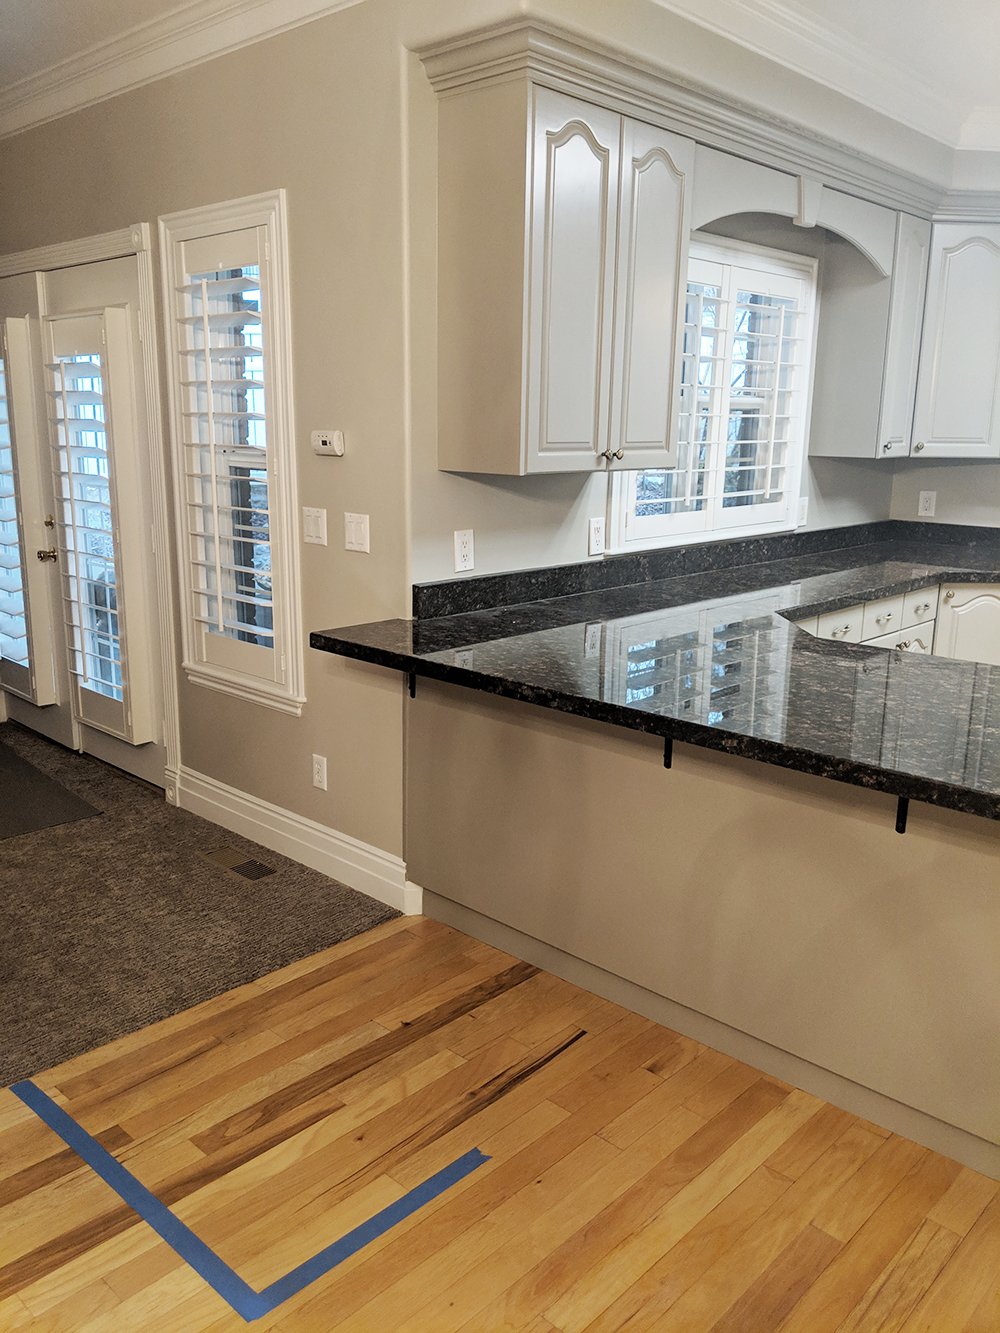
In the below photo, I was planning kitchen cabinetry for our current renovation and was measuring the negative space & traffic path. I always triple check my measurements and make sure I have plenty of room to play with- especially when designing something costly, like kitchen cabinets.
 Lastly, it’s important to consider scale in comparison to other objects in a space. For example, an oversized sofa in a living room wouldn’t look great paired with a small, apartment sized chair or coffee table. You want to make sure furniture feels balanced and works well with the other pieces in the room. Keep it consistent!
 Some of these tips might seem obvious, but it’s definitely a good reminder to consider scale, measure, map it out, floor plan, and stay consistent for the most balanced, beautiful home! Questions? Thoughts? Drop me a comment below. Are there any other painters tape planners out there? It’s really the best trick. I often tell clients to do this and they respond with “oohhhhh DUH!!! Great idea!”