How to Install Peel-and-Stick Wallpaper
 Do you guys remember this nursery I designed for my friend last summer? Well, we installed peel-and-stick wallpaper and the questions came flooding in! After I announced I’d be installing the same product (in a different print) in my mini powder room makeover, I figured a tutorial was in order. Call me crazy, but I actually enjoy installing wallpaper of all different types (the pasted kind, as well as adhesive backed papers). I’m here to tell you, it really isn’t as difficult as it seems- especially the peel-and-stick variety. Click through for a quick and simple tutorial if you’re planning your own DIY project!
*This post is NOT sponsored, but I do want to note- the wallpaper for my powder room was gifted to me from Chasing Paper. Big thank you to them for the support! I’m a fan of their products and have used them often.
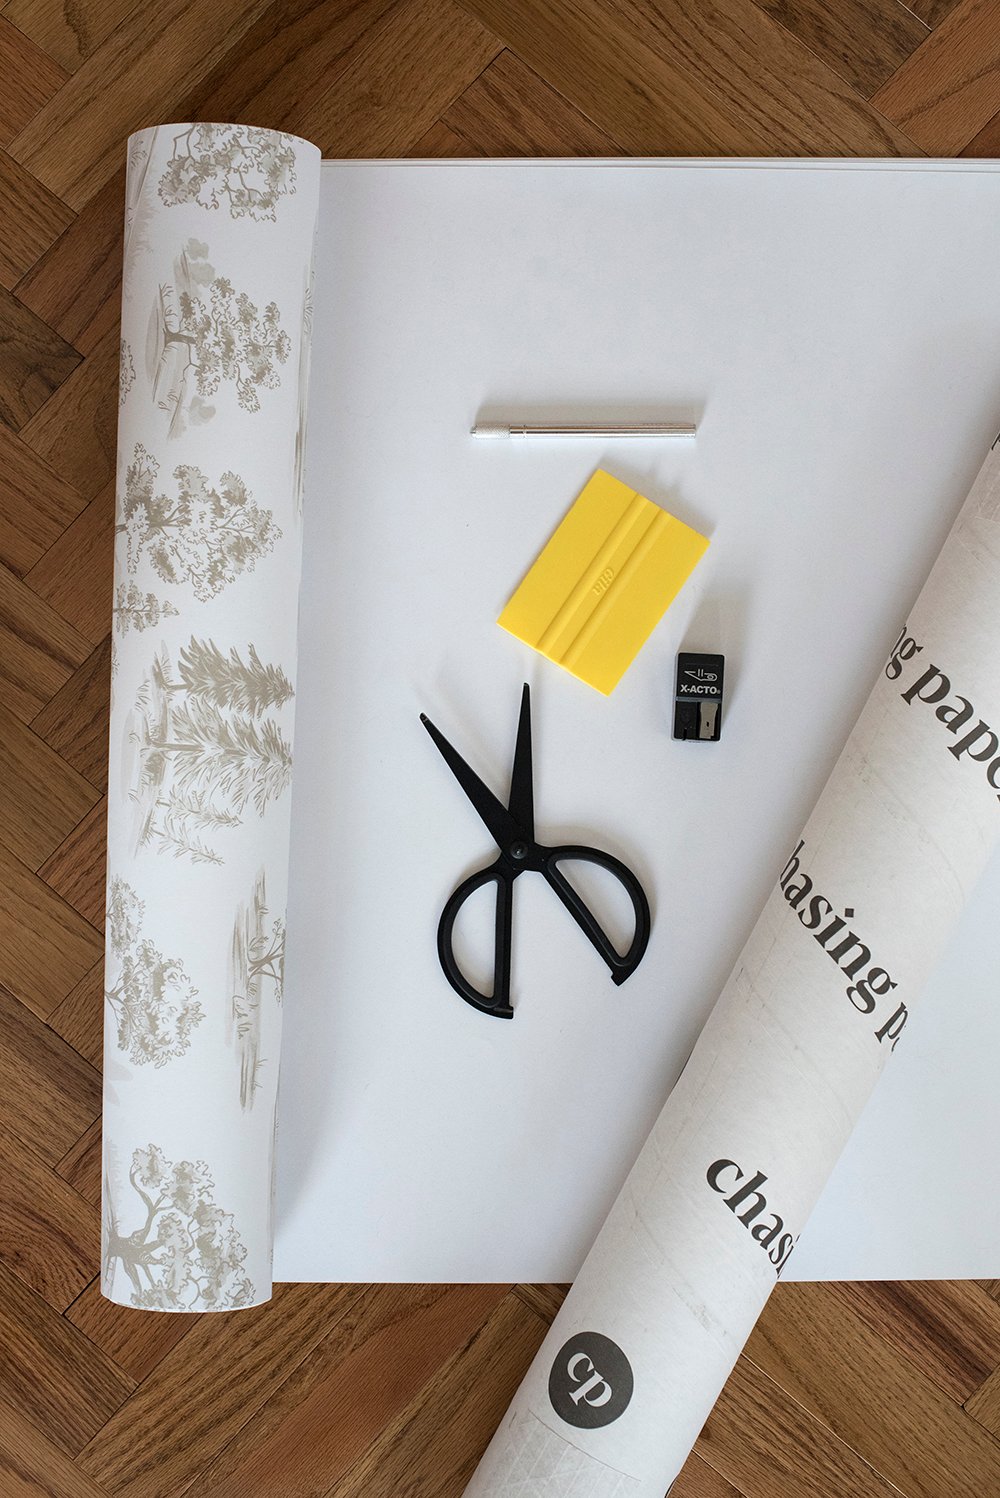 SUPPLIES + TOOLS
You really don’t need much for this project. It’s very basic and beginner in terms of DIY tutorials. I will say- this project works best on SMOOTH walls. It doesn’t really adhere well or look great on textural walls.
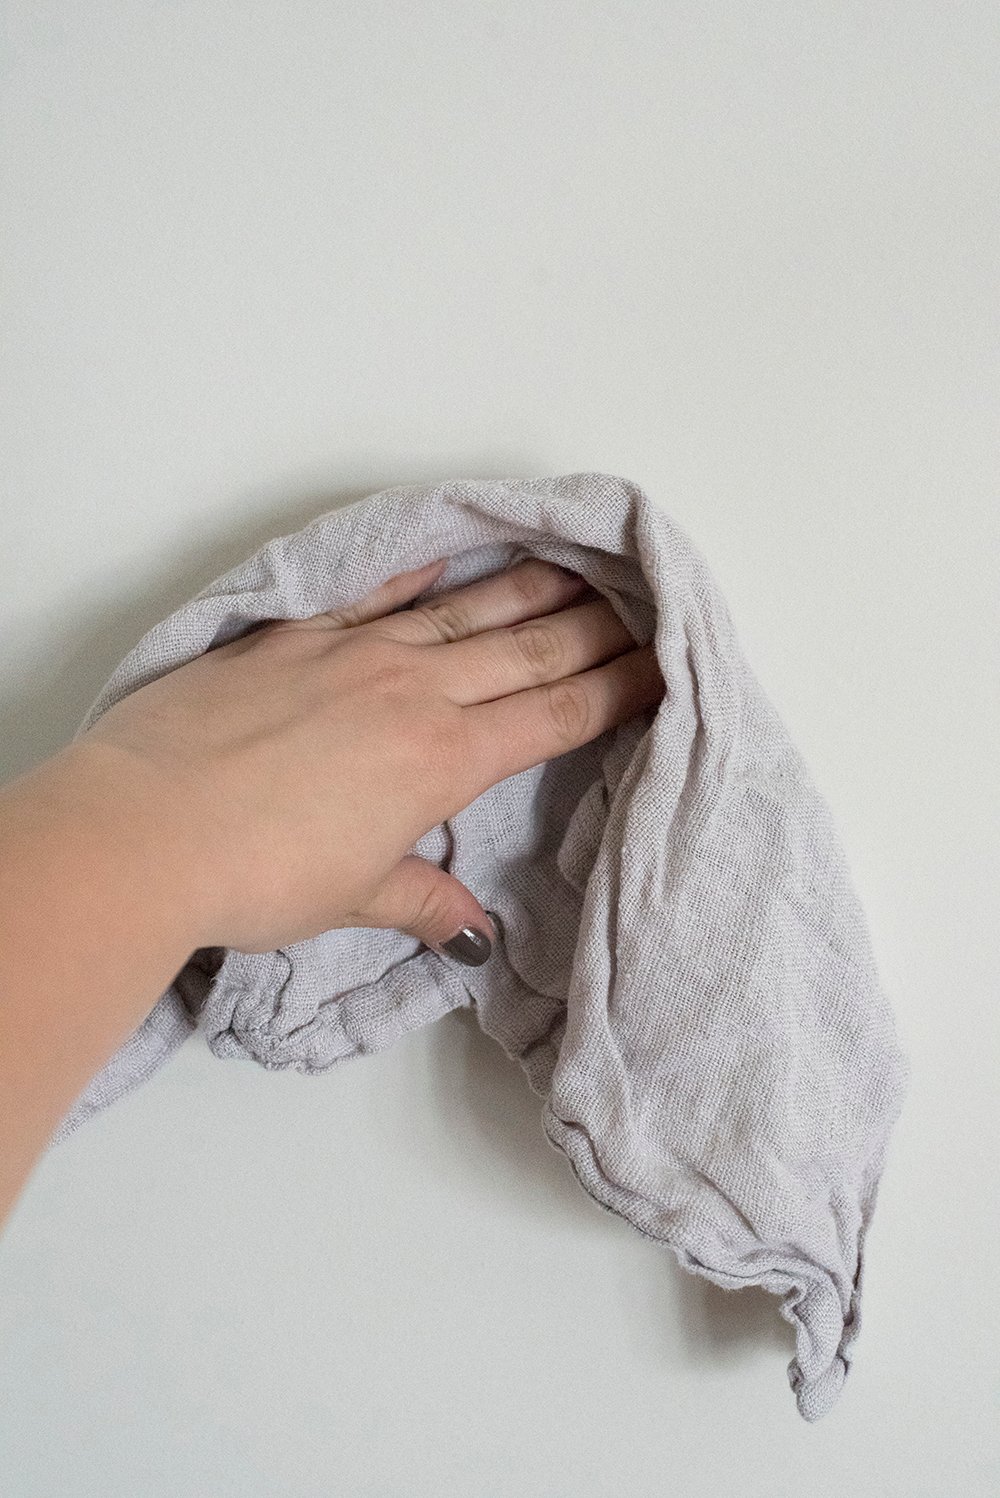 Step 1 // Clean the wall. Begin by wiping your walls with a mild cleaner. Basically, you want them to be free of dust and grease before wallpapering. If you want to prime them for the smoothest result, that’s also an option- just be sure to do it a week or so in advance.
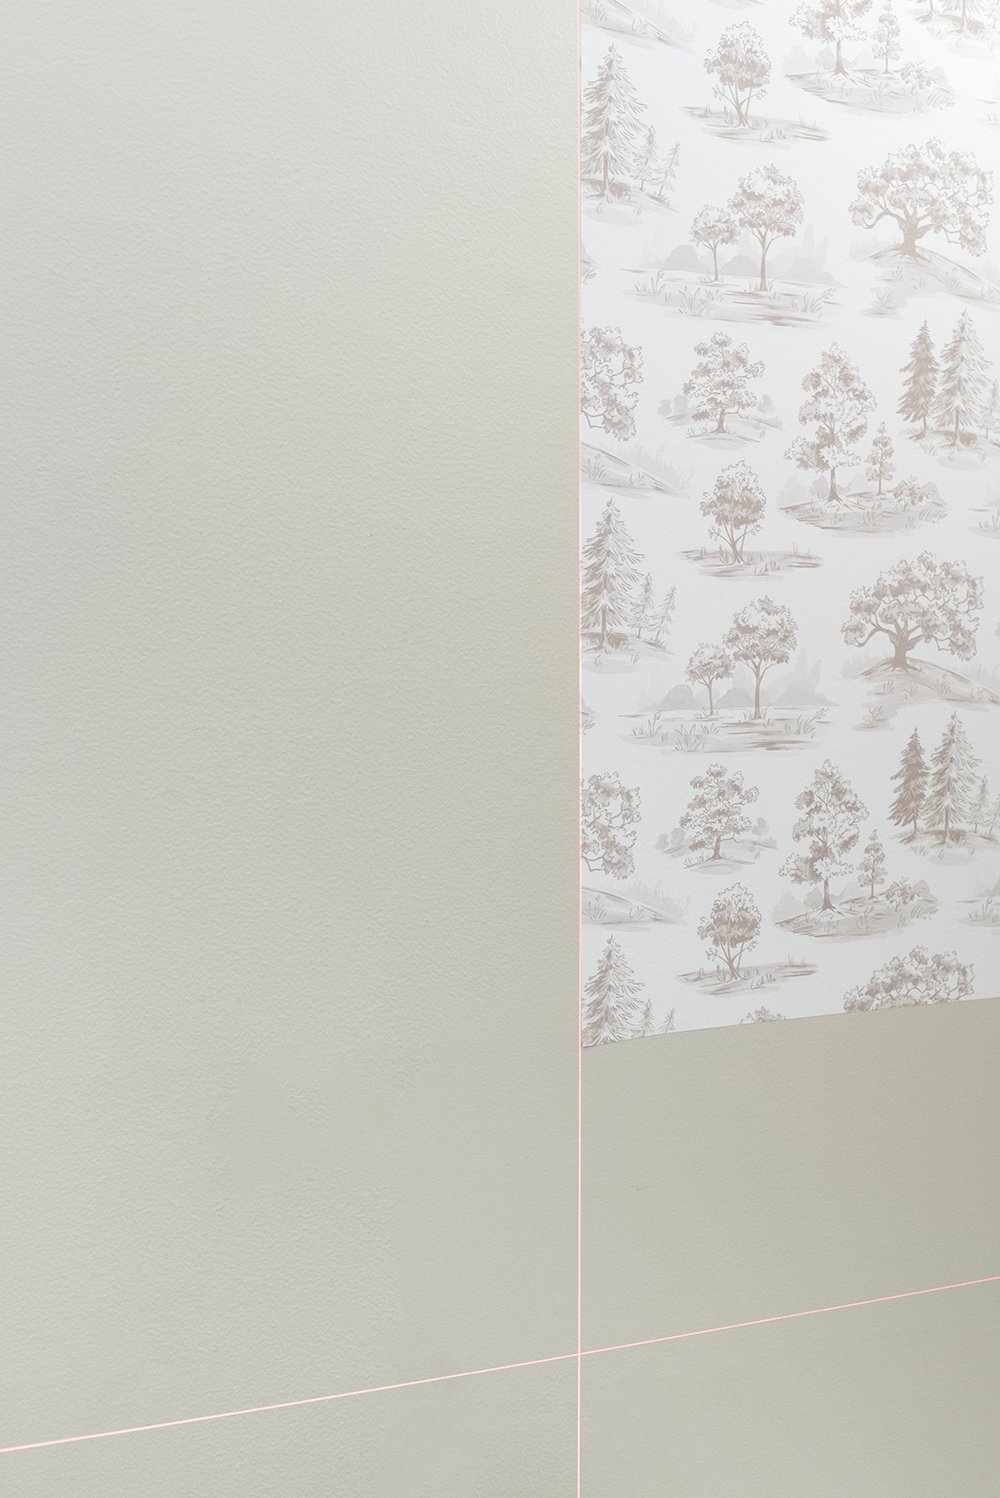 Step 2 // Level up. Before installing your first panel, set up your laser level. This helps to ensure the panels are being hung accurately and will help them align.
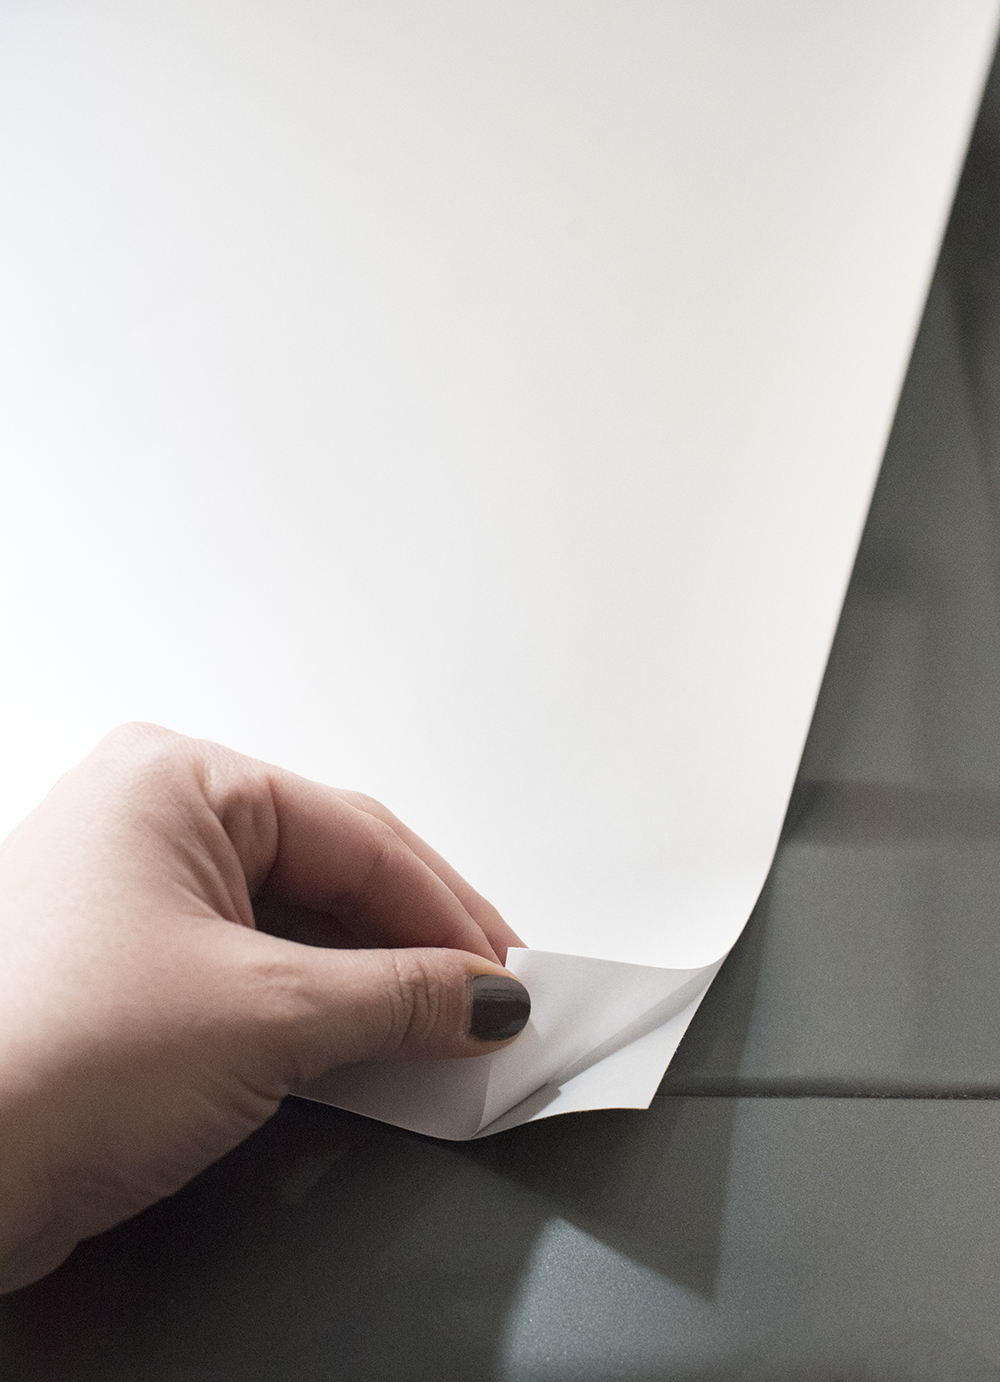 Step 3 // Peel the backing. Next, gently peel the backing from the paper, starting in the top corner. To begin, I’ll peel 4″ down from the top in a straight line, exposing the adhesive at the top of the panel.
 Step 4 // Tag the top. Now that your adhesive backing is exposed, line it up and tag the top. Tagging the top just means to press it down so you can work hands-free.
 Step 5 // Smooth it out. Next, working in a linear motion with your squeegee, smooth the paper out from top to bottom, pull the backing off as you work your way toward the floor. That’s really it! It’s very easy once you get in the rhythm. The most difficult part is taking your time to align the panels so the seams match. Repeat the process, then trim the excess with your xacto knife.
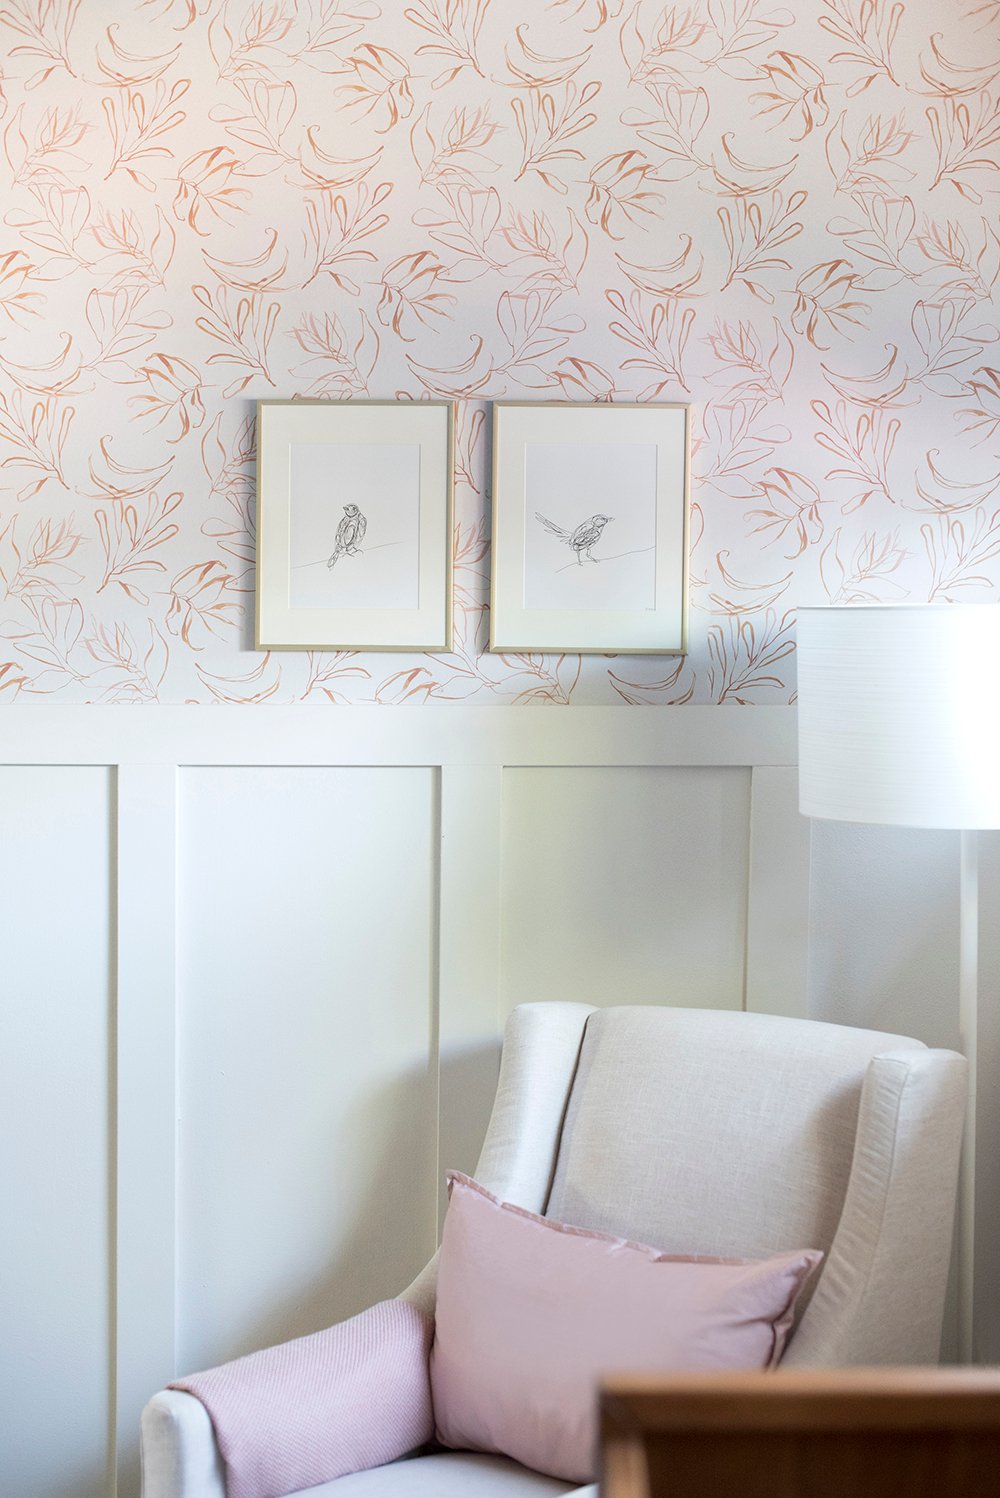
I finished about half of the powder room yesterday before I had to hop back on my computer, so I’m not going to give away how the powder room is shaping up quite yet. I’ll save it for the reveal! However, I will share a couple beautiful images of the nursery I wallpapered last summer using the same process…
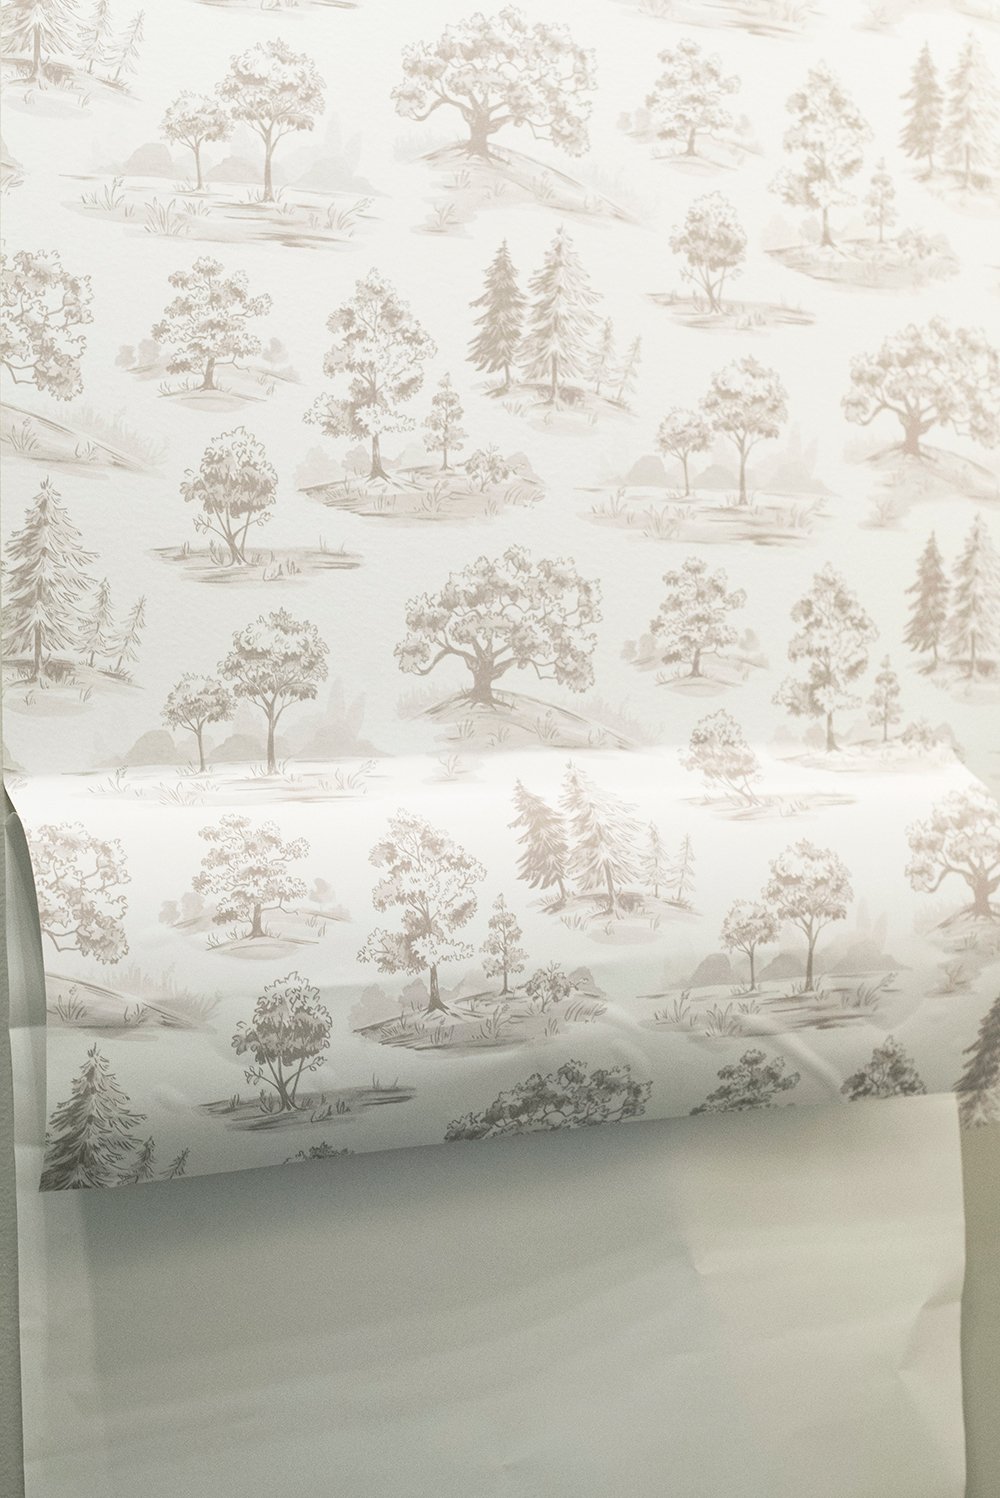
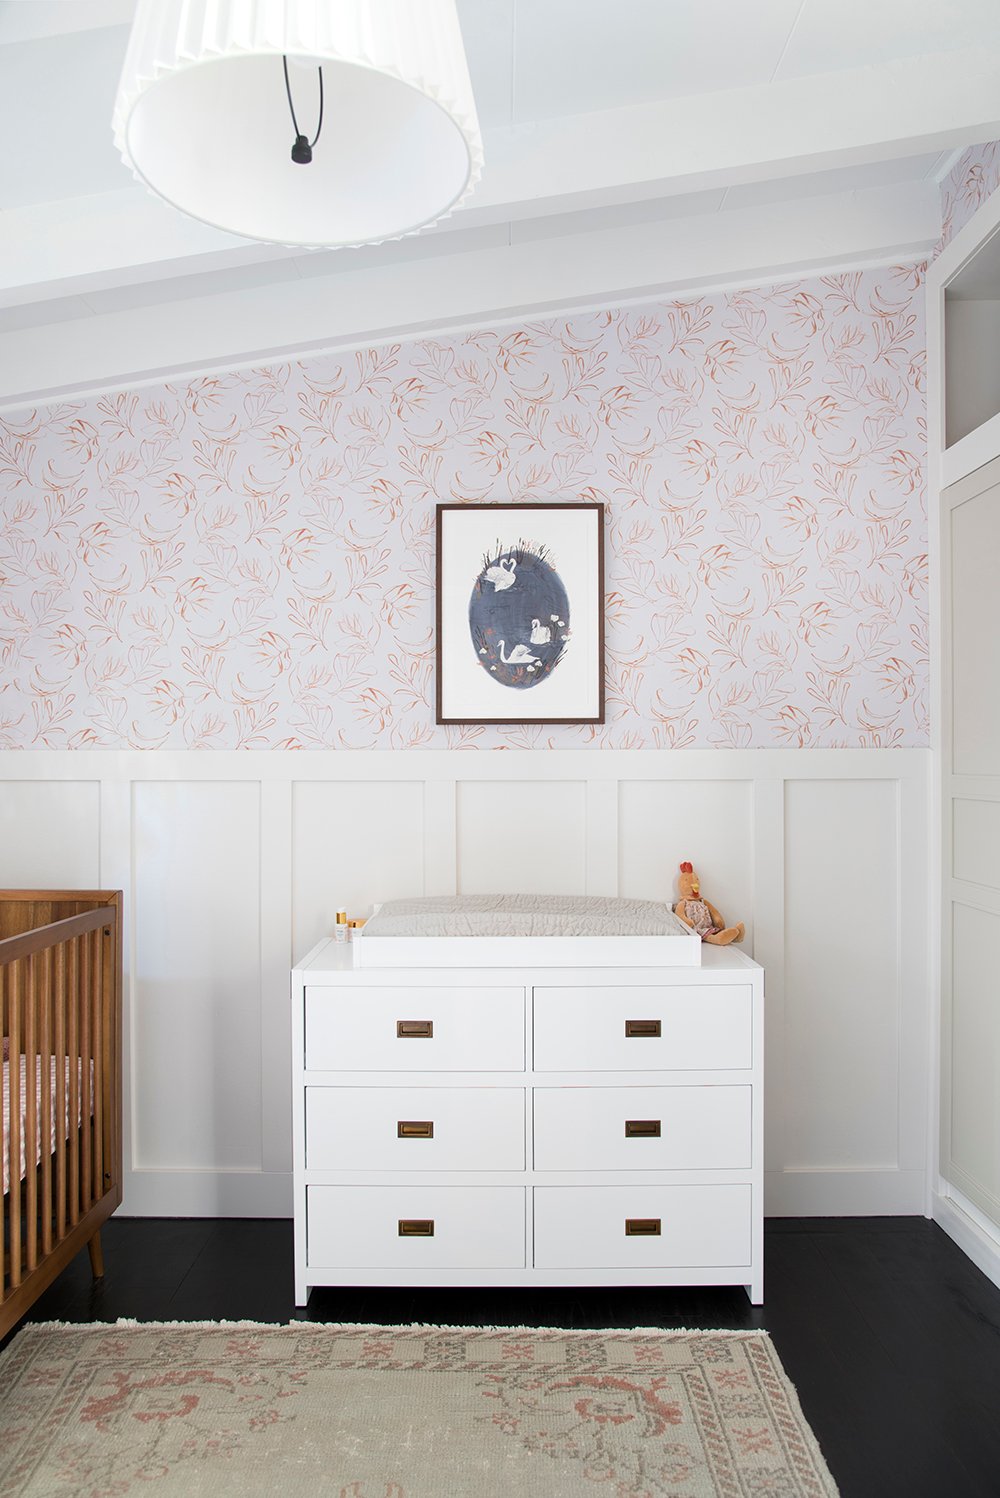 We used the Botany wallpaper from Chasing paper, and it looks so sweet in baby girl’s room! What a lucky little lady to have a stunning mid century nursery and wonderful parents.
 If you have any wallpaper installation questions, I’m happy to help in the comment section below! I hope you’re all having a good week. Things have been super busy over here, but it has been a fun few days work-wise.
