How to Use Gel Stain (A Frame Tutorial)
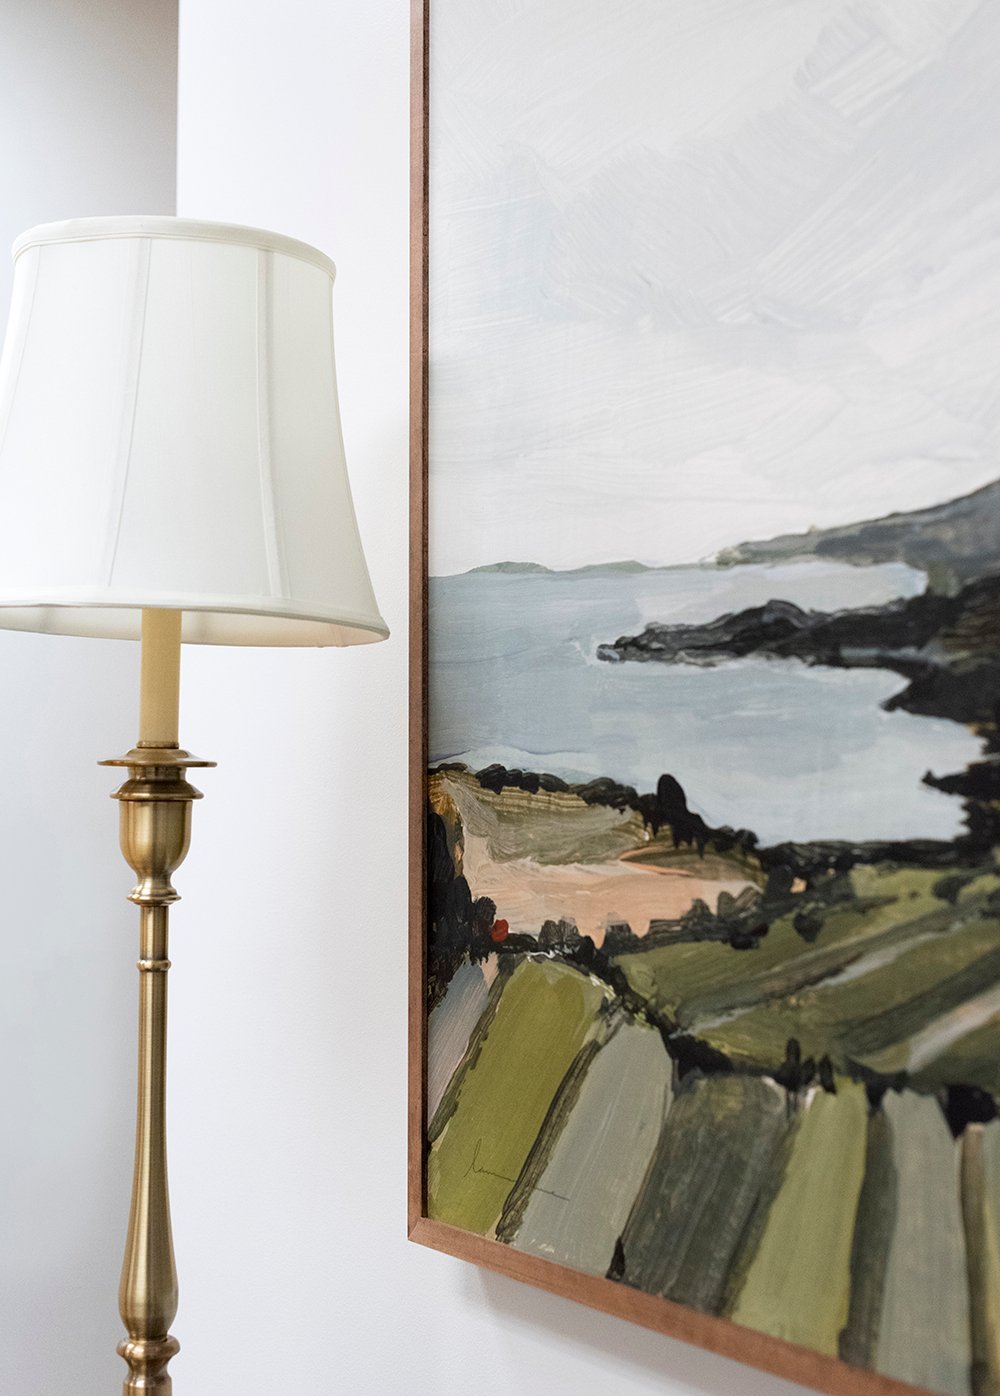
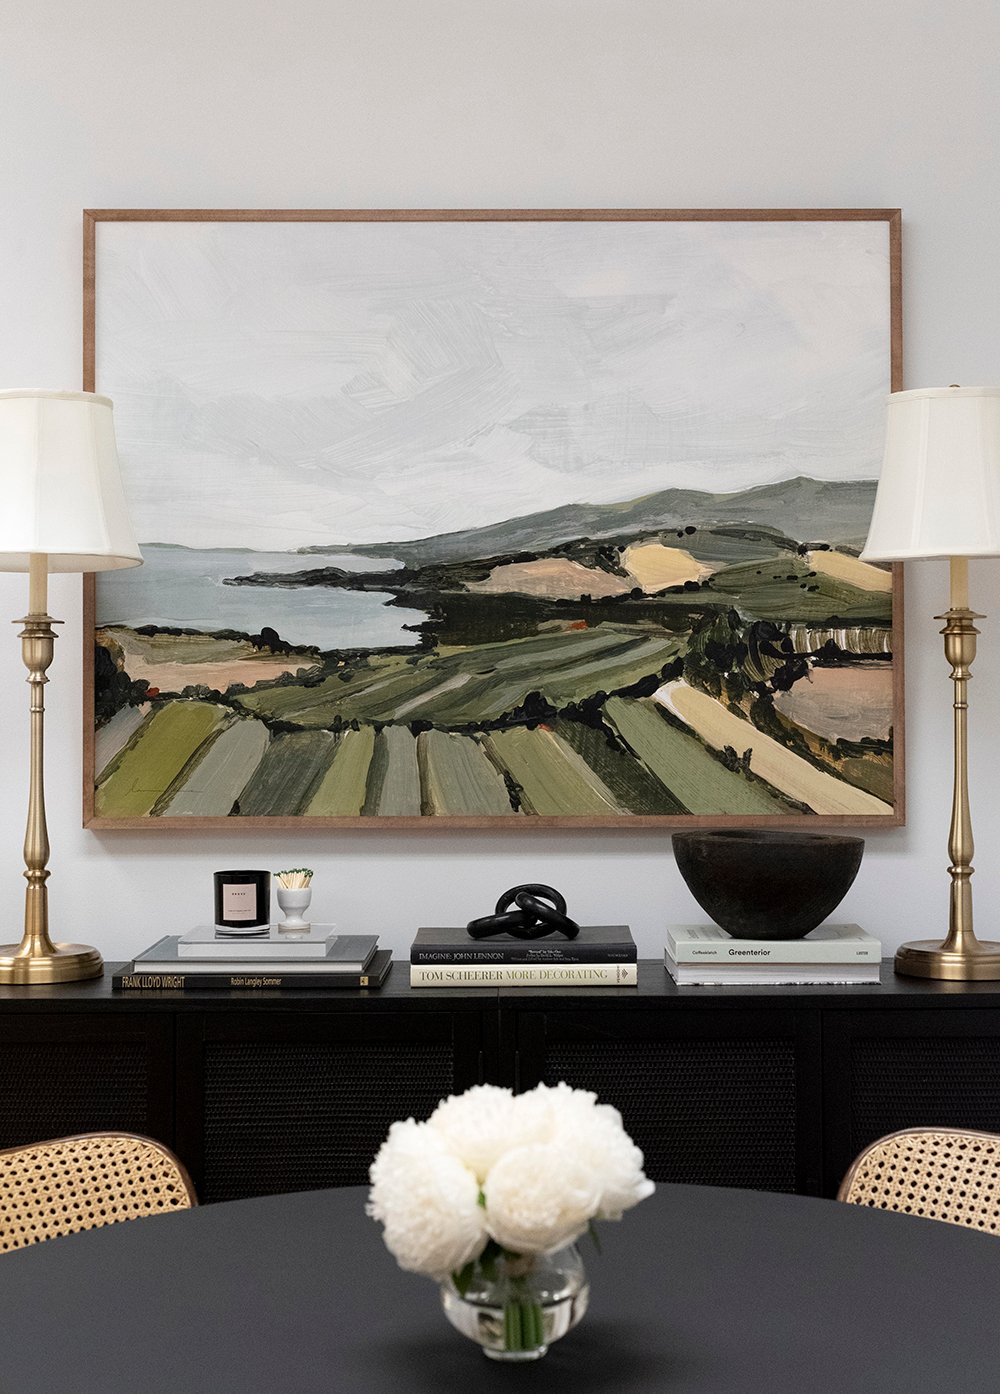 I shared our office dining space a couple weeks ago (pictured above), and one item that made the biggest impact was large scale art from my best friend, Laurie Anne. I ended up ordering a natural, unfinished, maple frame from her website that perfectly fit the art. It also allowed me the opportunity to choose whatever finish color I wanted. I immediately landed on stain, in an effort to color match my vintage bentwood cane chairs, as well as to add some much needed warmth to our commercial office space. I shared some behind-the-scenes on Instagram as we were tackling this project, and so many of you asked for a tutorial on using gel stain! It might be my favorite way to use stain- especially for projects like this. If you’re curious how it works, click through for the tutorial and for tips on applying stain, in general.
*This post is sponsored by Purdy & Minwax. All content, ideas, and words are my own. Thank you for supporting the brands that allow us to create unique content while featuring products we actually use & enjoy!
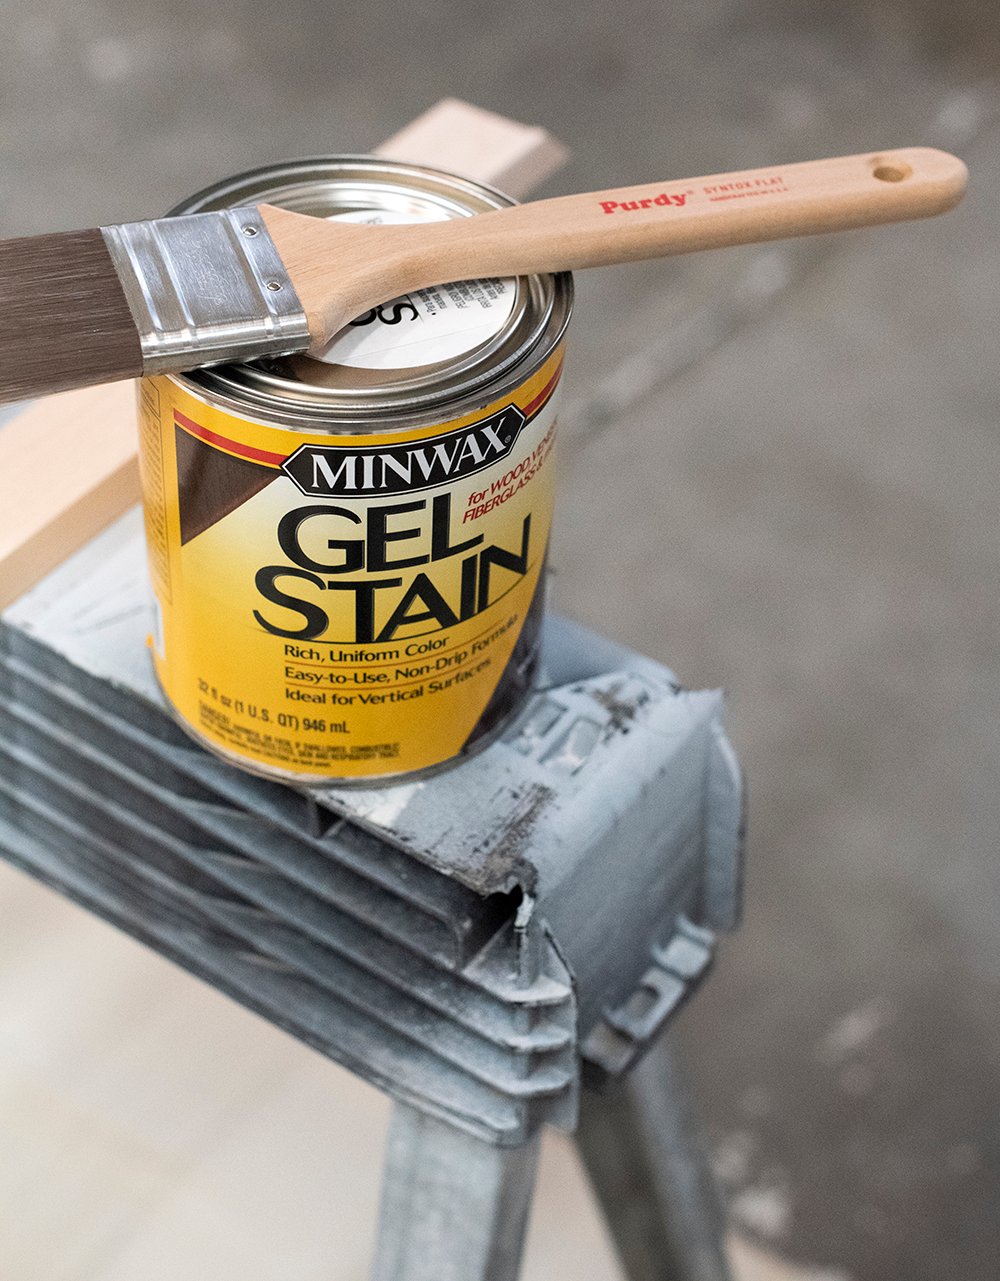 Gel stain is especially handy for intricate projects, pieces with lots of details, or furniture makeovers. It’s really easy to apply, less messy, and I feel like you’re able to easily achieve a nice consistent, deep color. Like any project, application has a lot to do with the end result! Using the right tools to apply the stain is half the battle. Here is what you’ll need for this easy project:
SUPPLIES + TOOLS:
- Purdy Syntox Paintbrush
- Minwax Gel Stain (I used Walnut)
- Rags or Stain pads (for wiping)
- A Frame (and this is the artwork I used, in size 36″ x 48″)
- Rubber Gloves
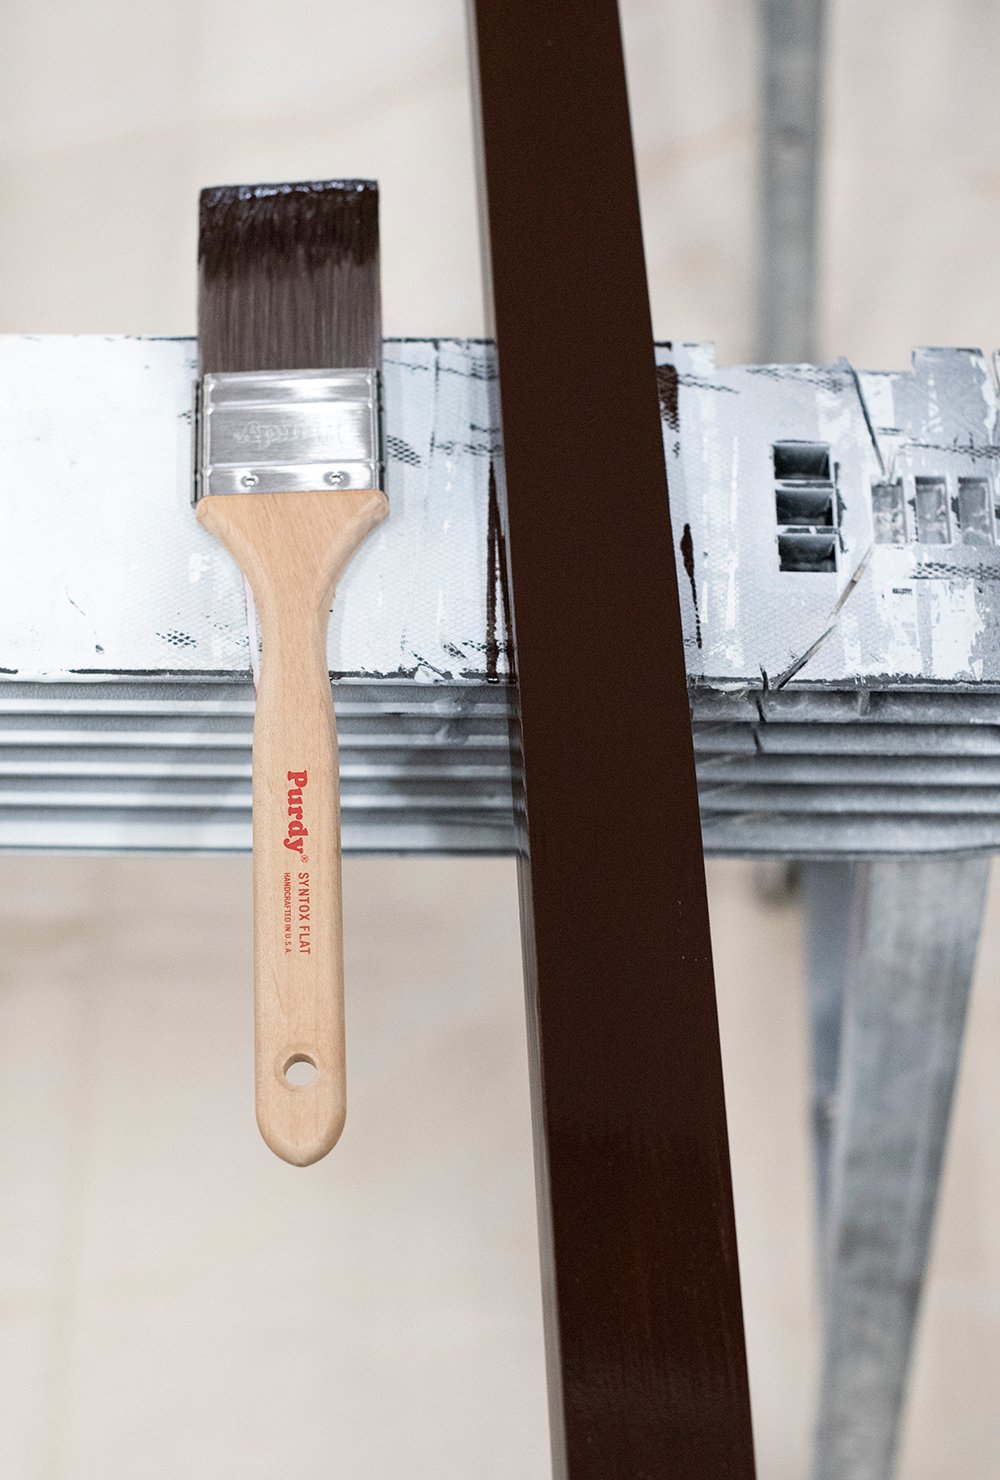
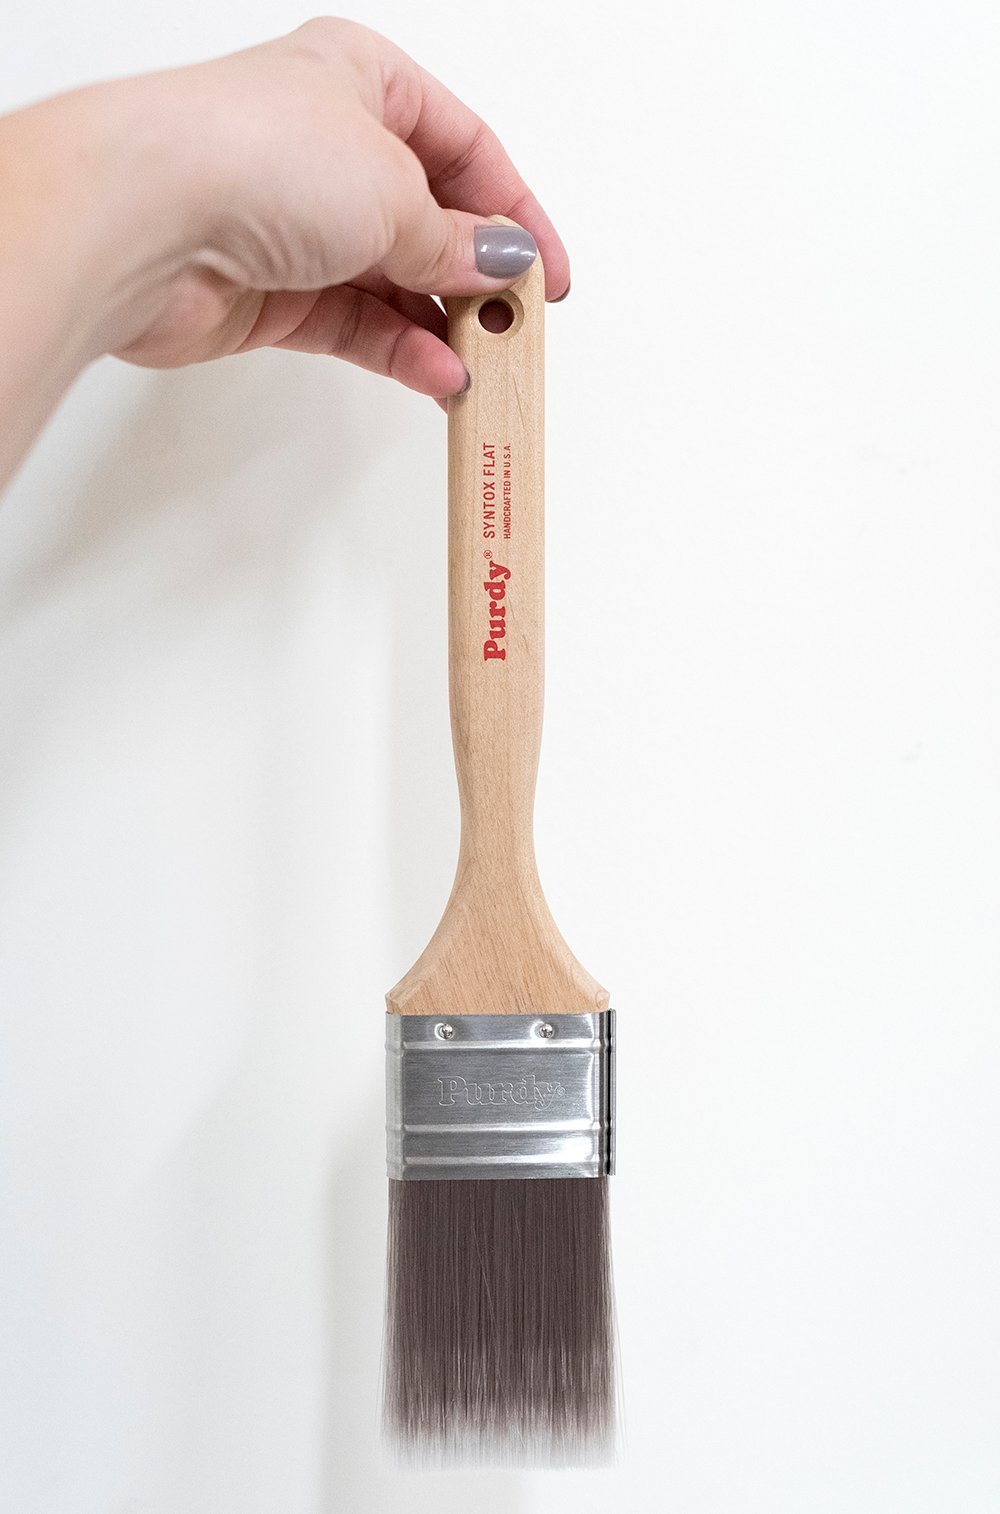 Step 1 // Choose a brush appropriate for stain. When applying gel stain, you’ll need a quality paintbrush. My favorite brush for stain is the Purdy Syntox. It’s designed for all stains, varnishes, and clear coats. It has round and tapered filaments from DuPont® and the softest brush bristles. It is soft, but also super durable! This brush will last years when properly taken care of, and is great for both water and solvent-based finishes. It provides an ultra smooth, even finish.
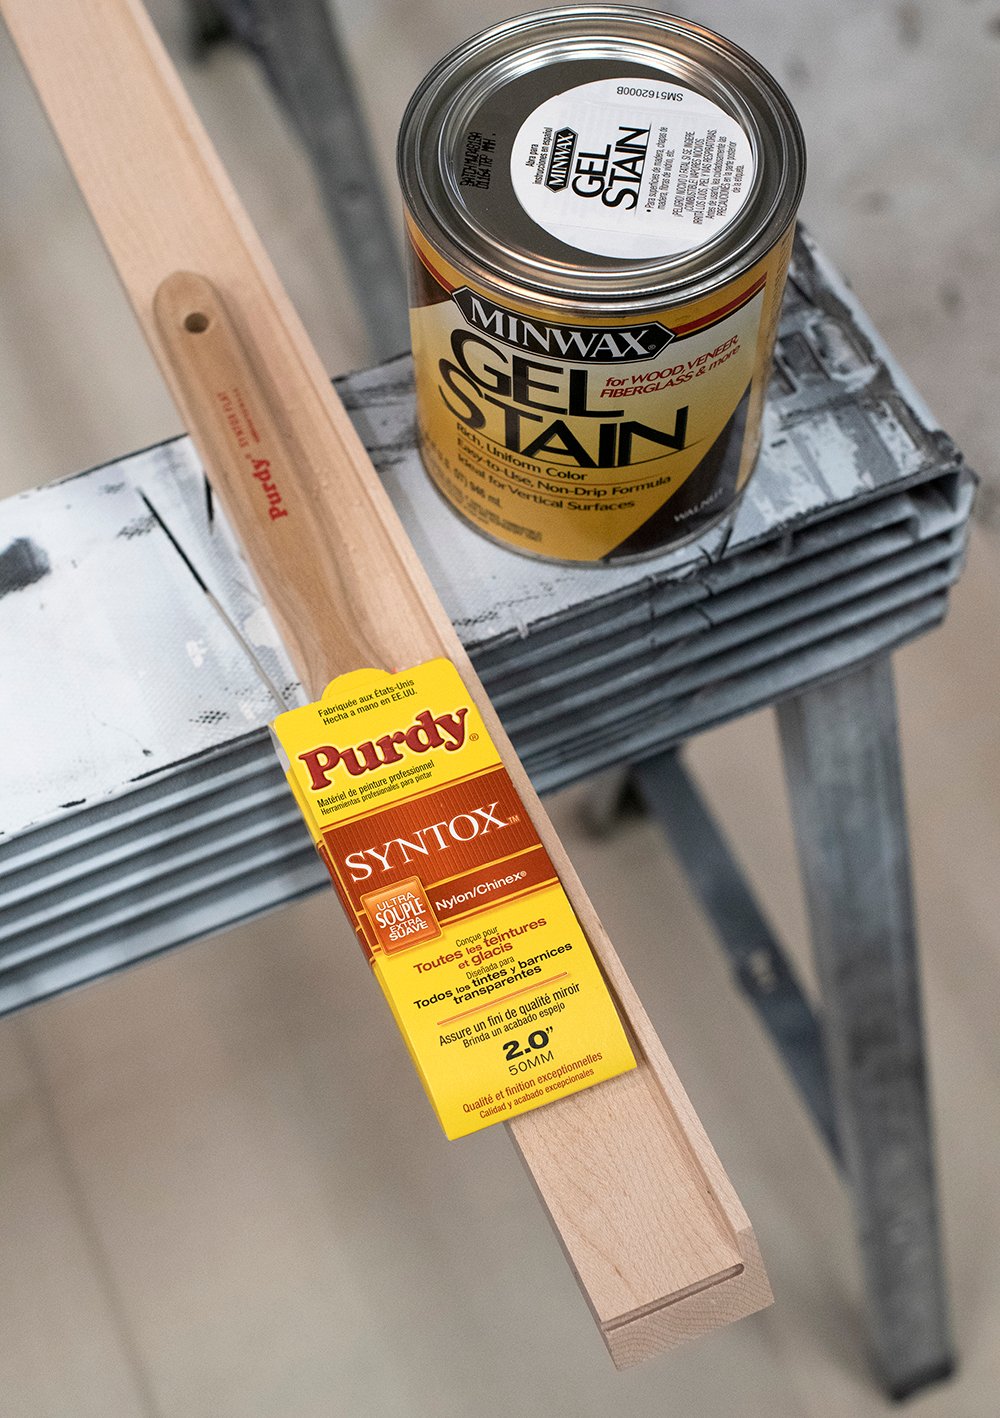 Step 2 // Choose your gel stain color. I’m partial to Minwax brand, and this time around I opted for the rich Walnut color because it best matched my chairs.
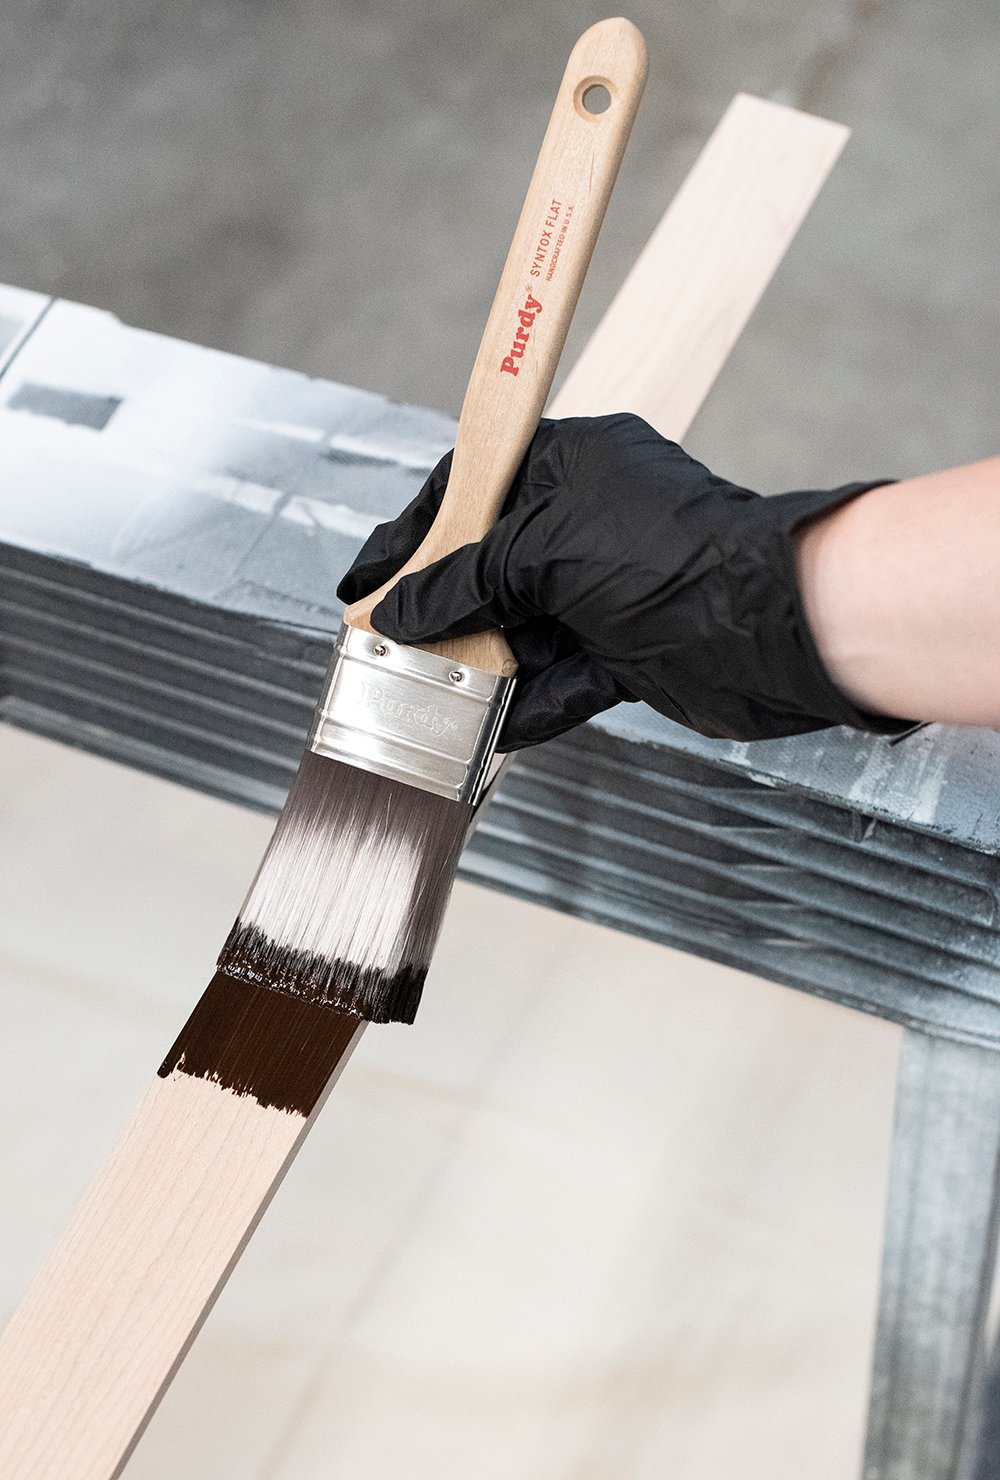 Step 3 // Prep & apply the stain. Since my frame was natural and unfinished, I didn’t need to sand it or do any type of prep work beforehand. I love when that happens! Stir the gel stain REALLY well (it takes quite awhile). It should look smooth, creamy, and lump free. Using your brush, apply the stain with the woodgrain in a thick, even coat.
 Step 4 // Wait. Once the stain has been applied, set a timer for 3 minutes. It should look something like the above image… super dark. Don’t panic- you’ll be wiping this off once your timer goes off.
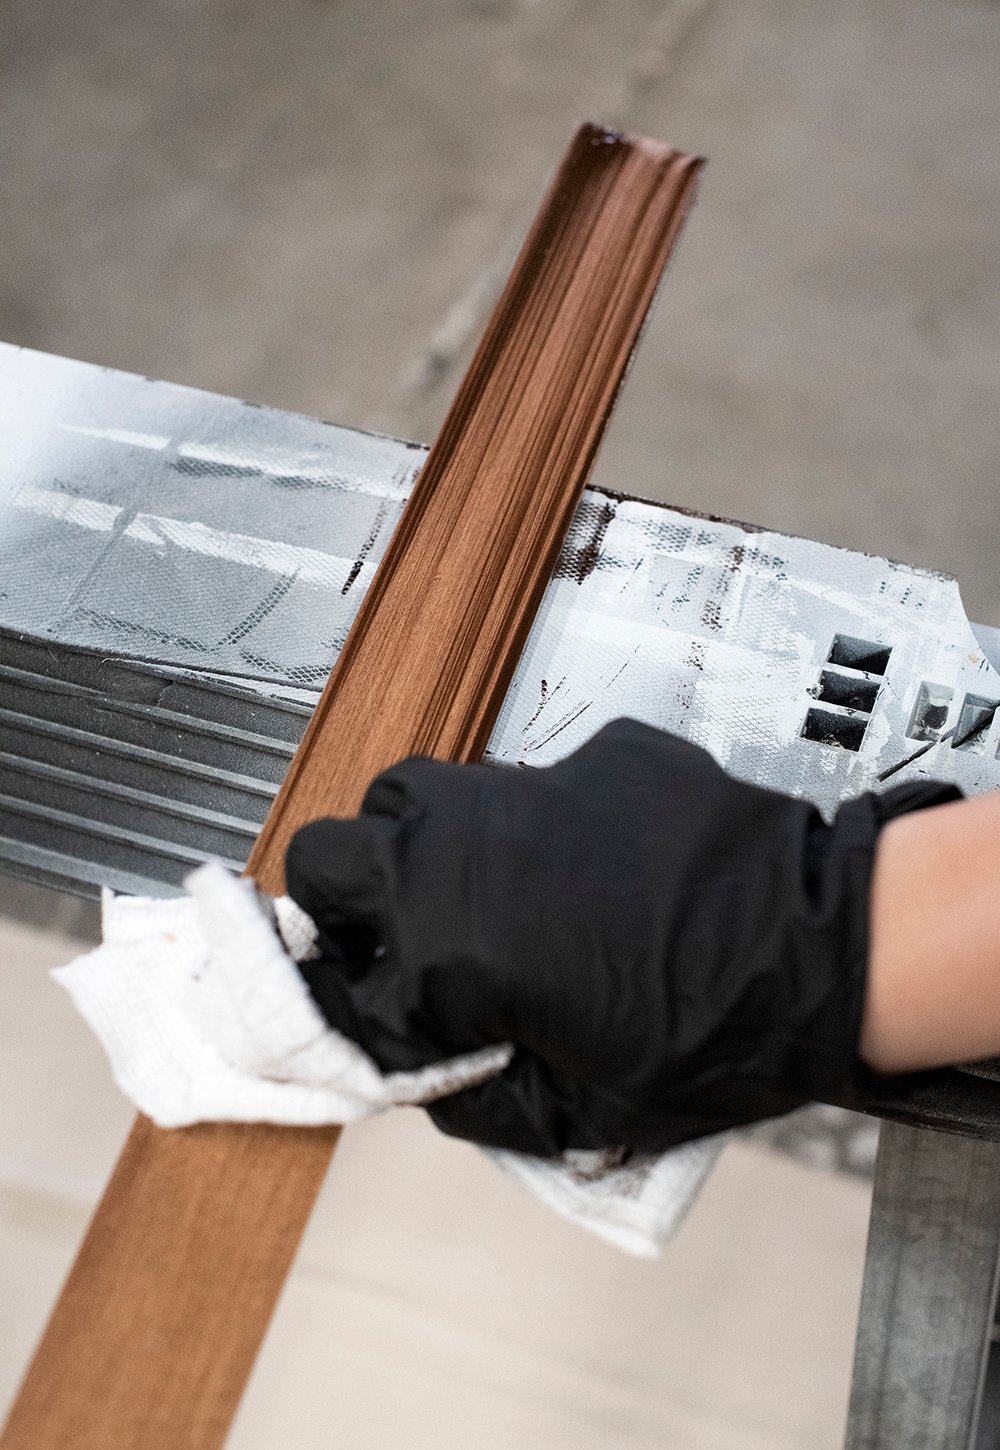 Step 5 // Wipe the excess. Using a rag or stain pad, wipe the excess stain, moving in the direction of the grain. Your wood should look rich, even, and consistent- something like this…
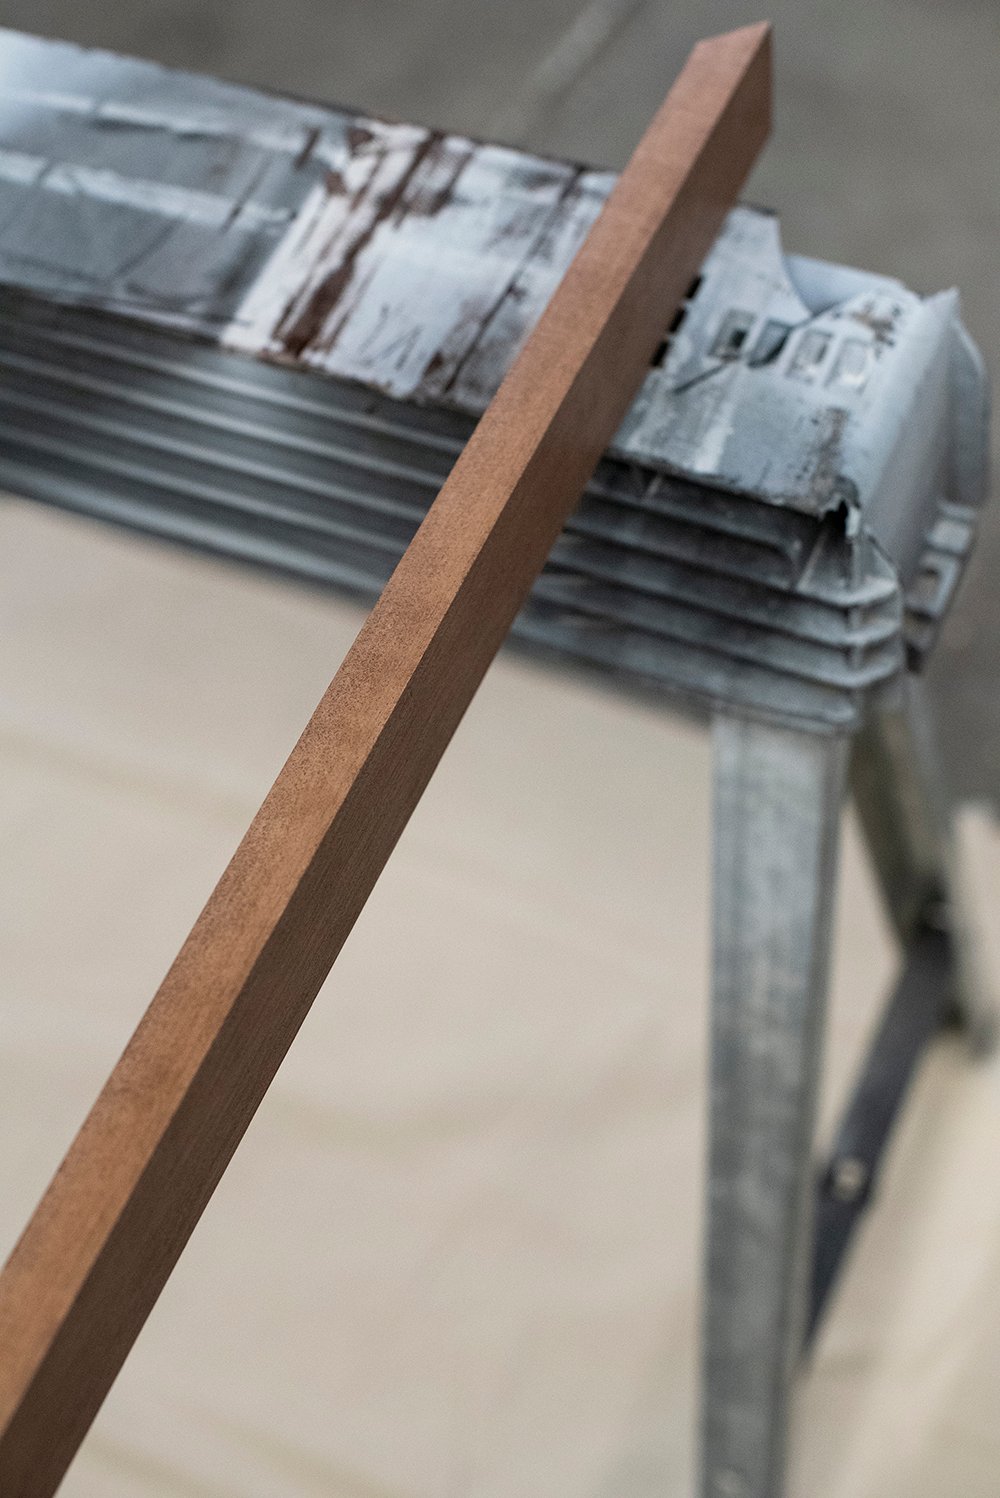
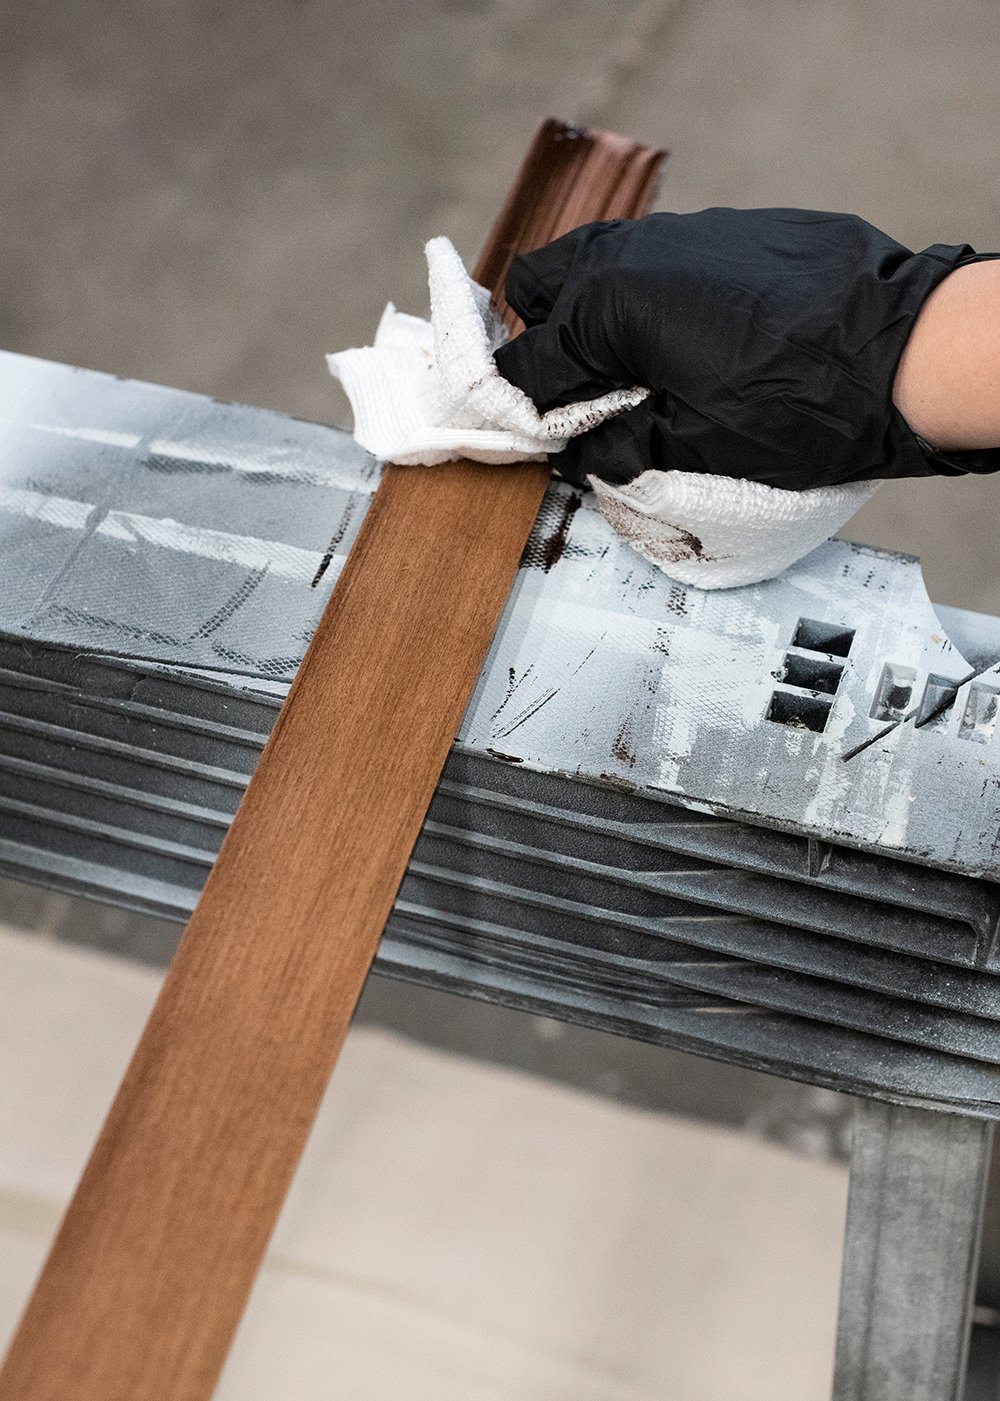 Allow the wood to dry or cure for 8-10 hours. You should know right away how the color will look. Typically it takes 1-2 coats. I decided to apply a second coat for a darker look. This is what coat number one looked like…
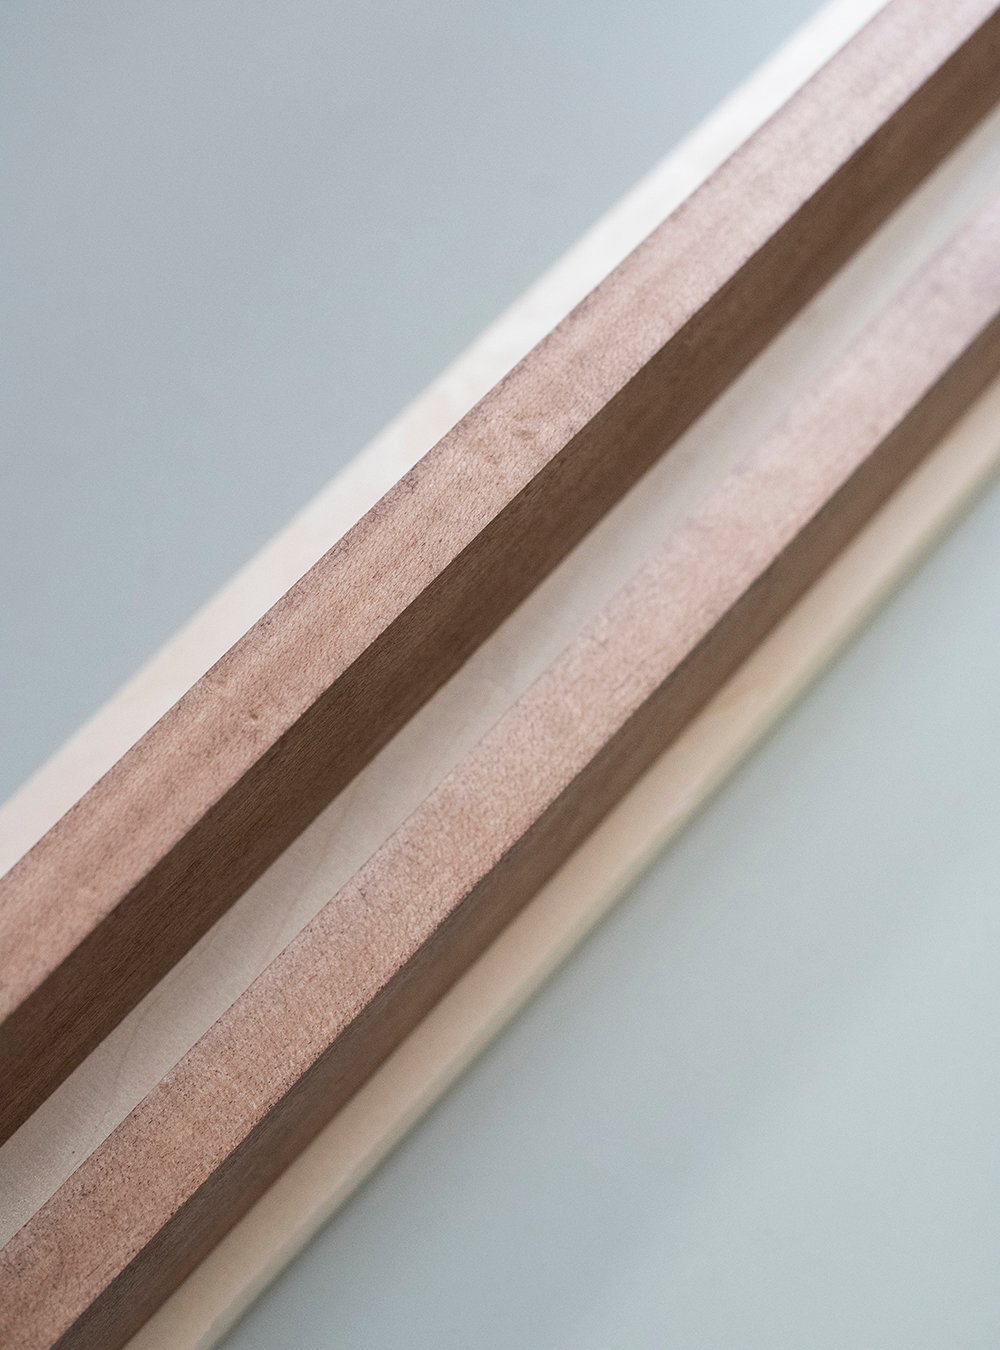 Step 6 // Repeat with additional coats. Once your wood is totally dry, you can apply an additional coat for a darker look, repeating the same steps. This is what the disassembled frame looked like after coat number two… a little darker.
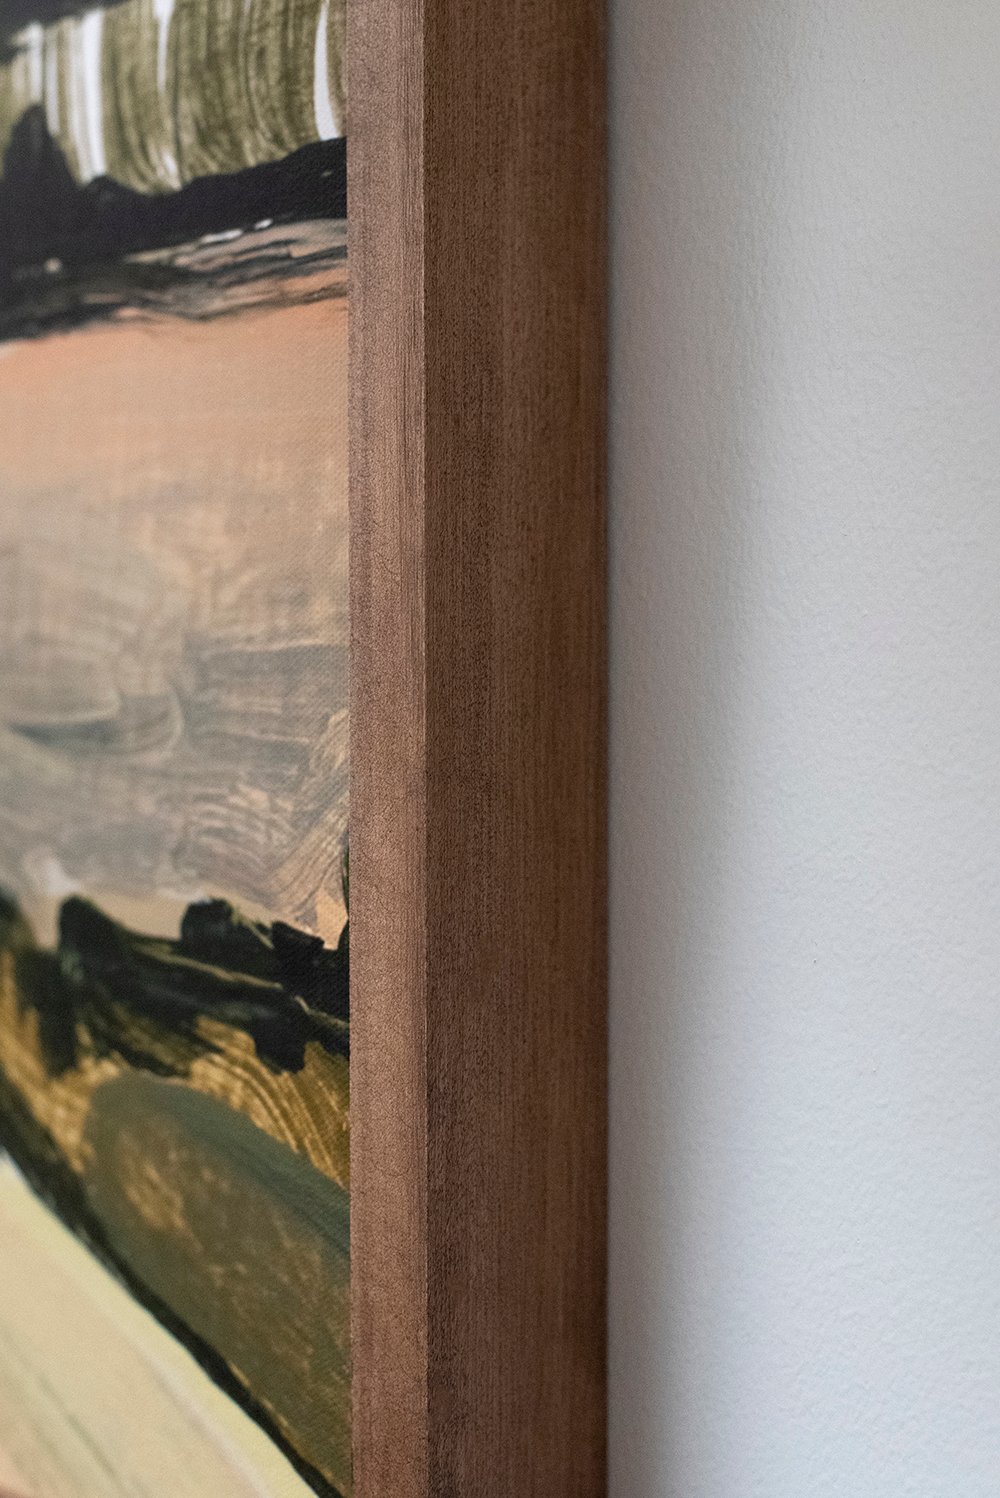
 Once I reached my desired color, I allowed it to dry before assembling the frame. Gel stain is really easy and forgiving! The color turned out very nice and worked well with the art I selected. Here’s a closeup…
 Step 7 // Cleanup. I cleaned my brush with mineral spirits (since I was using stain), and then I put the brush back into the keeper (the coated packaging), so it retains the shape and gets adequate airflow. I keep my brushes for years, because they’re good quality brushes that are made to last, when taken care of. Check out this post on painting tips, if you missed it! I shared 10 really good paint pointers, from application to cleaning up and keeping your tools in good shape.
 Let me know if you have any stain, gel stain, or paint brush questions! I hope this little tutorial helps with your next stain project. I think gel stain sounds intimidating because it’s newer, but in actuality- it’s probably easier for most novice DIYers. I’m definitely a fan! Have you ever used gel stain? If so, do you prefer it to regular stain? I’d love to hear in the comment section below! Do you have any stain projects on your to-do list this spring or summer? I have a few more I’ll be sharing this year!
